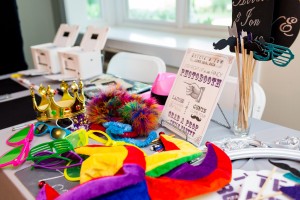
For our wedding, I made a bunch of different photobooth props! A lot of the props you see shown were provided by the Photobooth company (Partybooths – check them out, they were great!) but I wanted to make the ever popular mustaches, lips & bow ties.. along with customized signs & foam fingers!
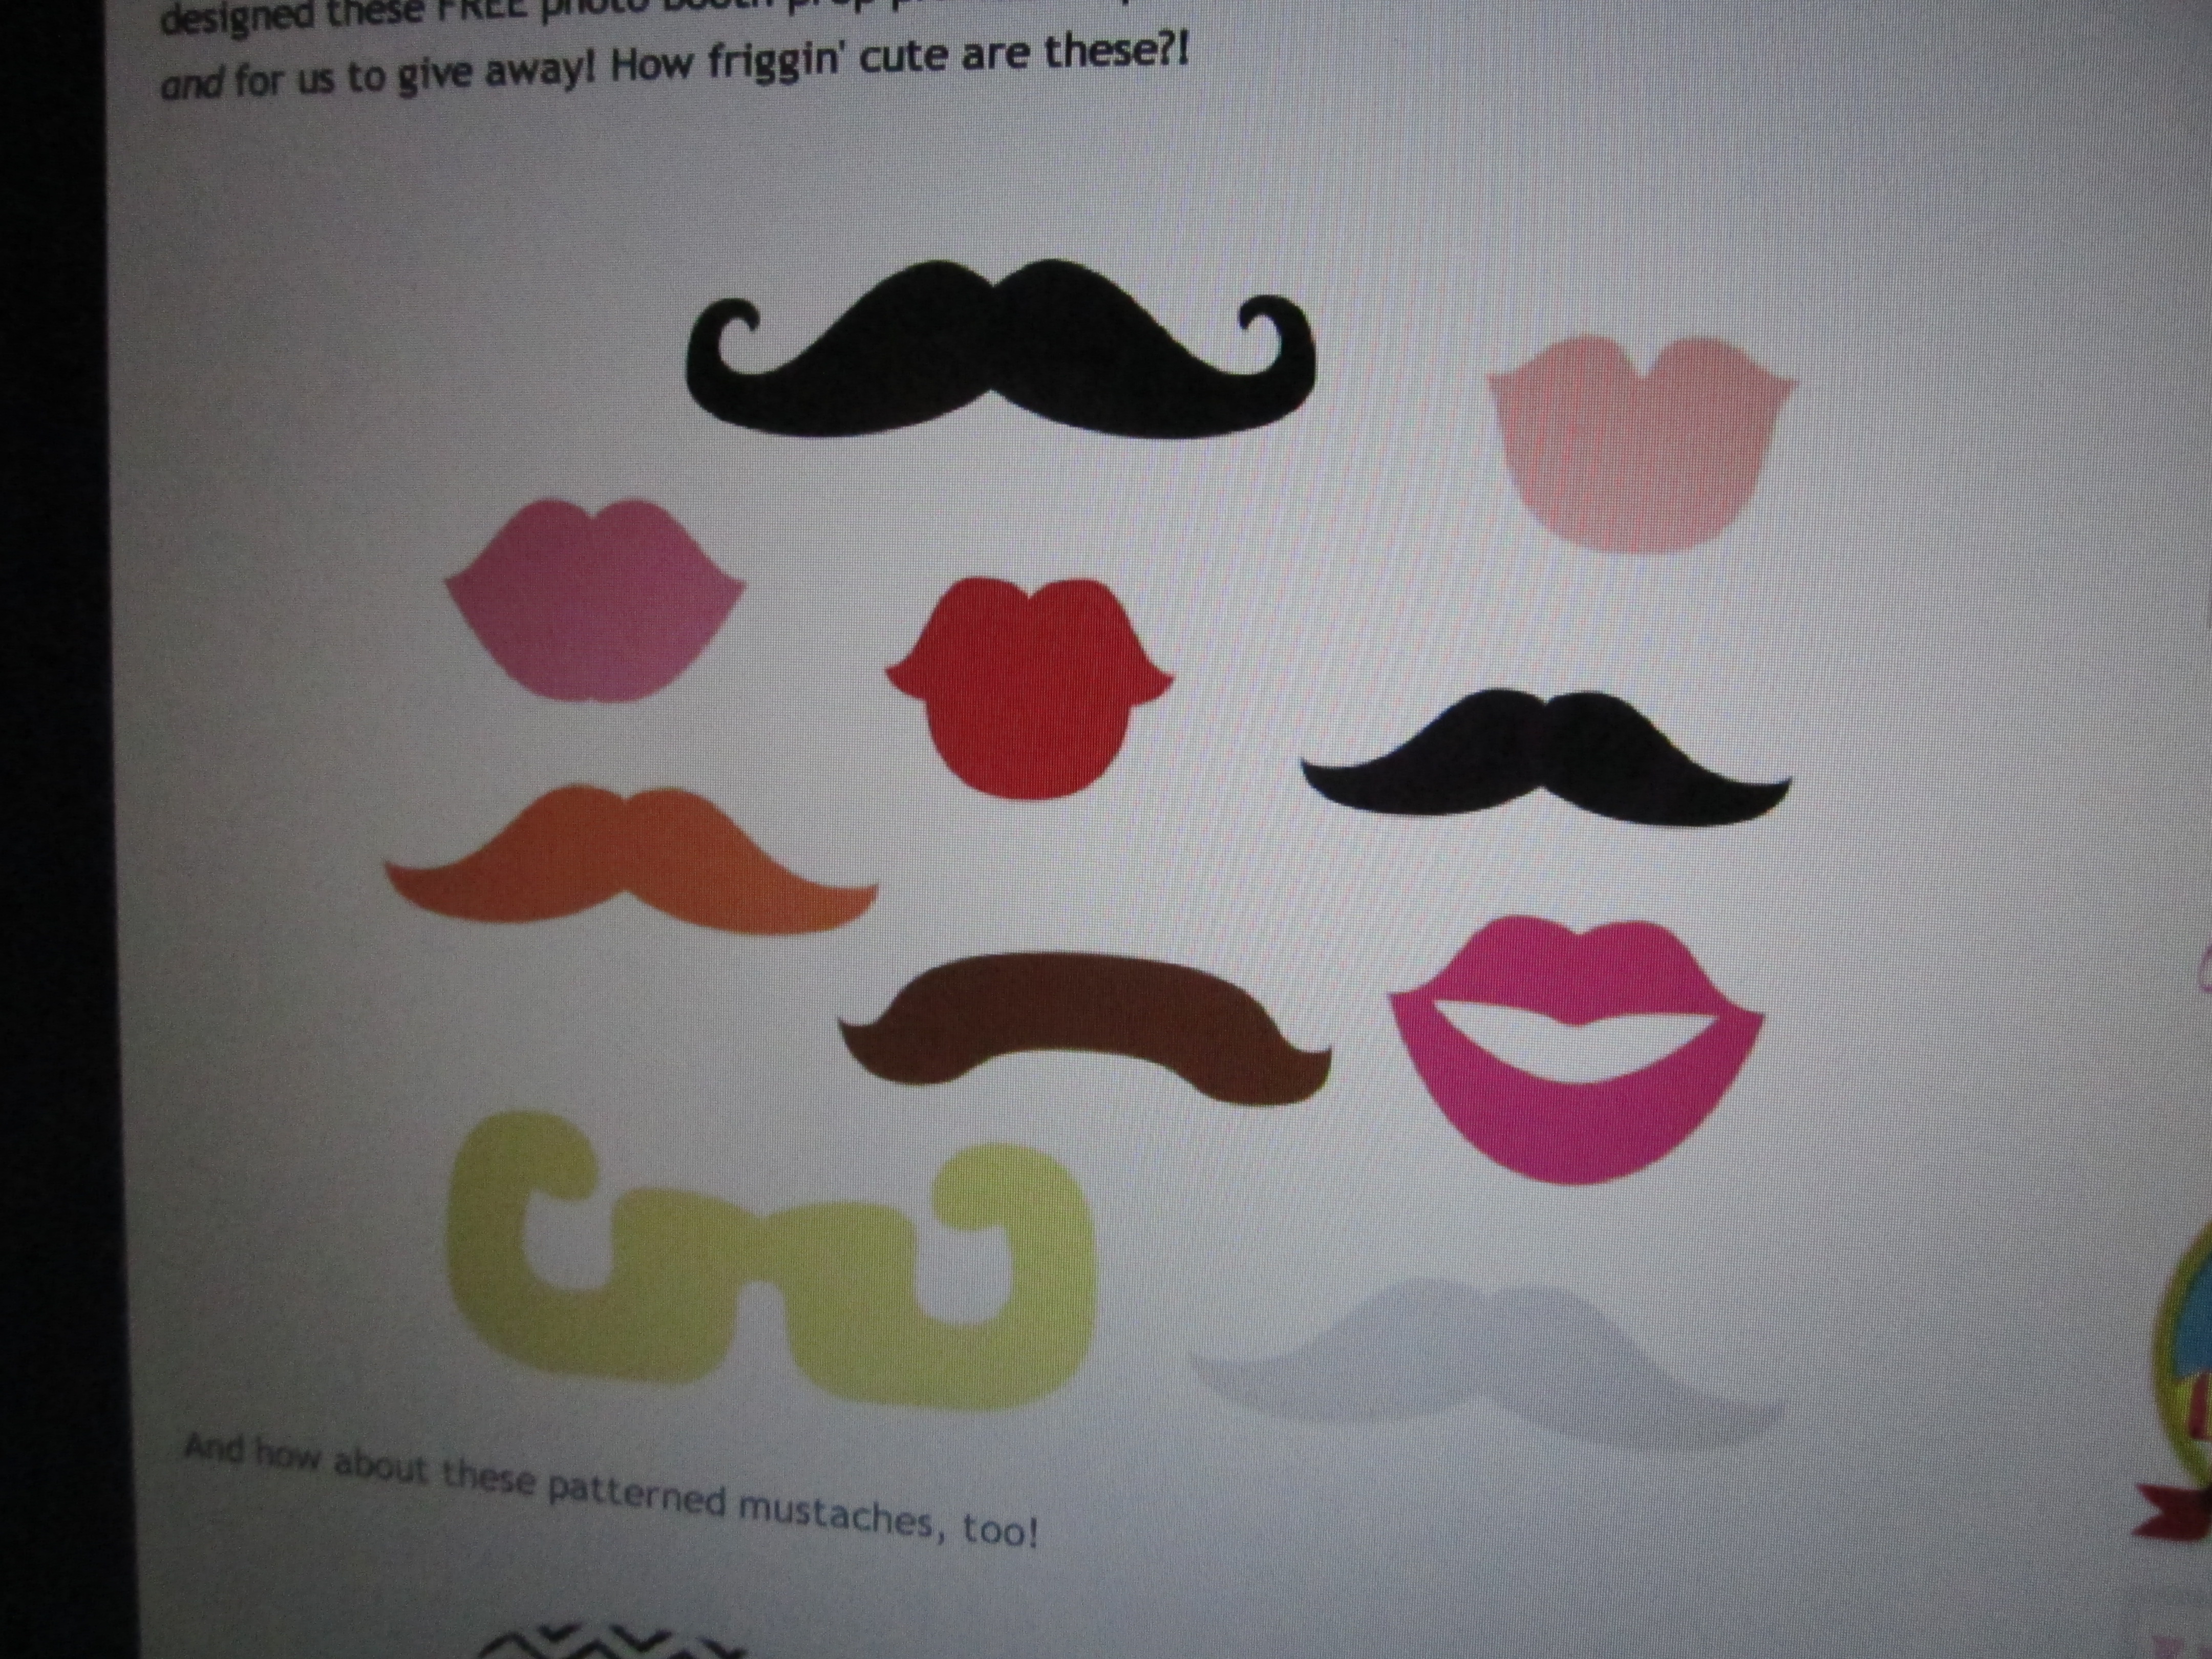
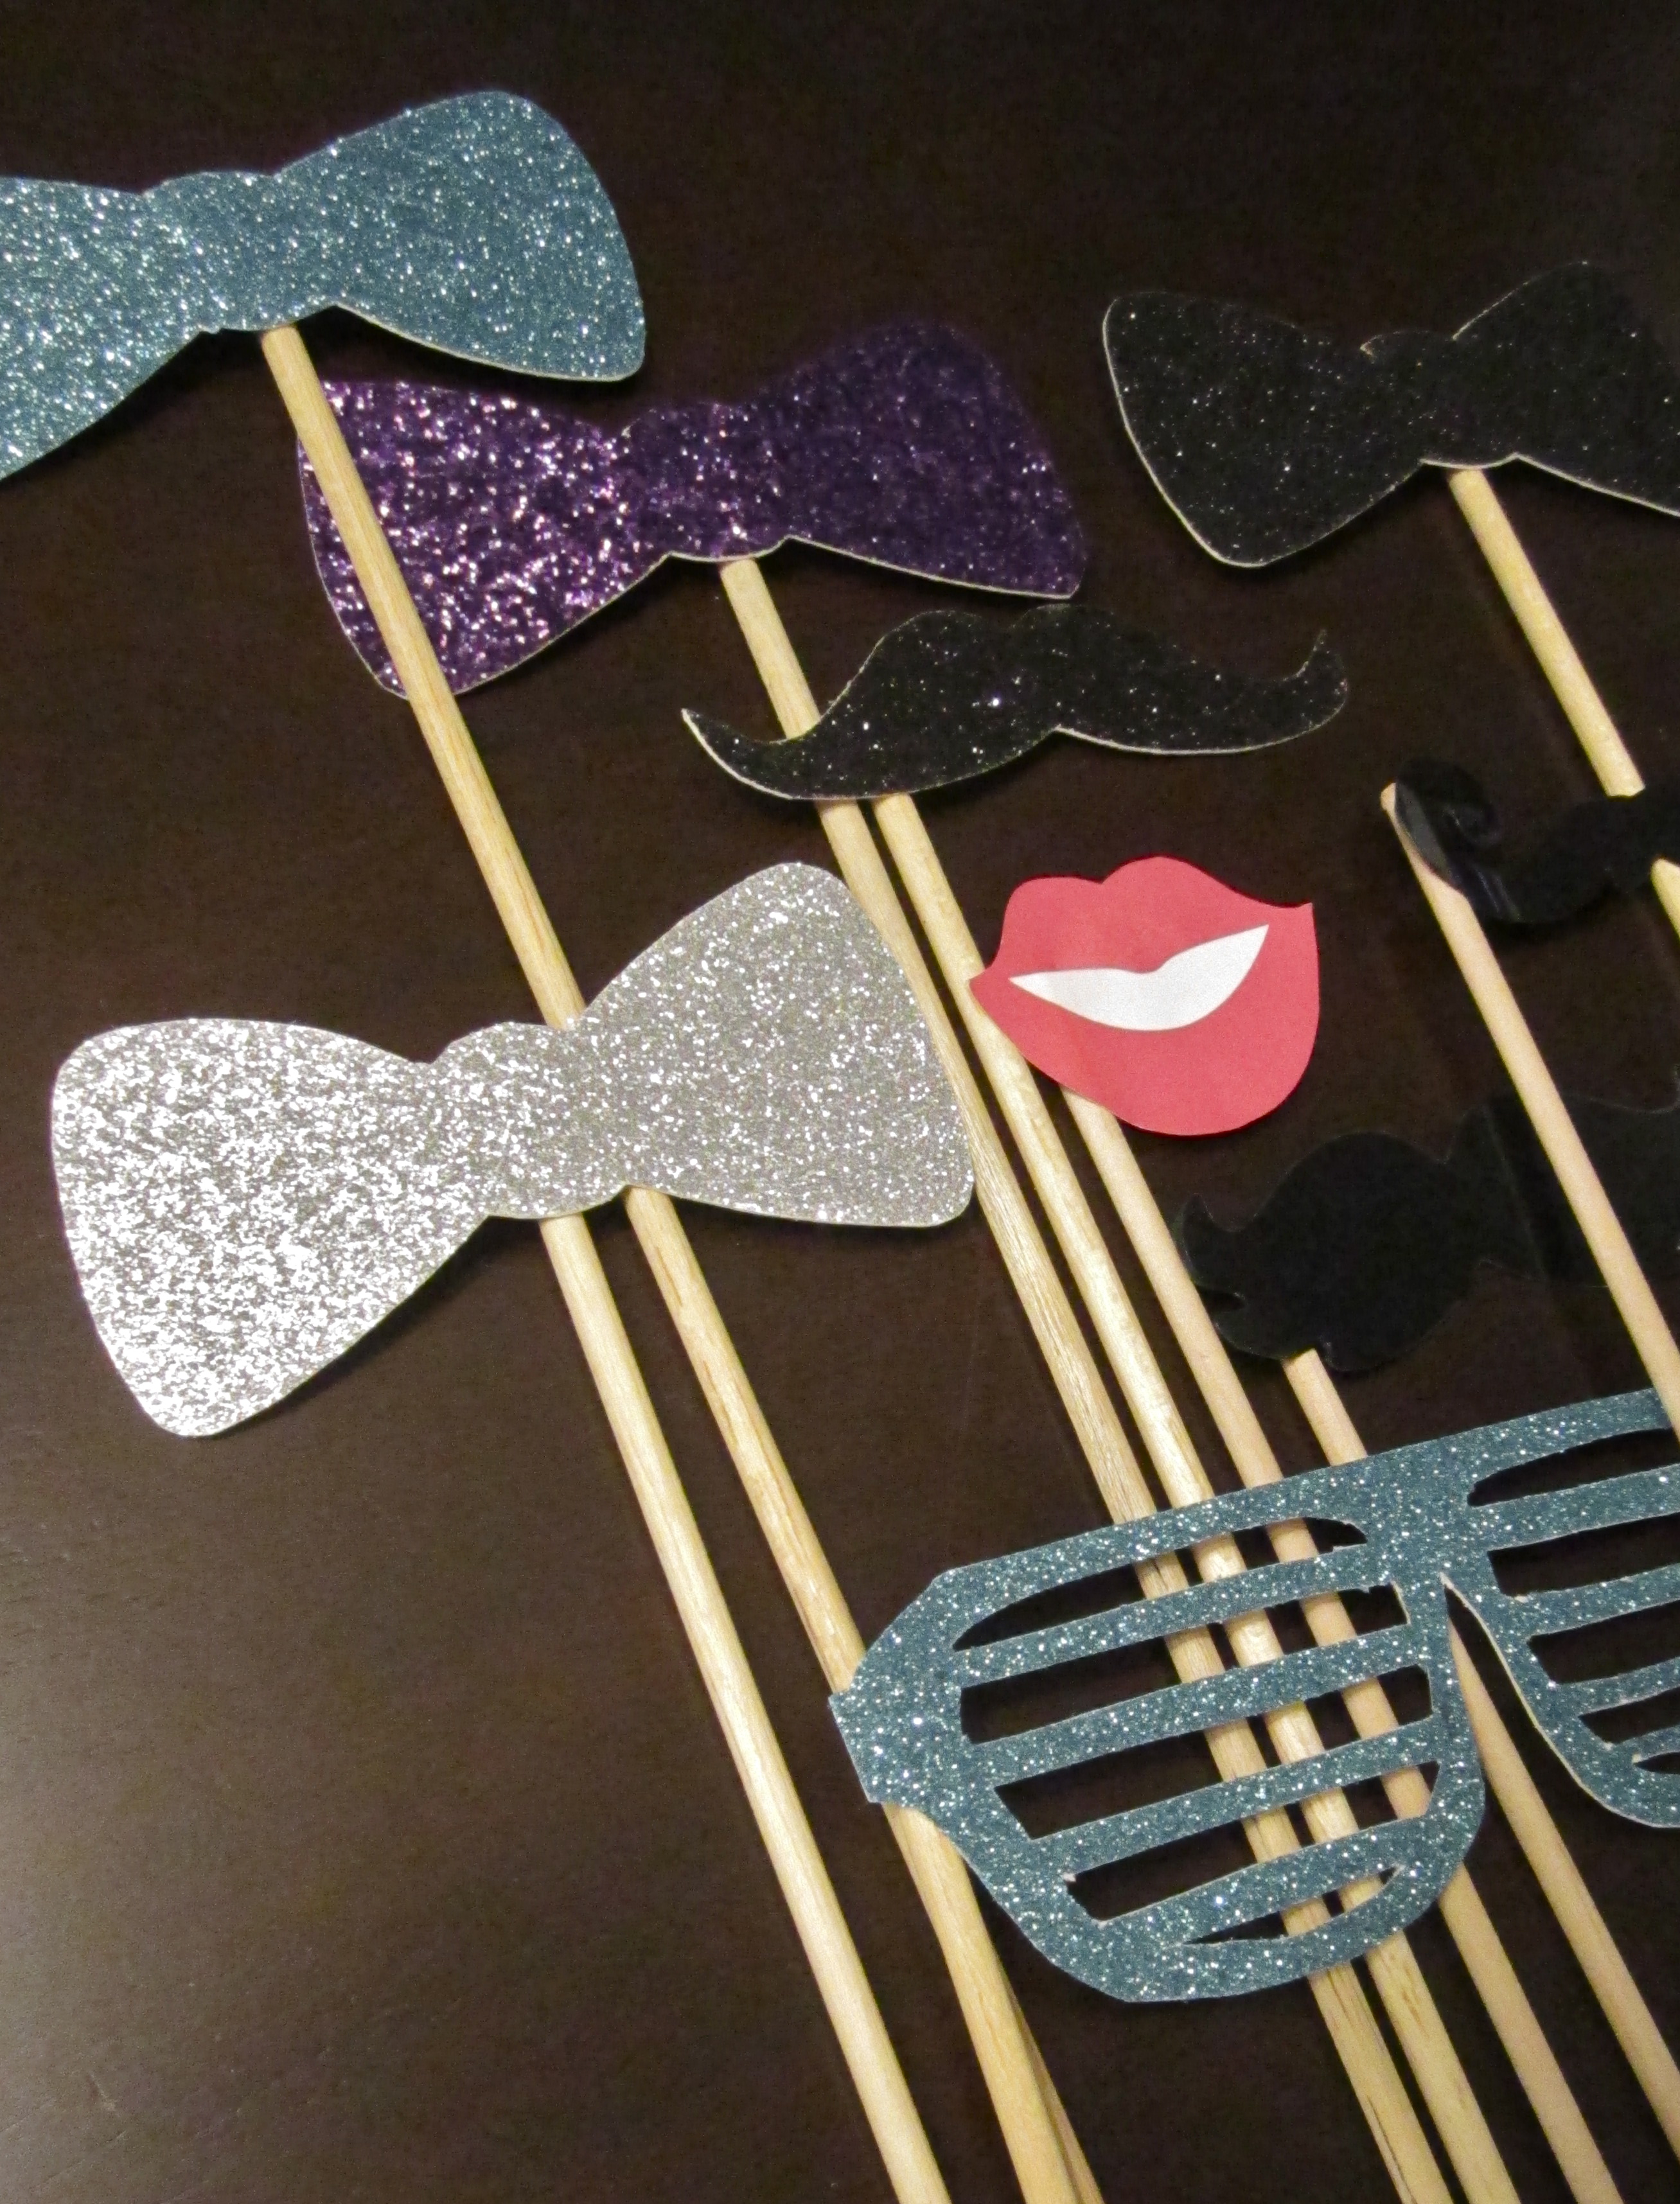
Mustaches, Lips & Bow Ties
Supplies: Cardstock (& Printer), Glue, Dowel Rods (I used 1/4in – can be bought in any local craft store)
I searched online for free photobooth templates and stumbled across this one that I used for the lips and mustaches. I found a separate bow tie template online as well.
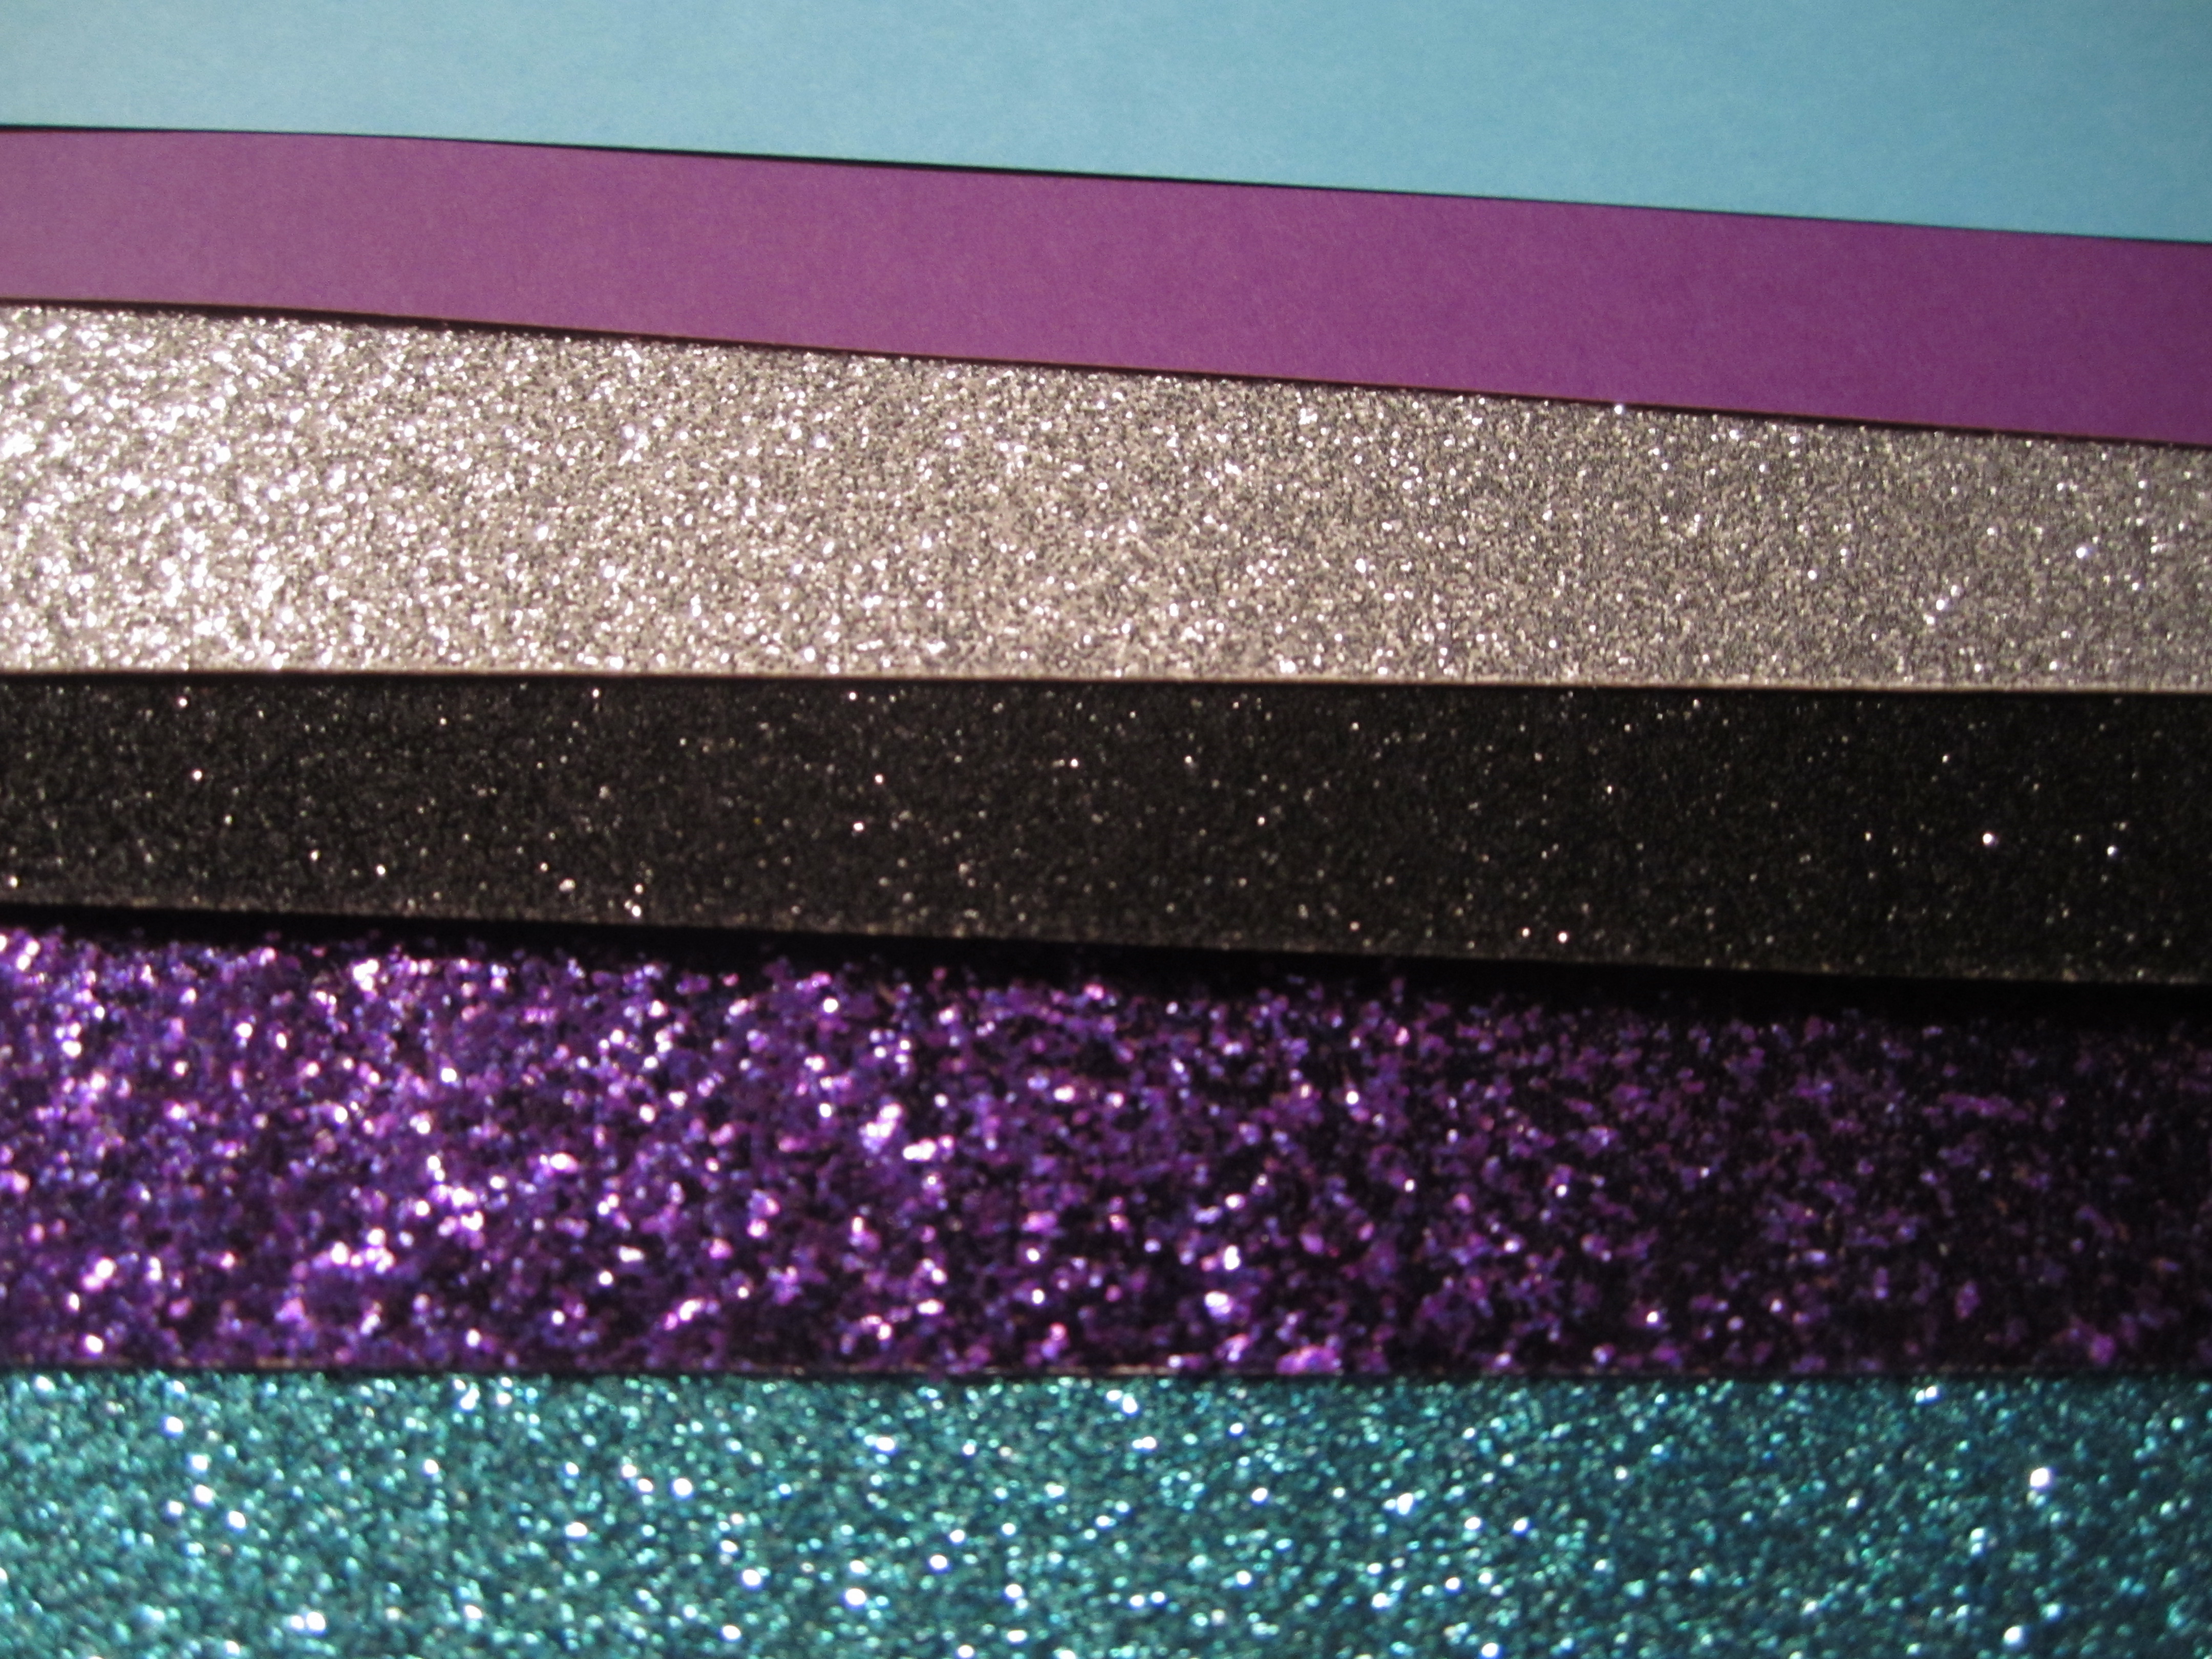
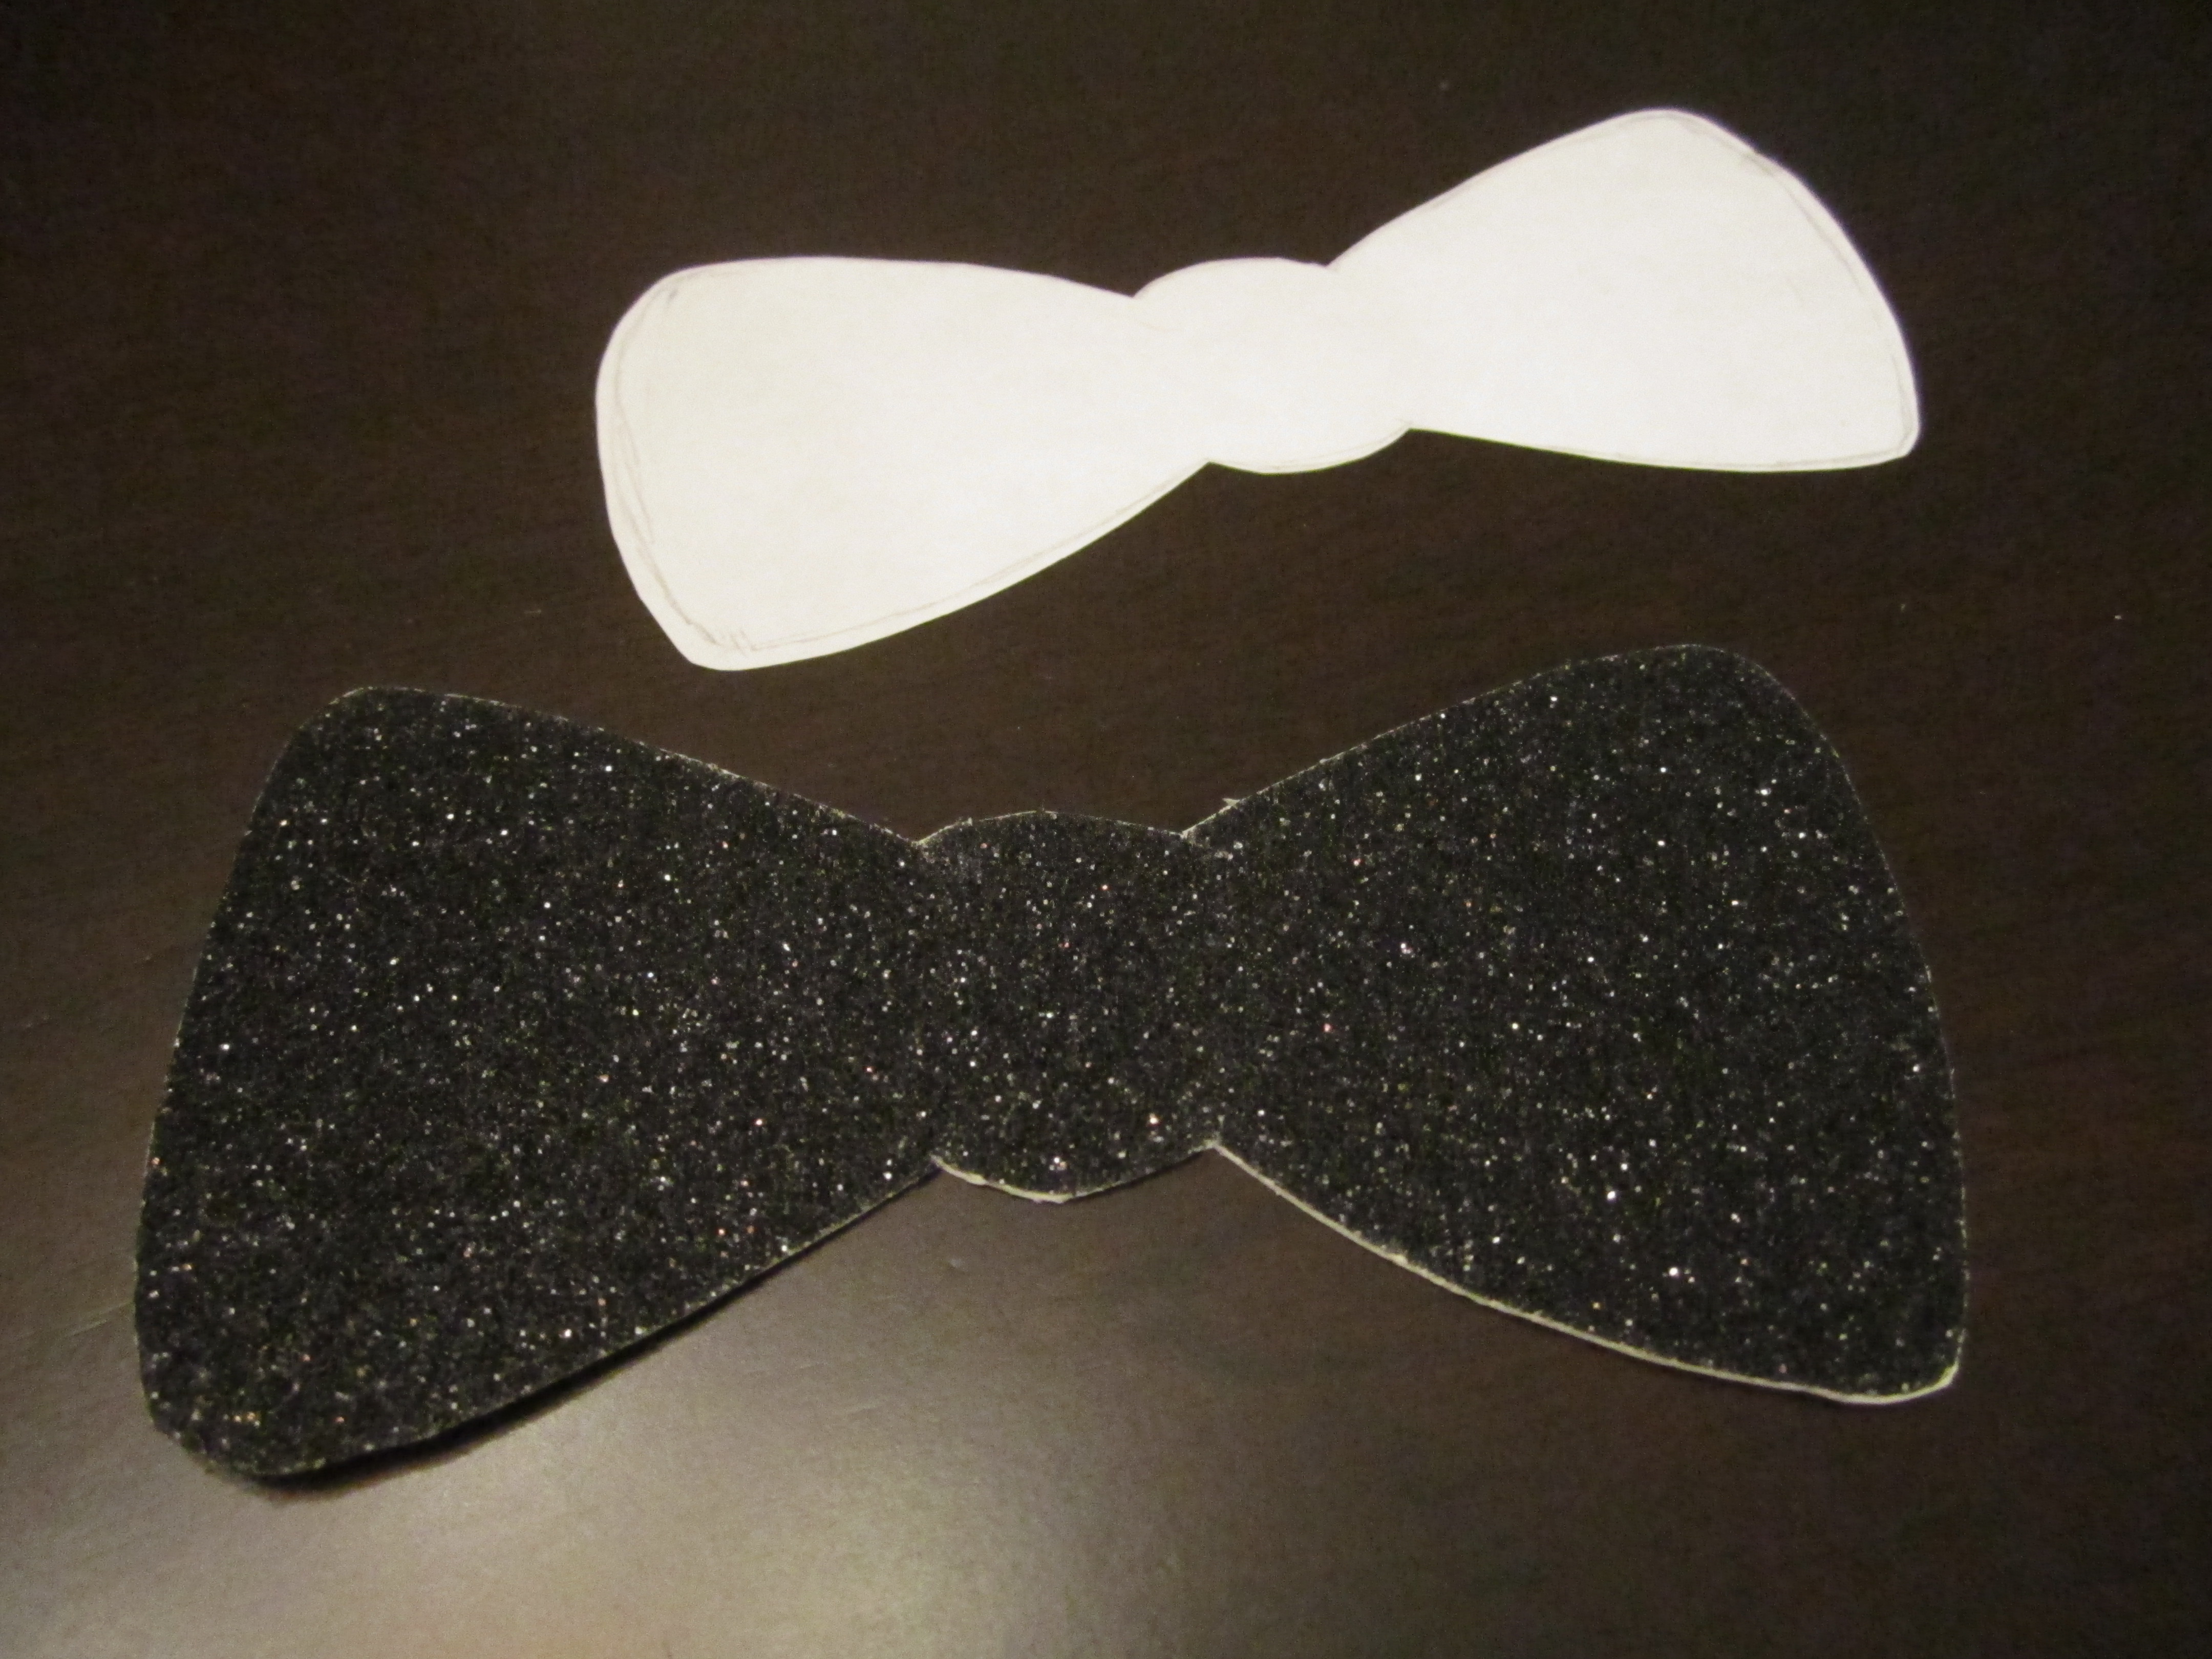
1. For the lips, I printed on white cardstock so that they would print the correct color (make sure you use cardstock so that they will hold their form). For the mustaches & bow ties, I printed them onto white cardstock as well and then traced them onto the back of the sparkly paper I bought from Michaels.
2. Cut dowel rod to desired length; I sanded the cut parts so that the splintered wood was not sticking out!
3/4. Cut out the templates, glue to the dowel rods and you’re done!
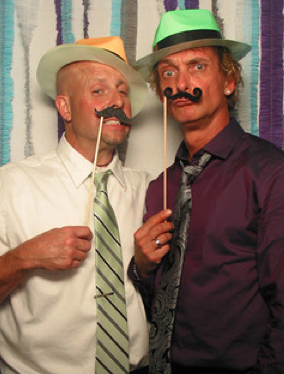
Being put to good use.. one on the right is my Dad :)
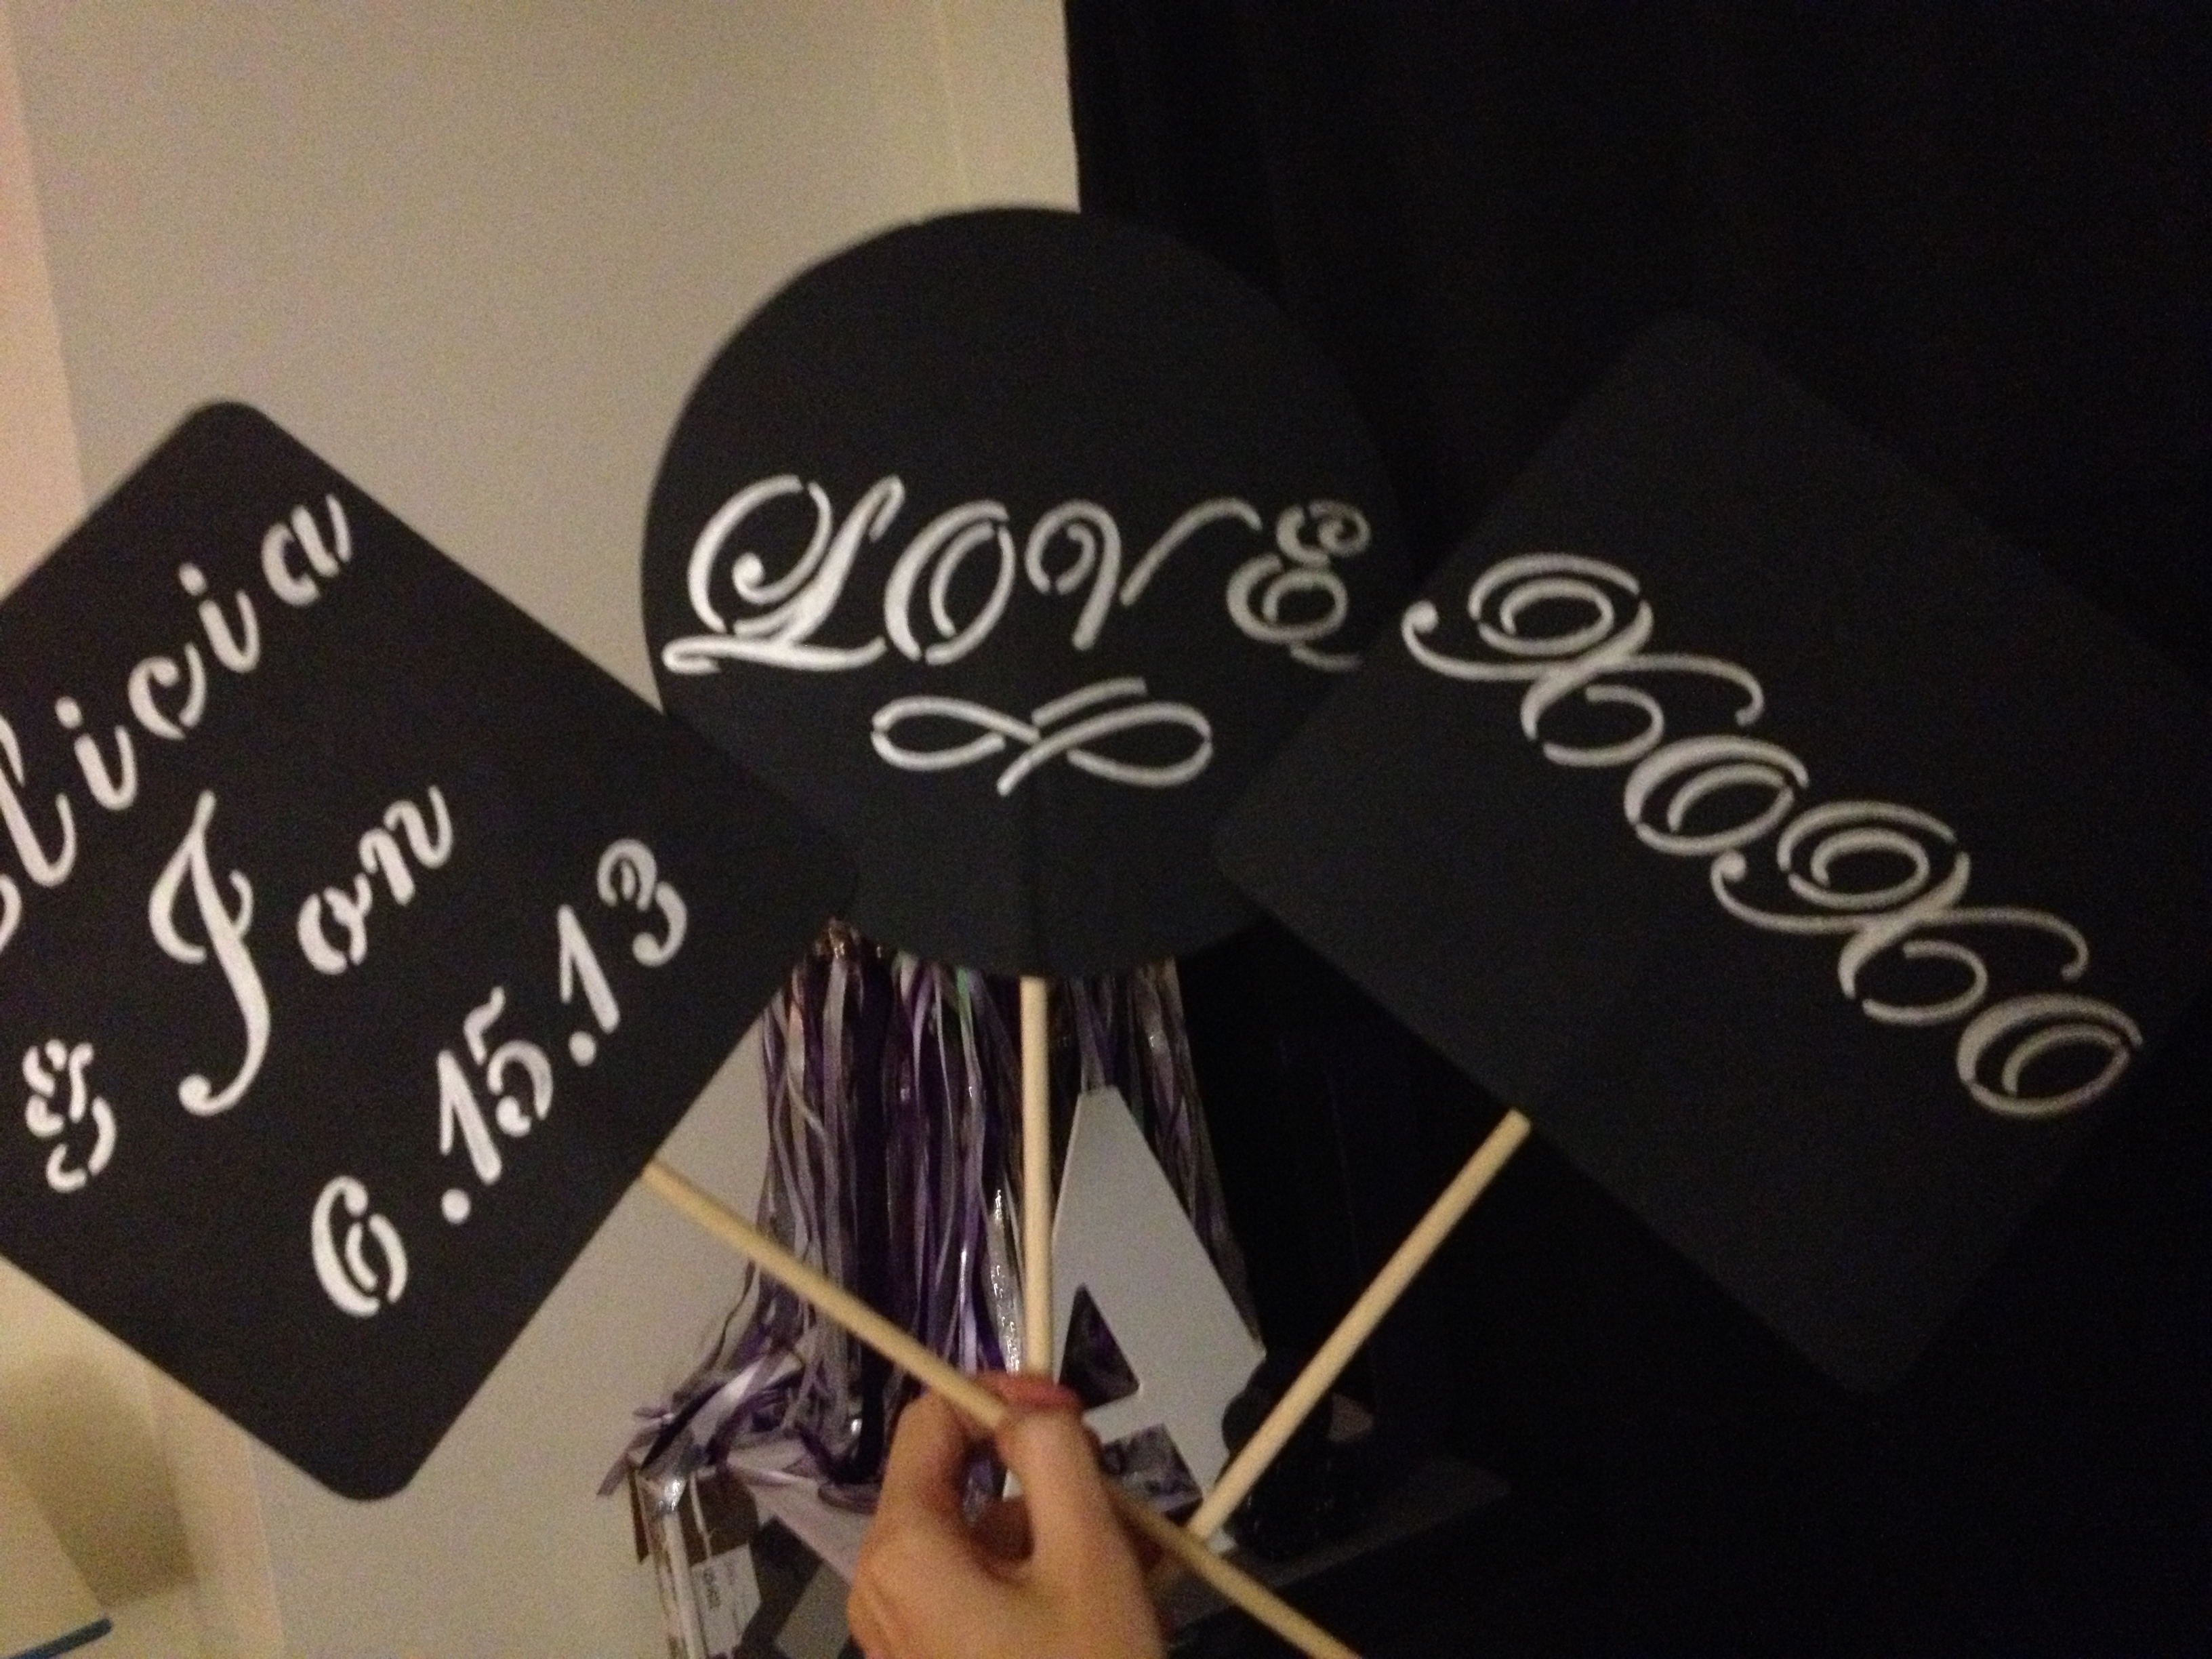
Customized Signs
Supplies: Black Cardstock, Letter Stencils, Silver Paint Sharpie, Dowel Rods, Glue/Tape
1. Cut out square/circle or whatever shape you would like!
2. Stencil which ever phrase you want with the Silver Paint Sharpie (I used Martha Stewart stencils from Michaels)
3. Glue/Tape onto your dowel rod
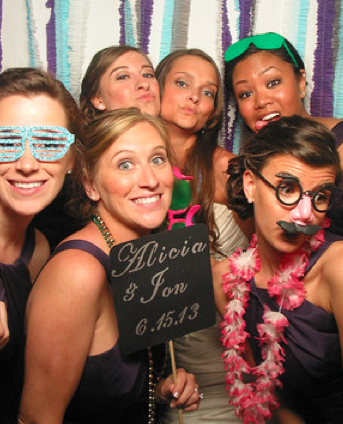
My Bridesmaids and I at our wedding!
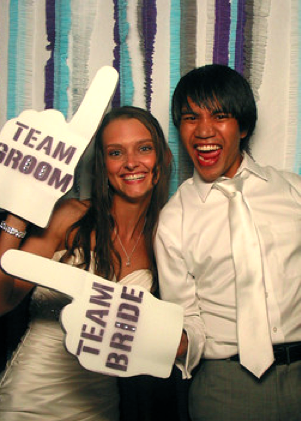
Foam Fingers
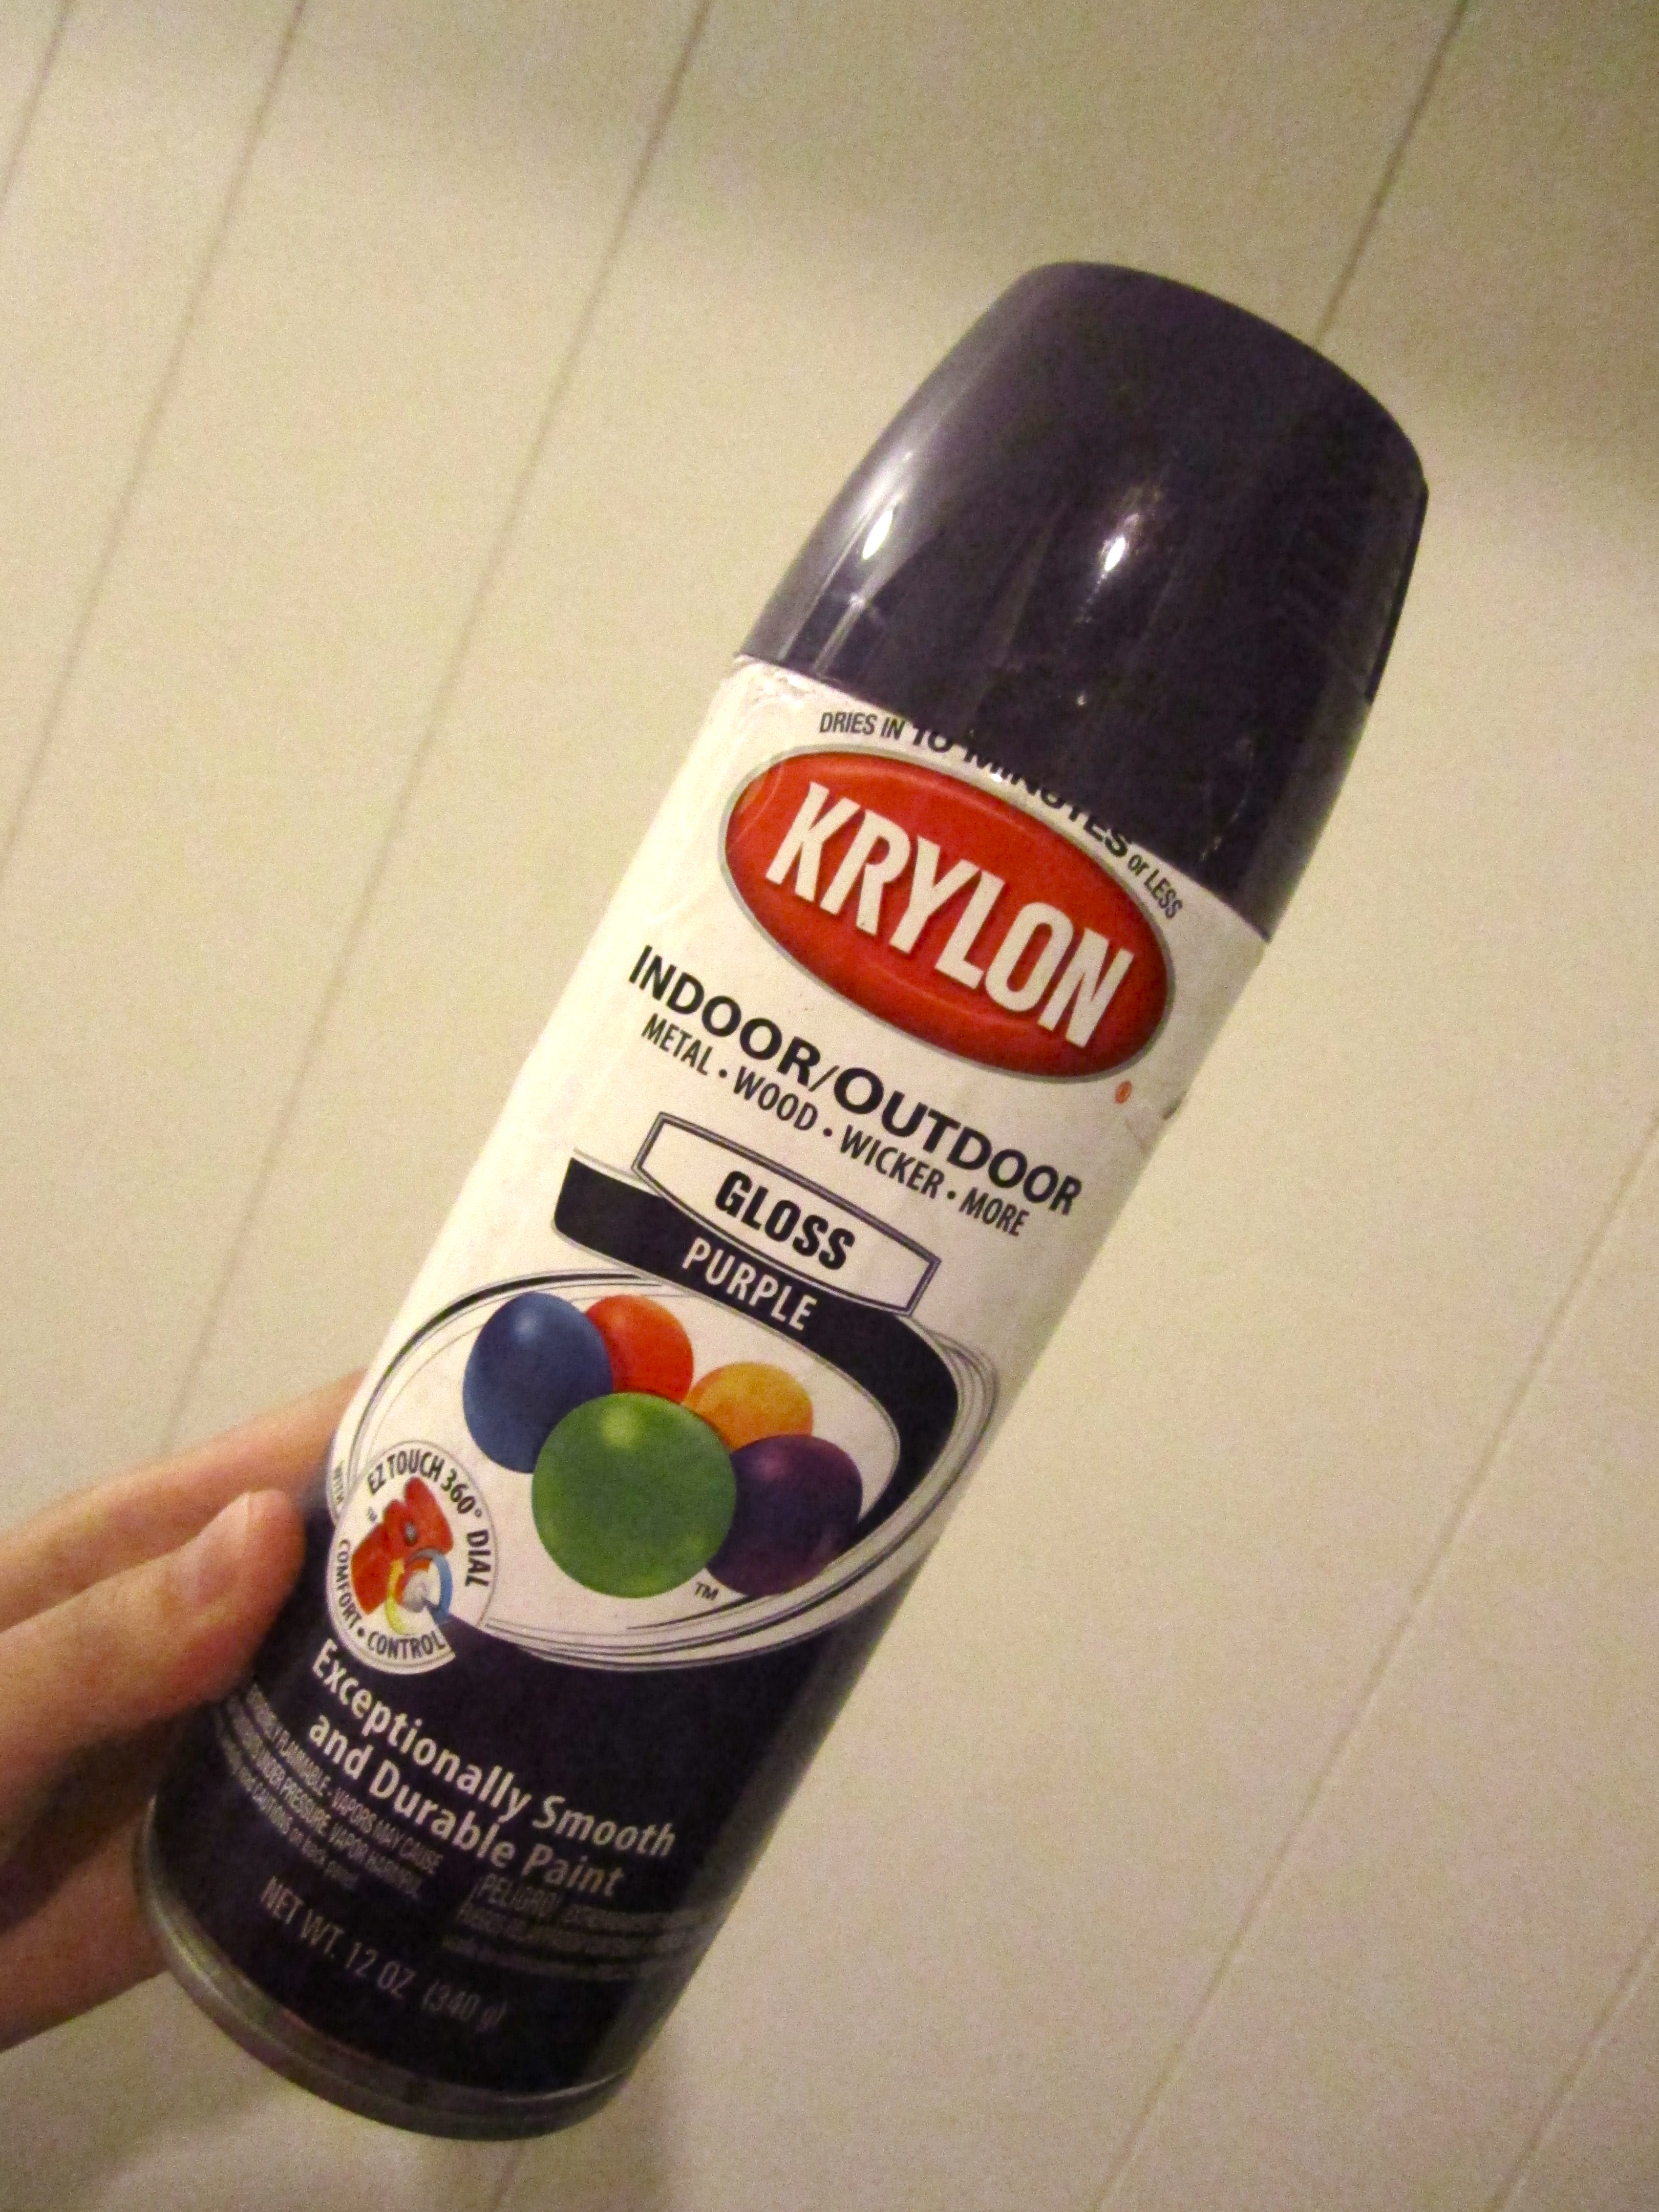
Supplies: Foam Fingers ($2.99/ea Michaels), Spray paint (in your color choice), Cardstock & Printer, X-acto Knife, Gems
1. Use a stencil font in the program you use – Print onto cardstock
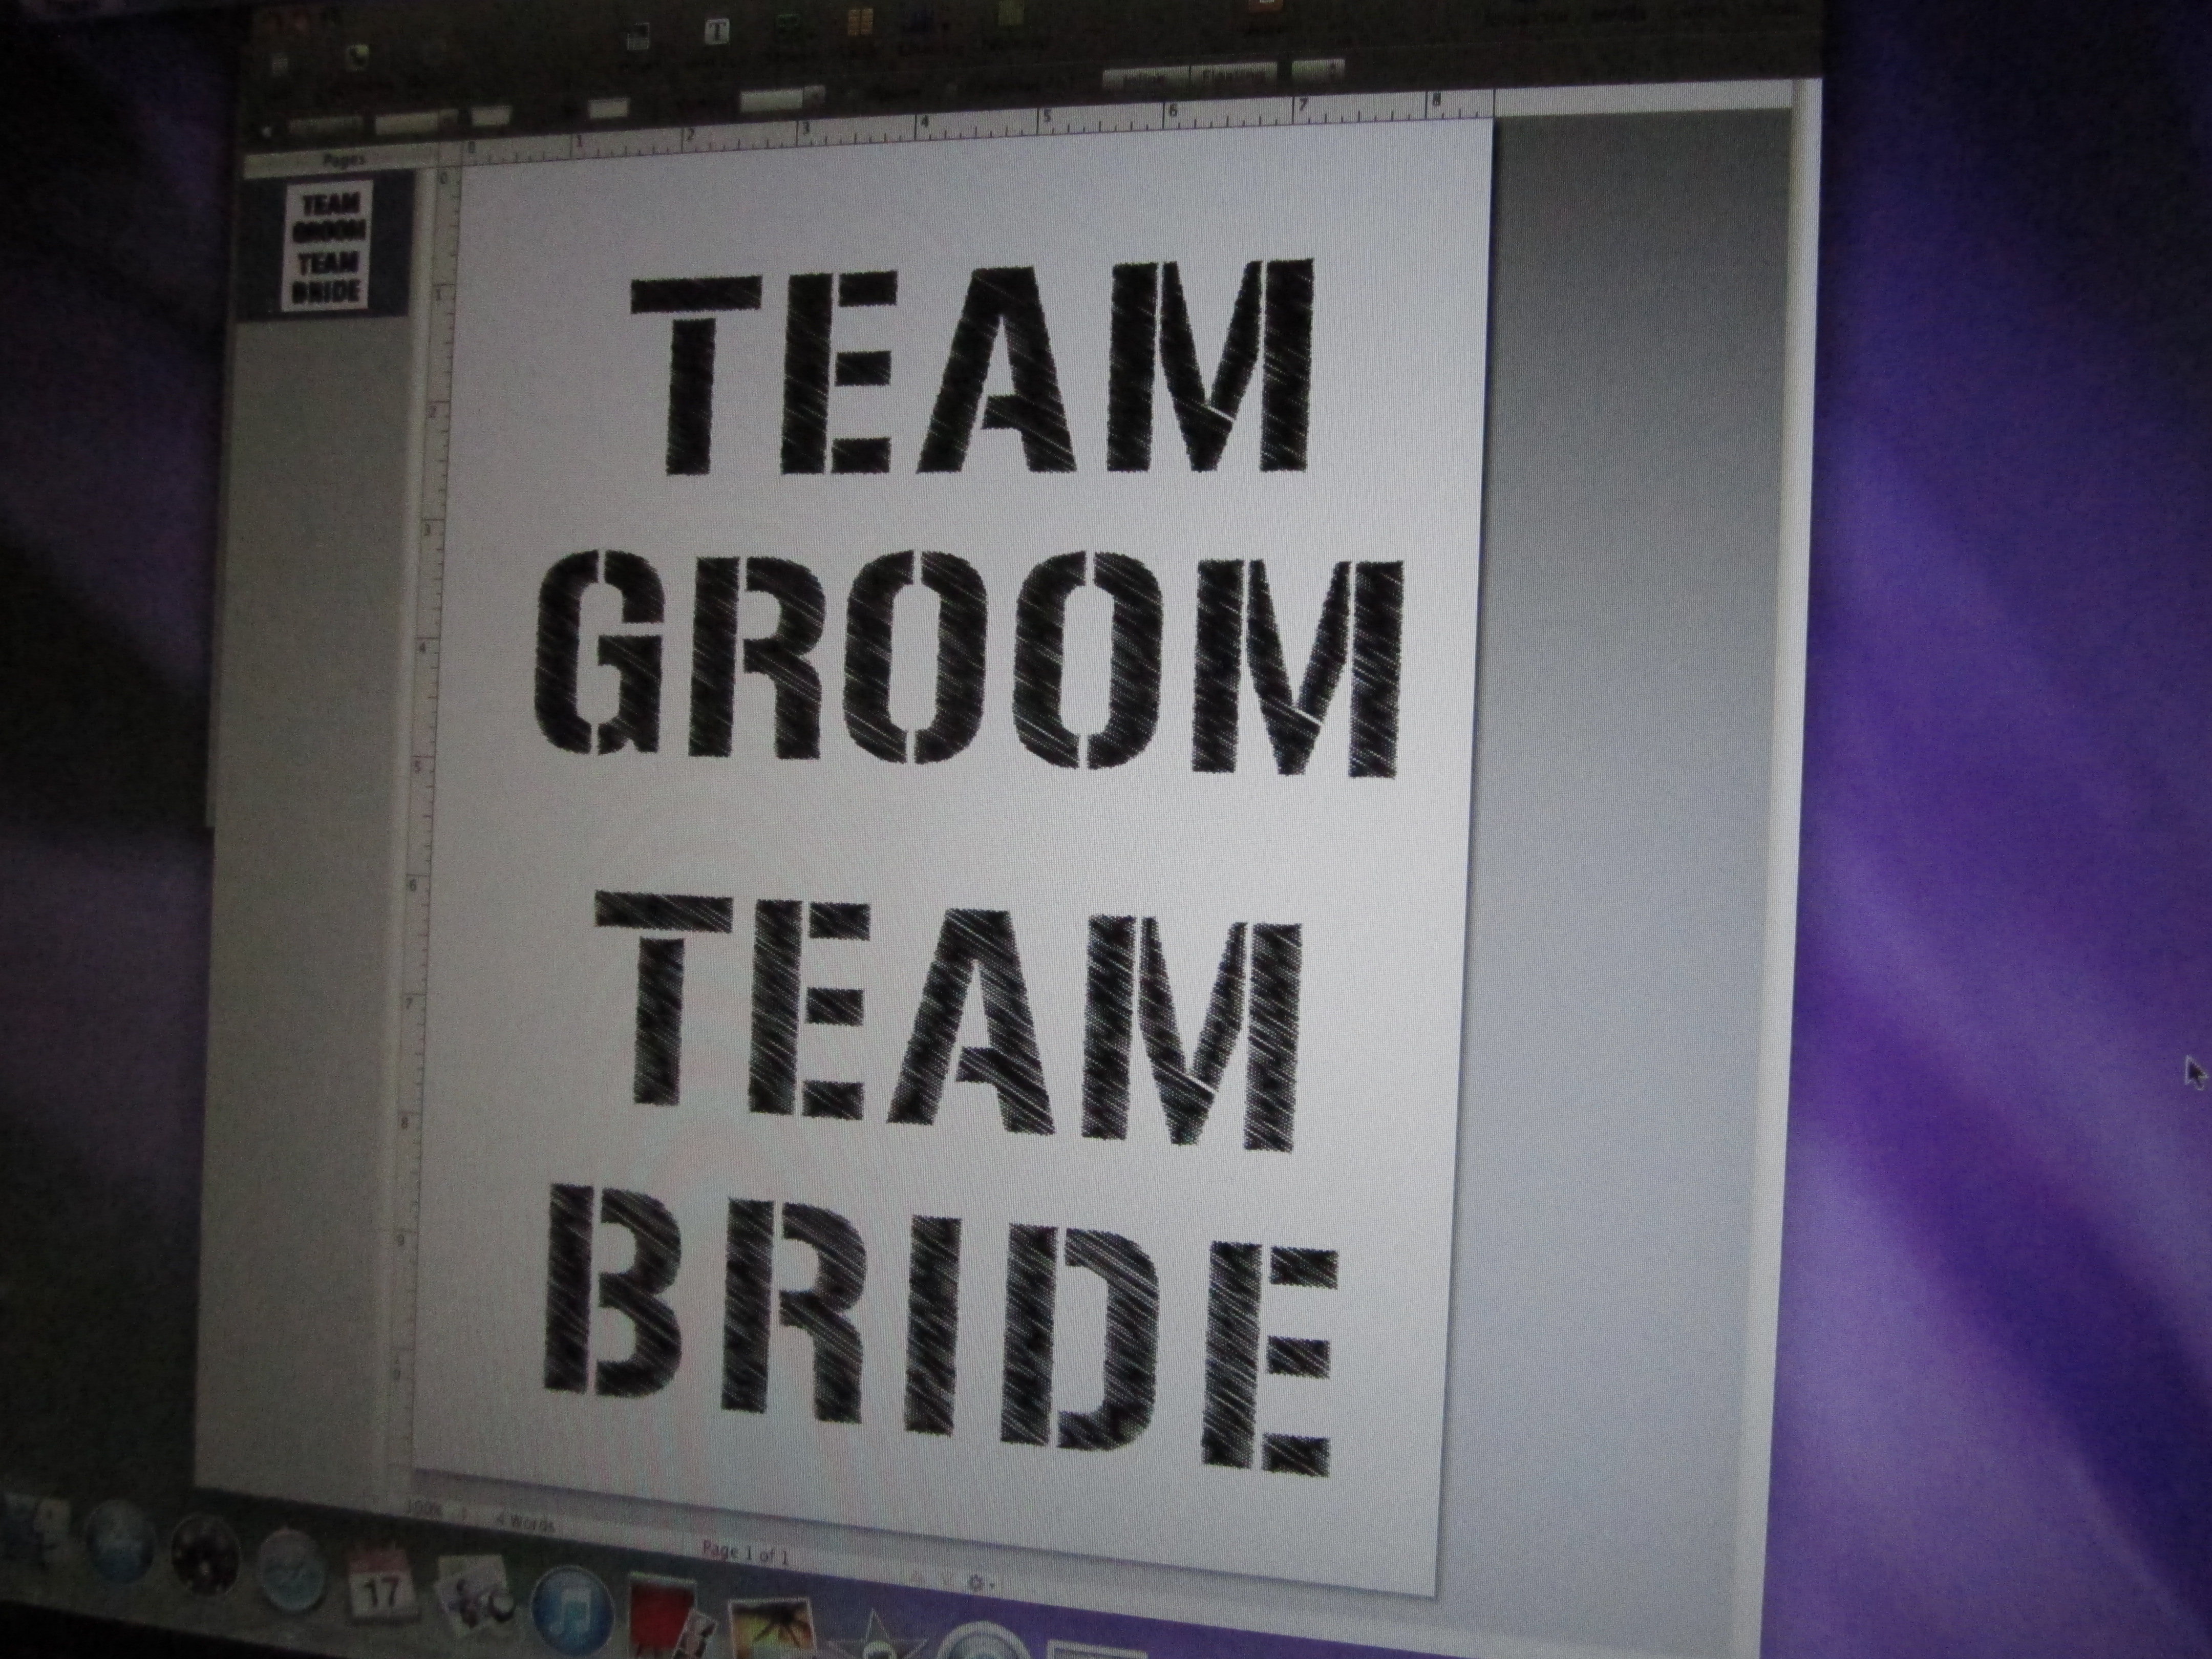
2. Use an X-acto knife to cut out your template
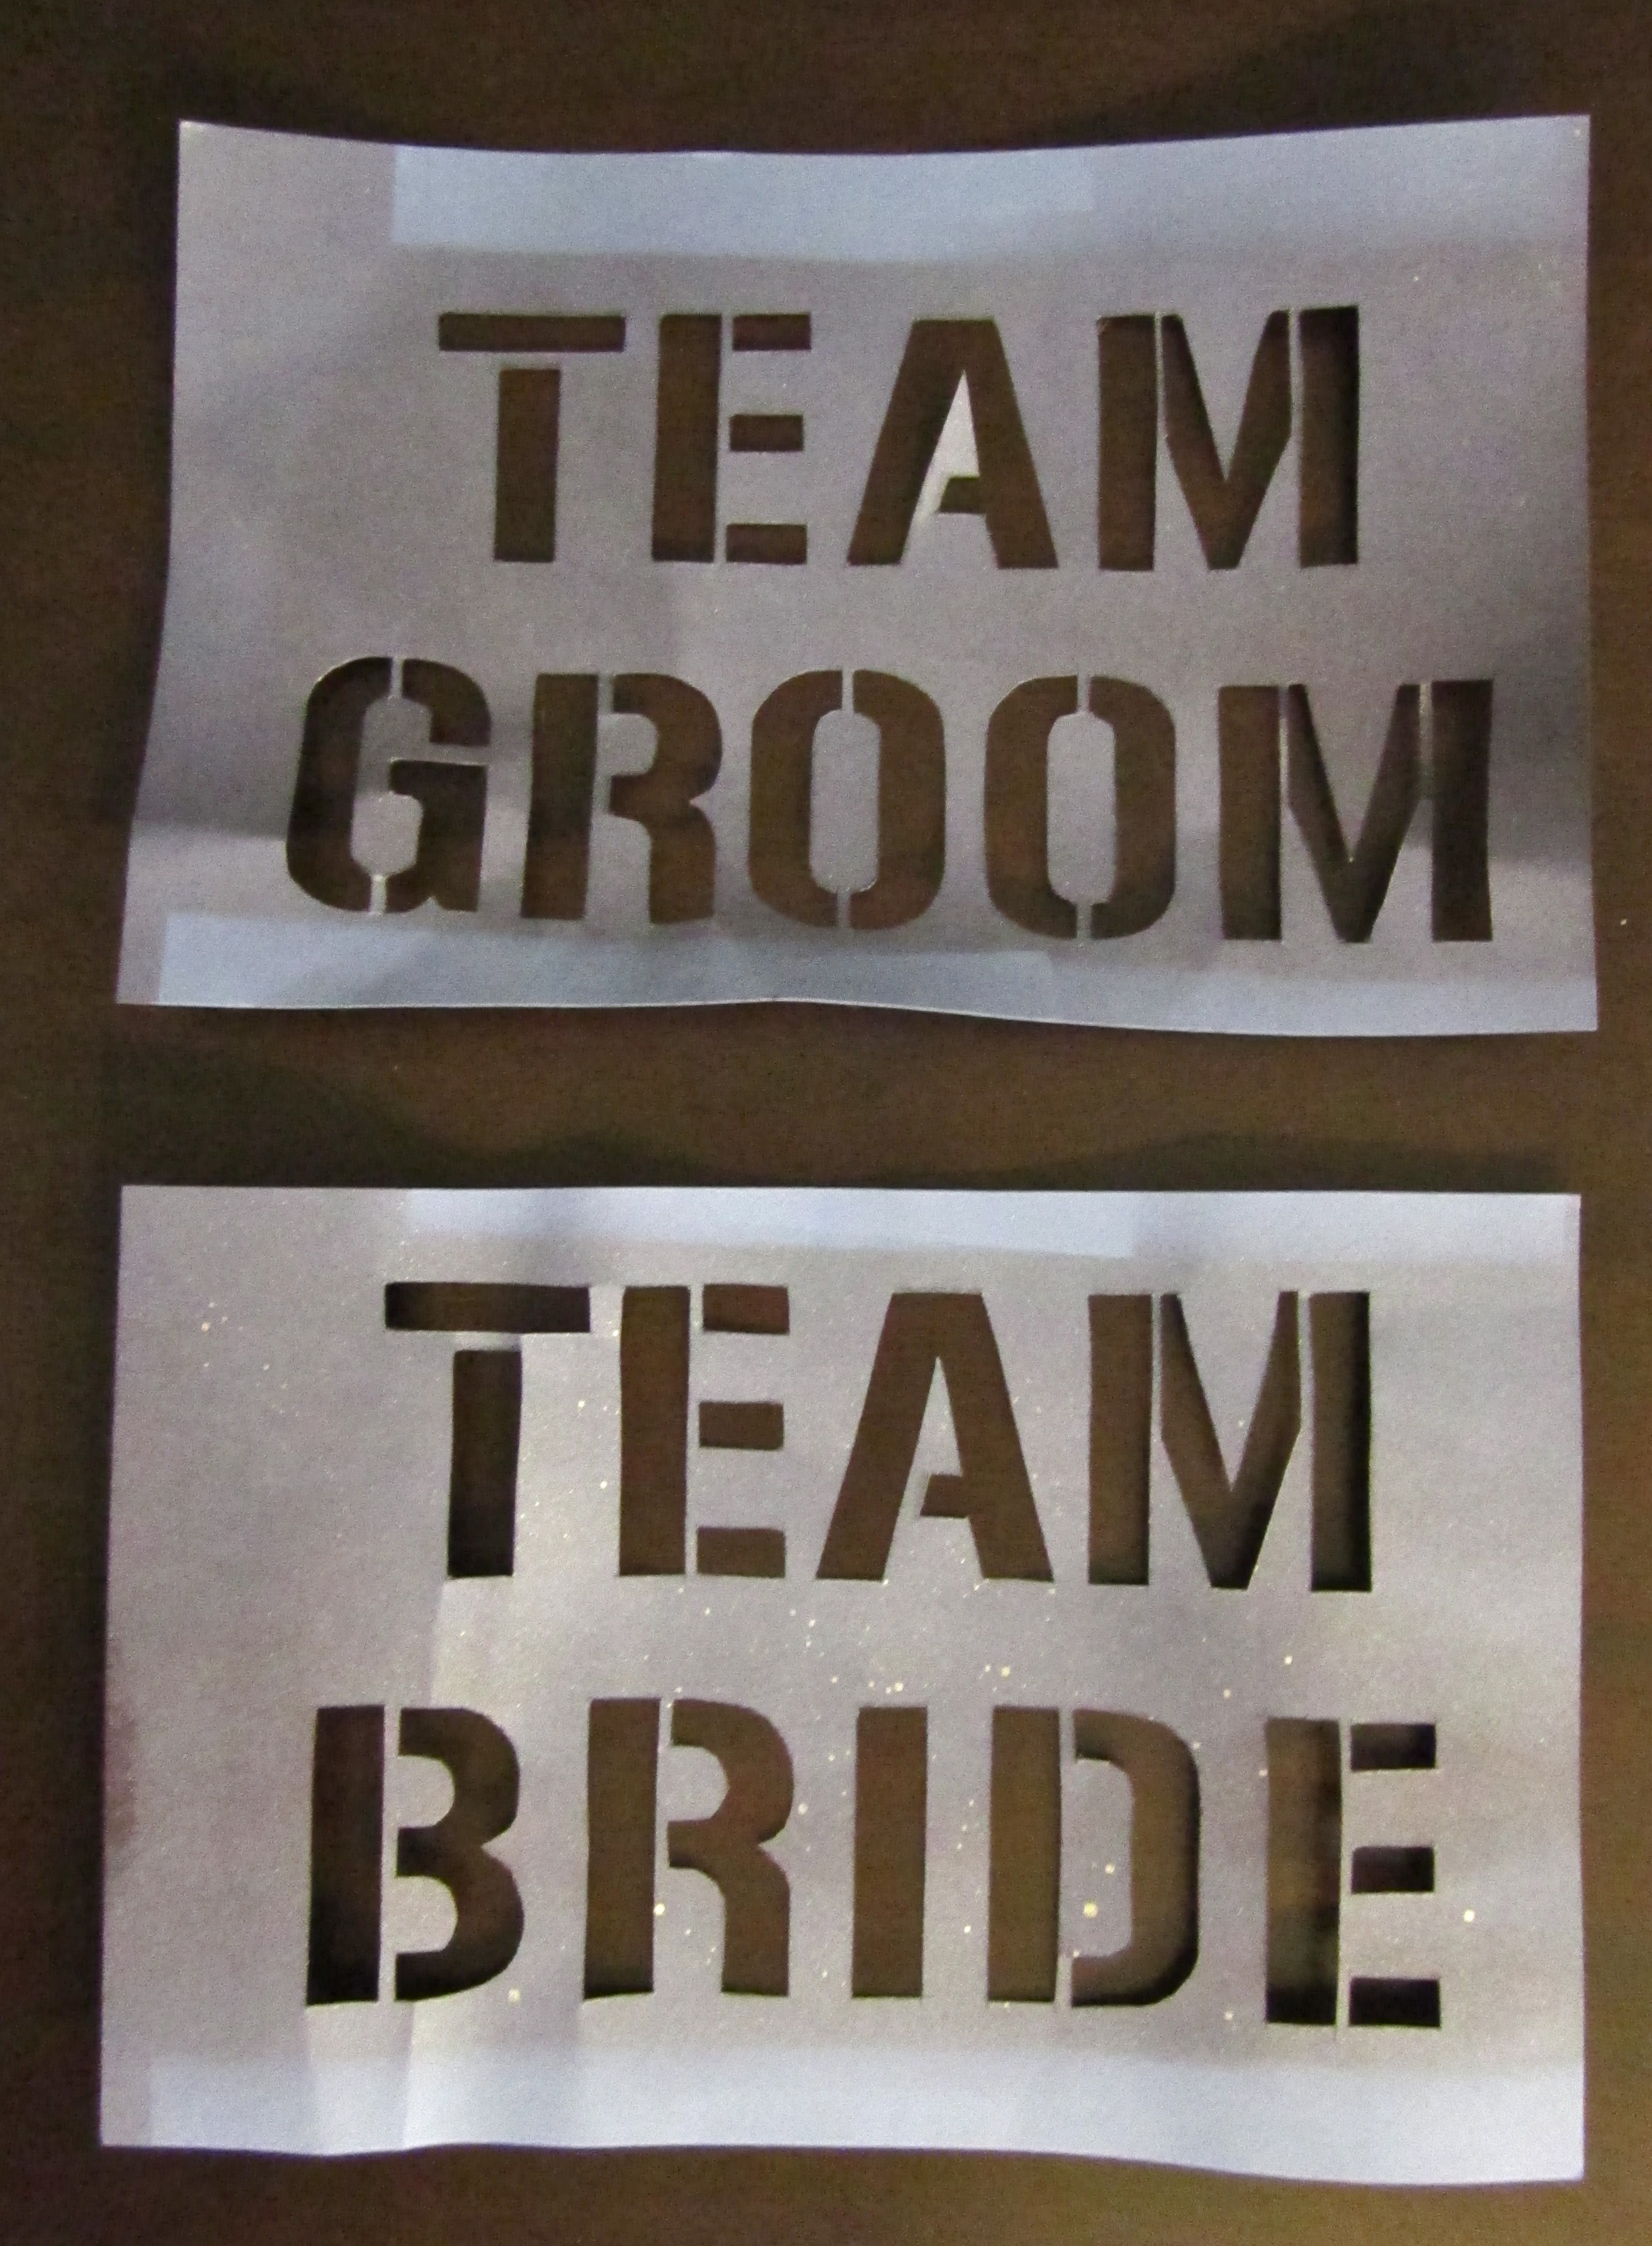
3. Tape template onto foam fingers and paint (following the spray paint directions). Make sure you tape it well so that paint doesn’t escape underneath – your letters’ edges will not be sharp!
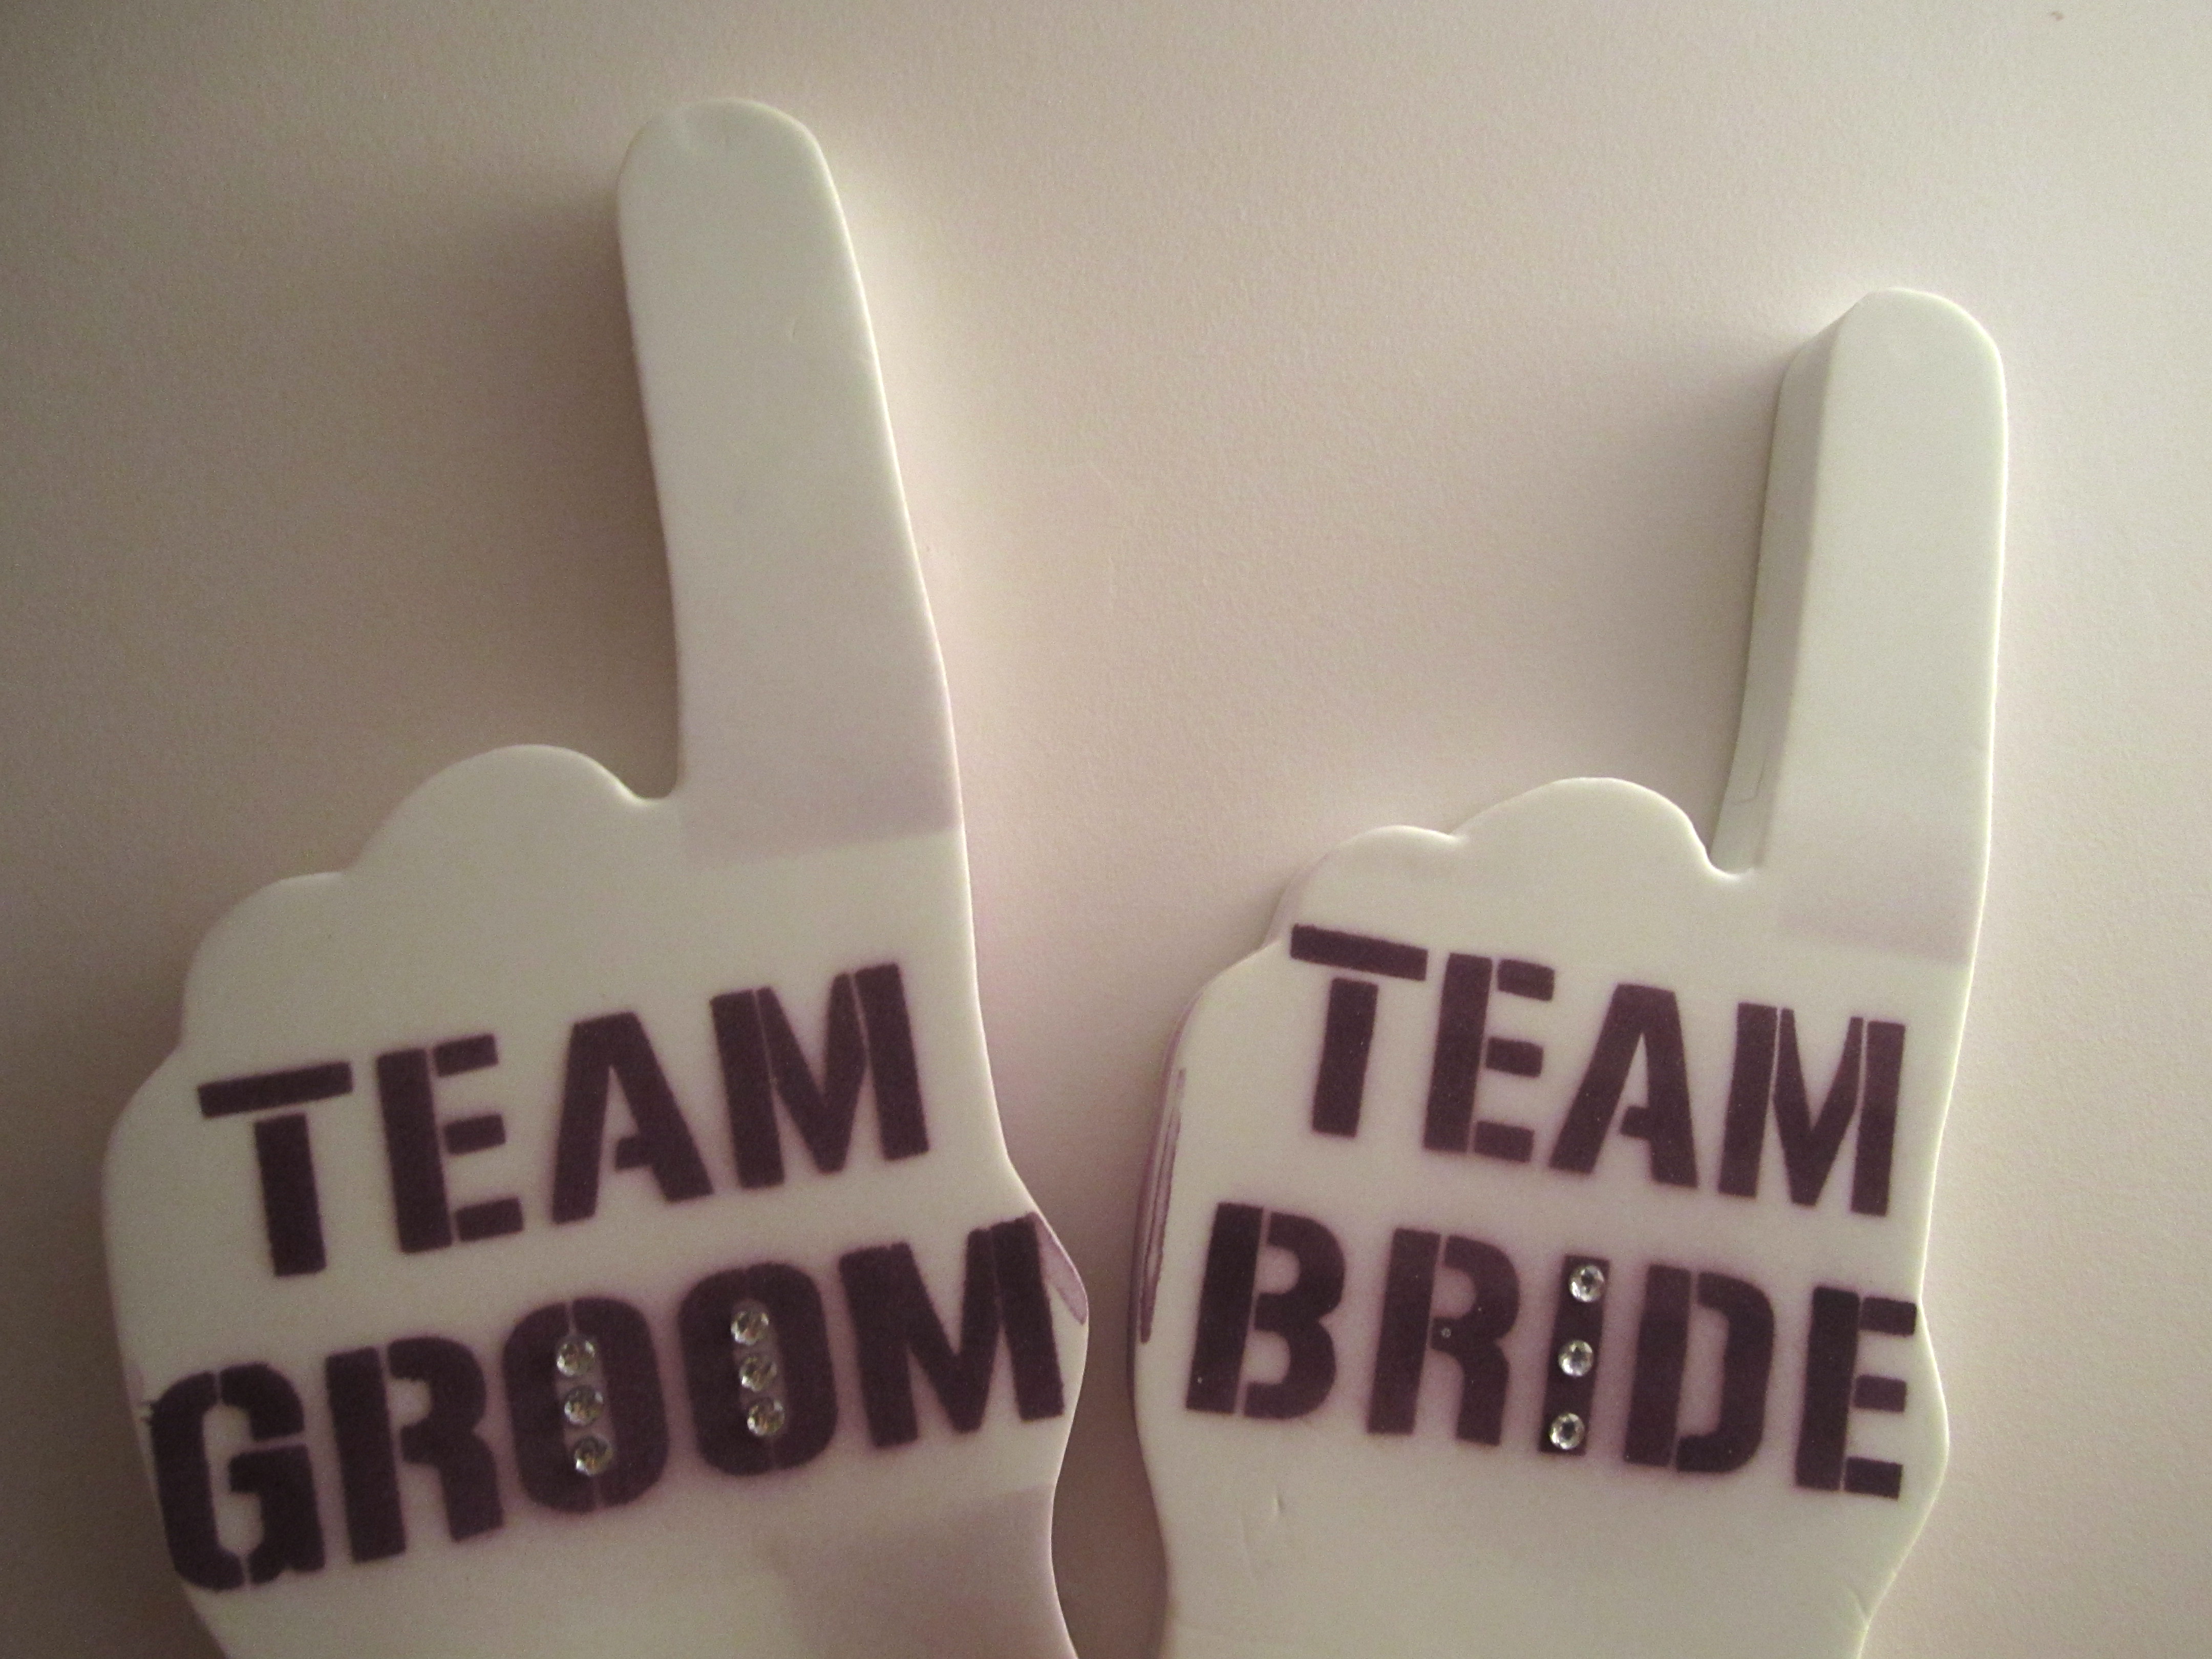
(As you can see in the picture below, some of the spray paint ended up getting where it was not supposed to be – I recommend covering up every area that you do not want painted)
4. Let dry and pull off template
5. Add gems (if desired)
Our wedding! :)
Props can be used for anything! Weddings, Birthdays, New Years Eve Parties.. make and enjoy!