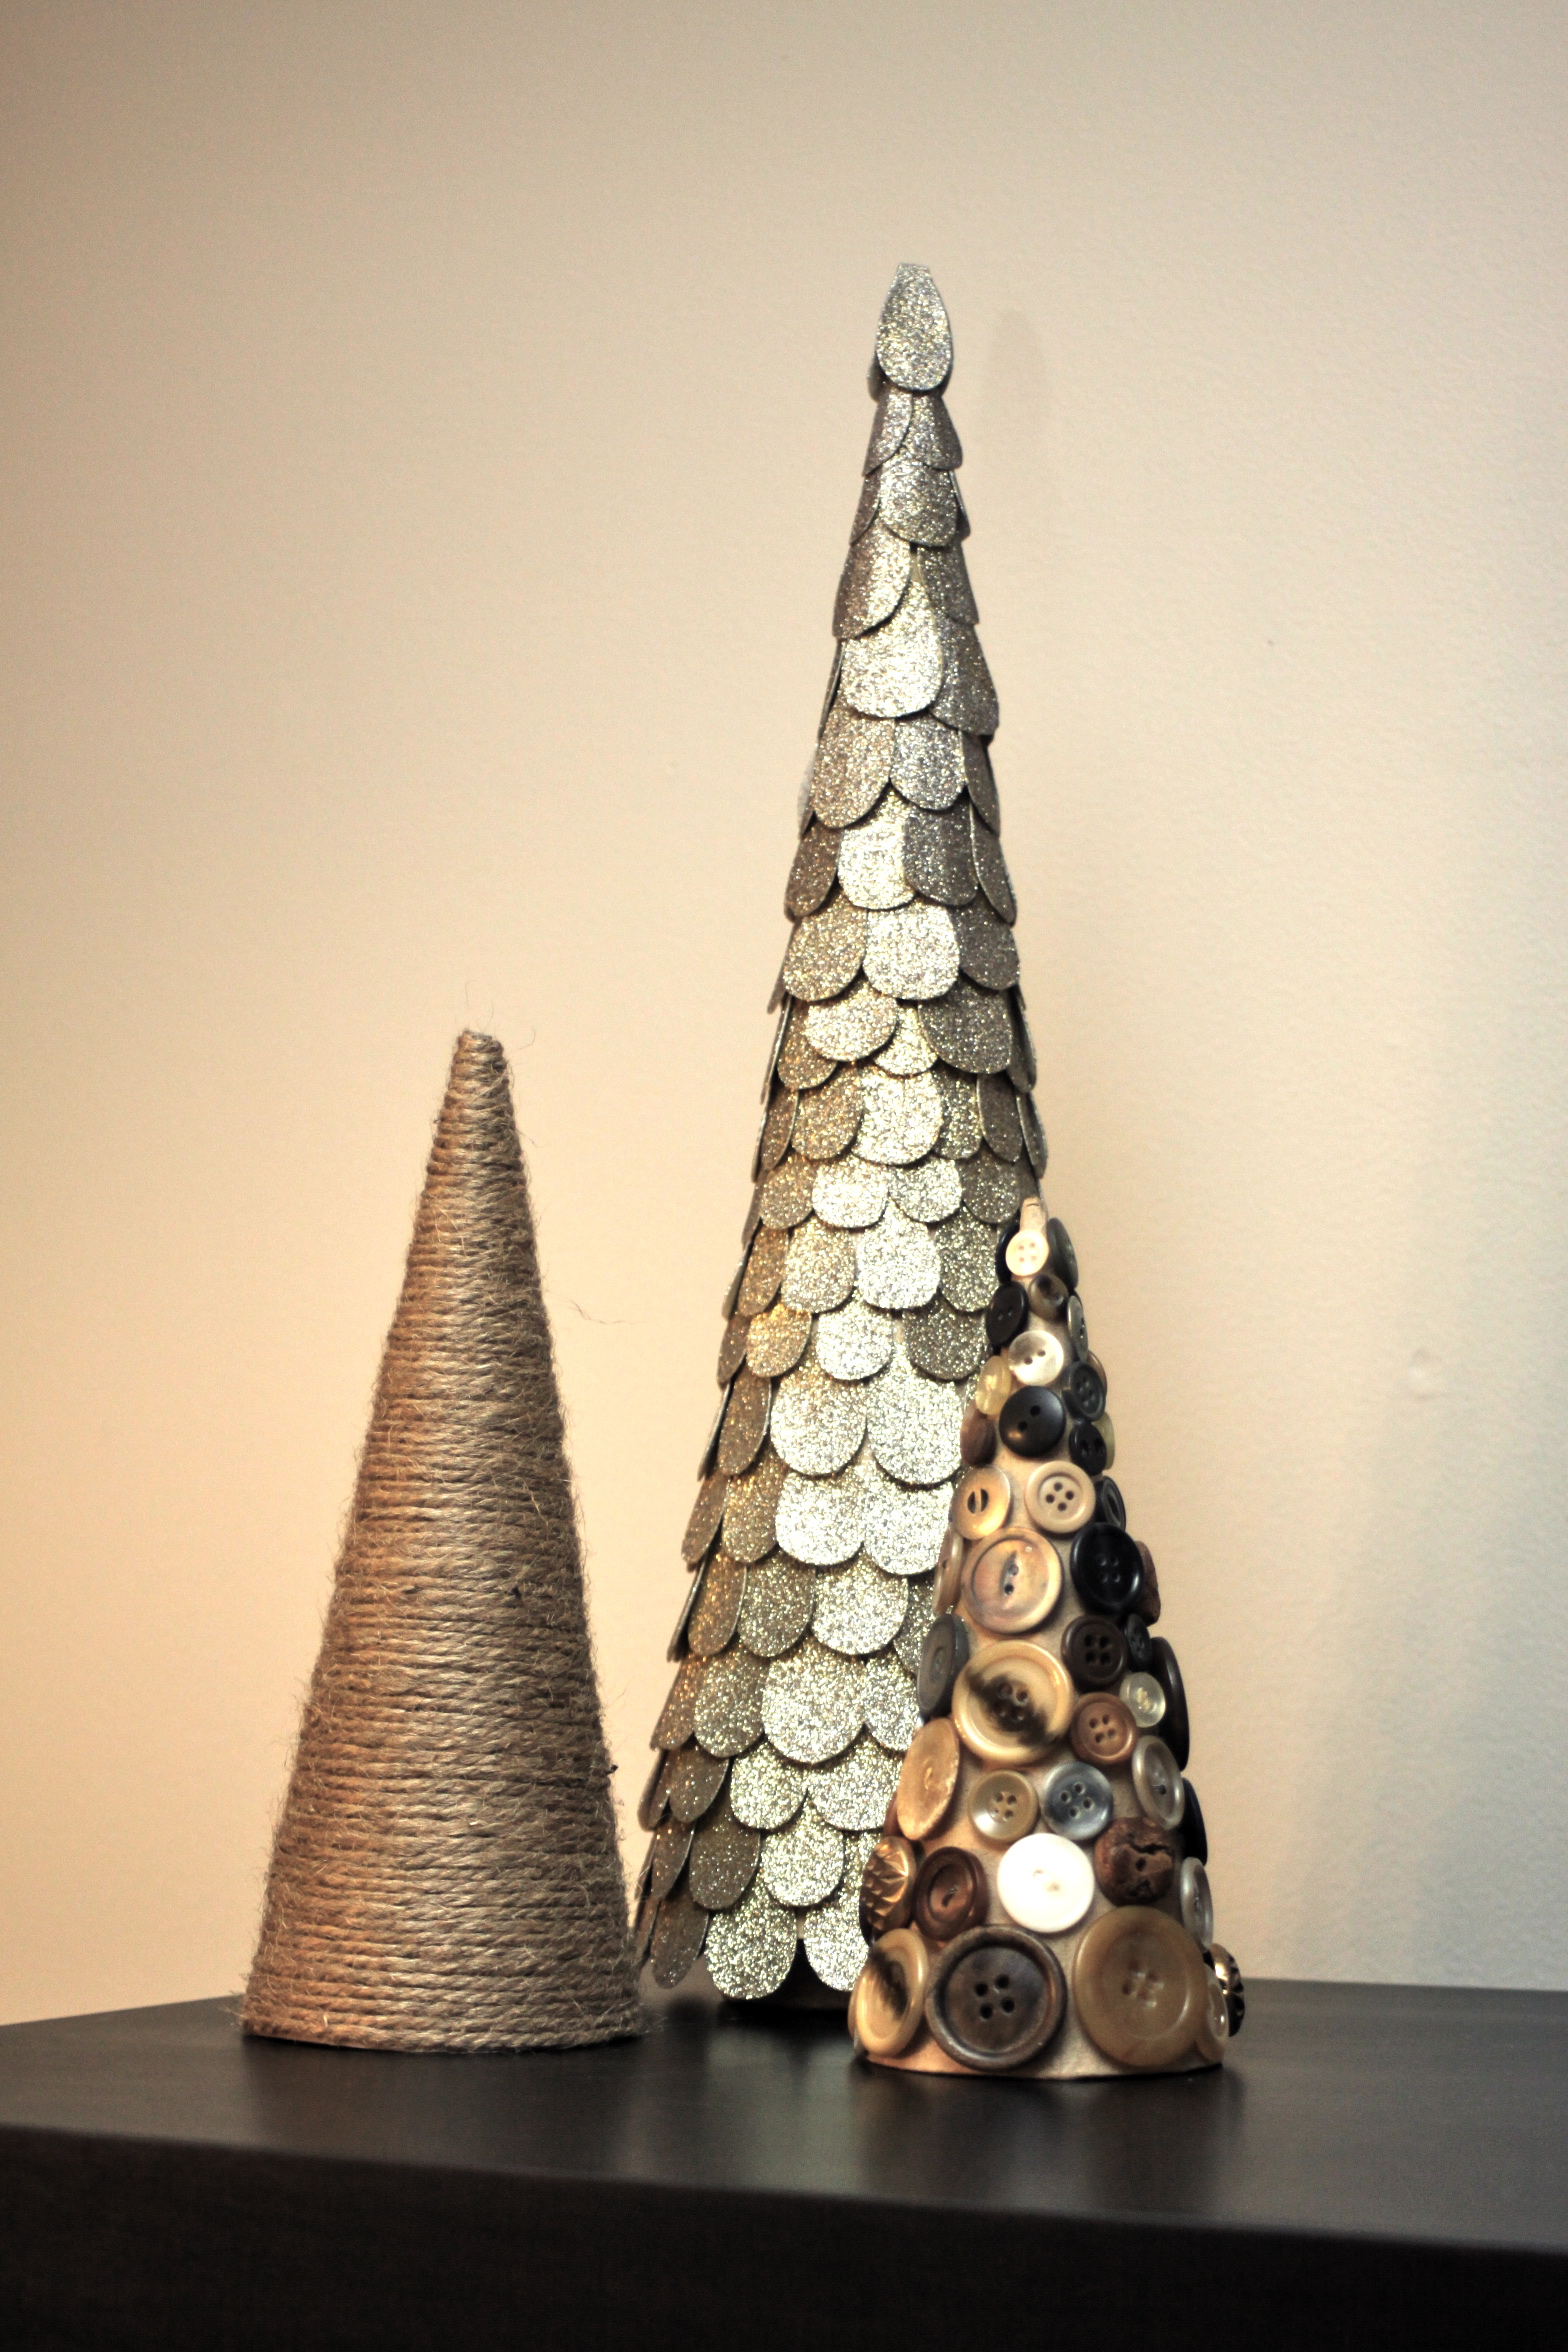
This year for Christmas, I decided to do a Woodland Theme for Christmas.. complete with rustic-looking ornaments, pinecones, woodland creatures, and to top it all off.. some mini christmas trees!
Some I bought and some I’ve made.. and I’m going to show you how!
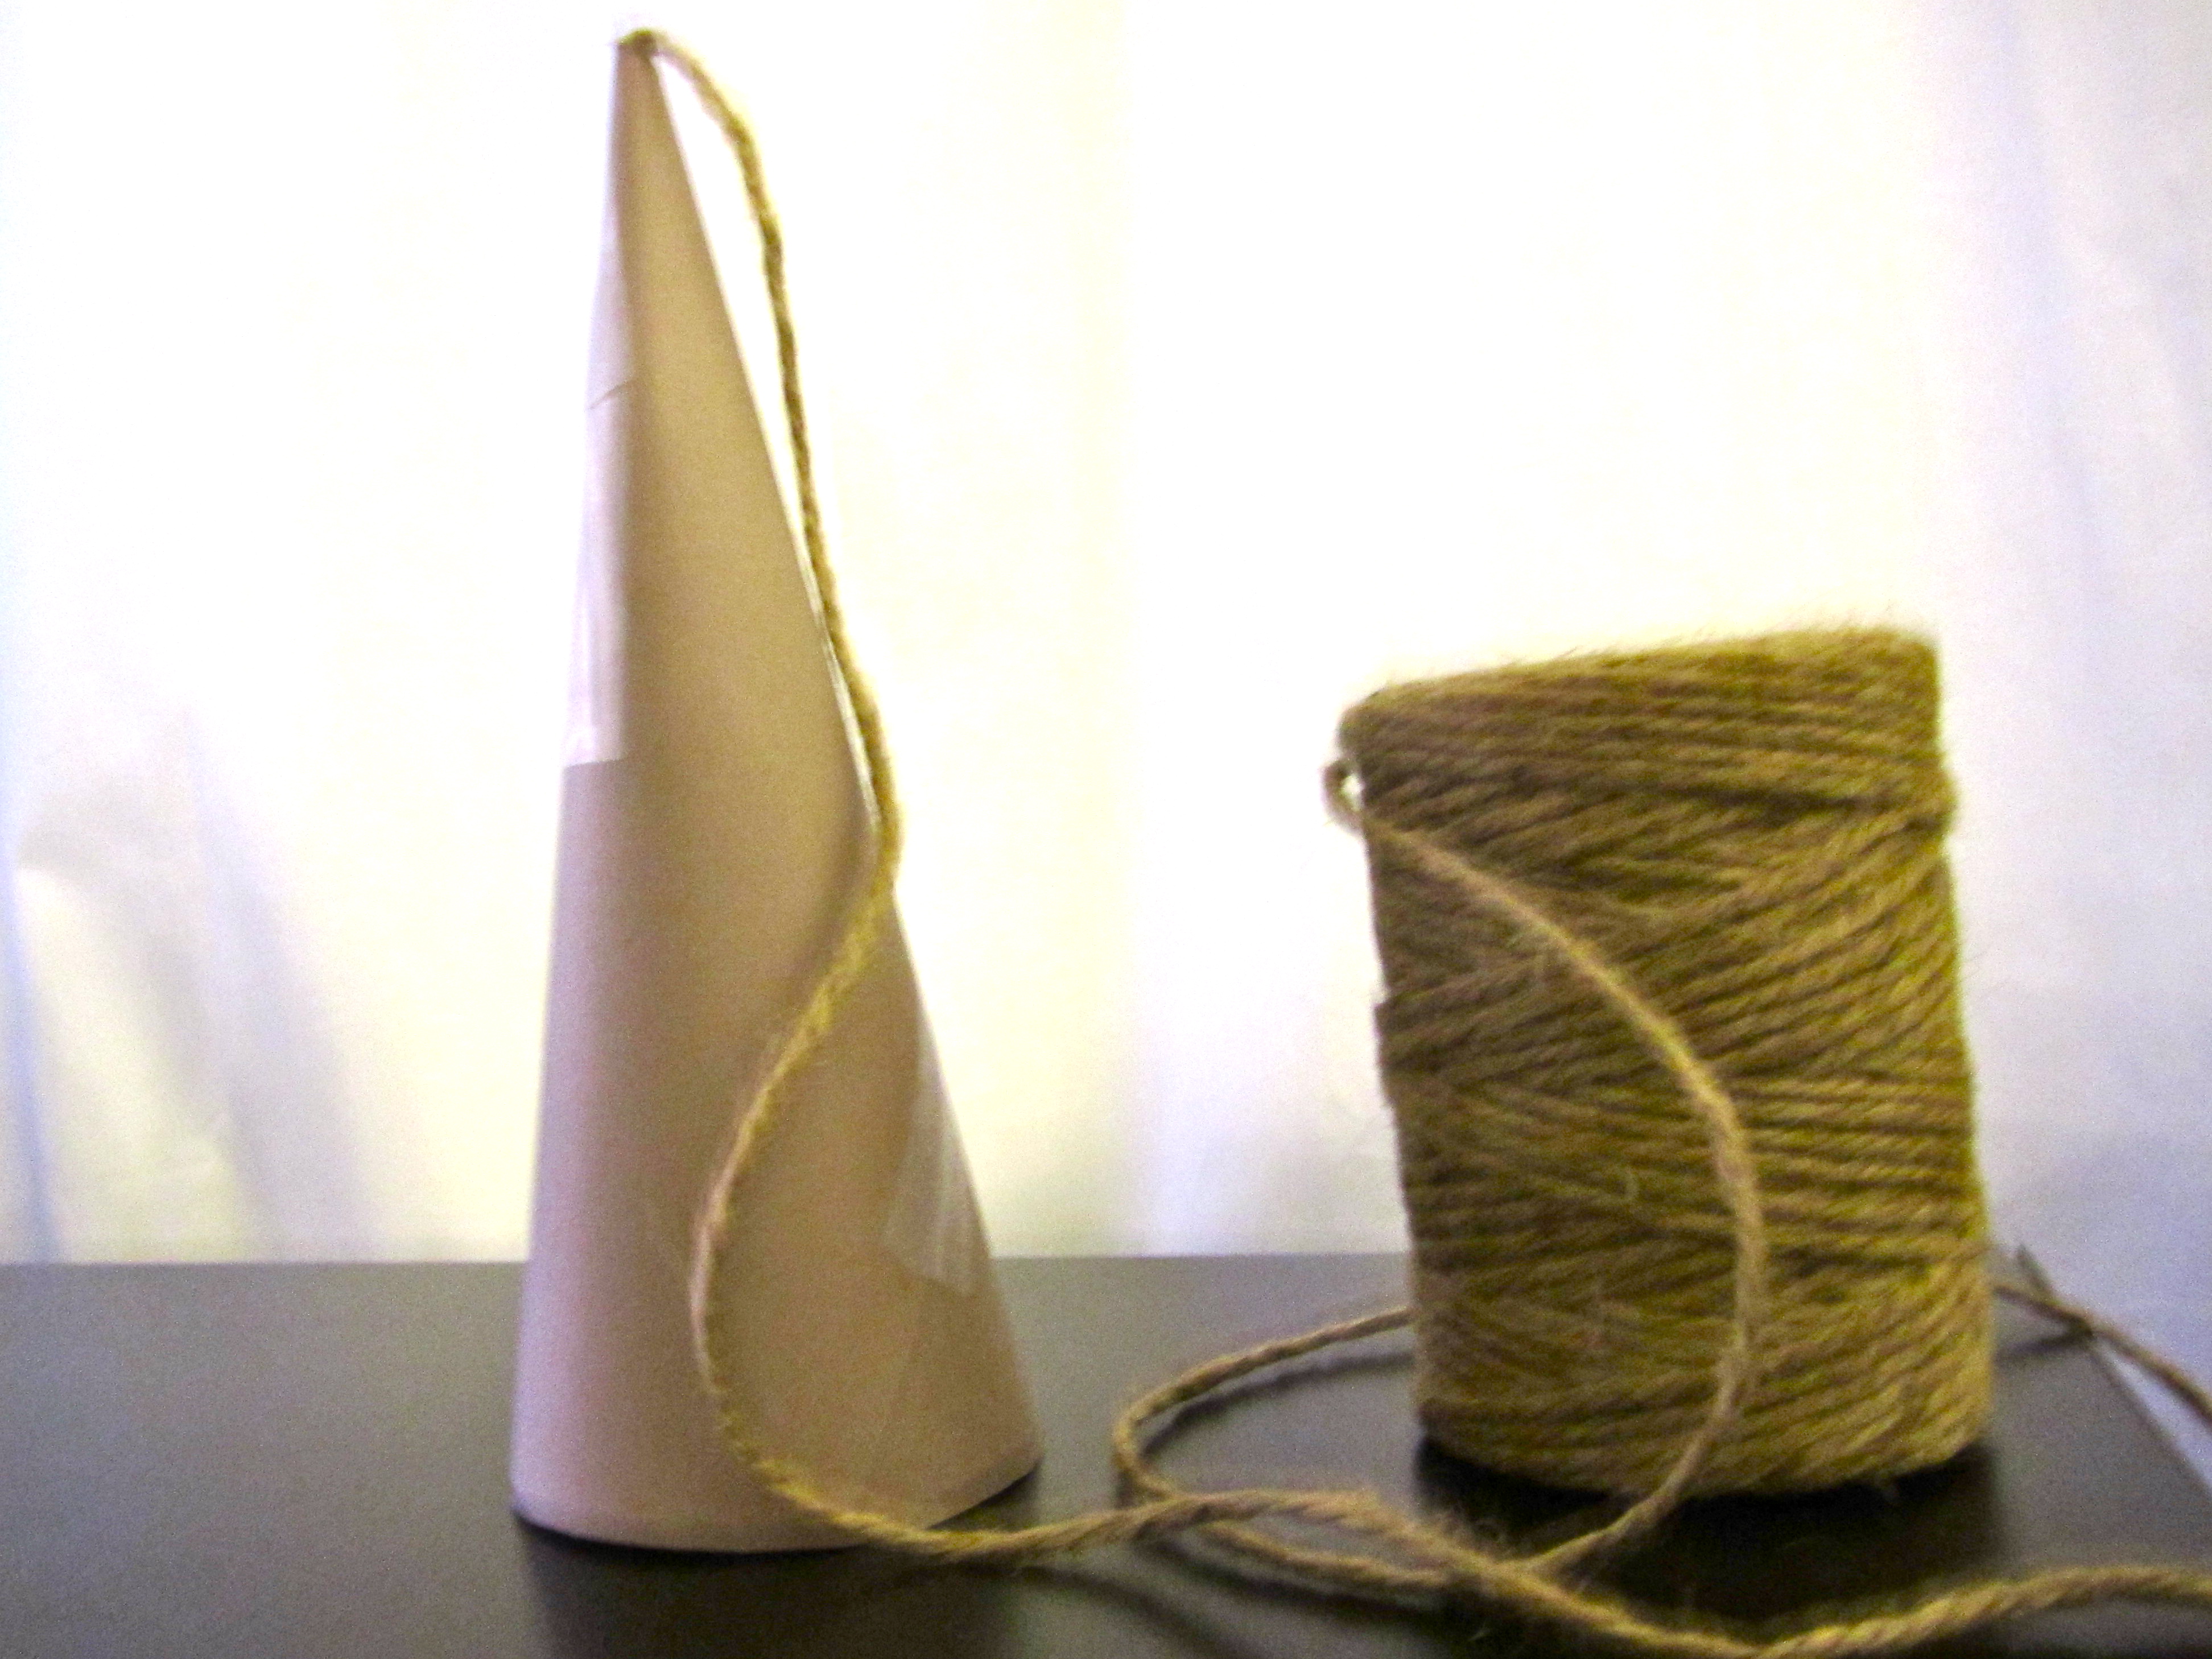
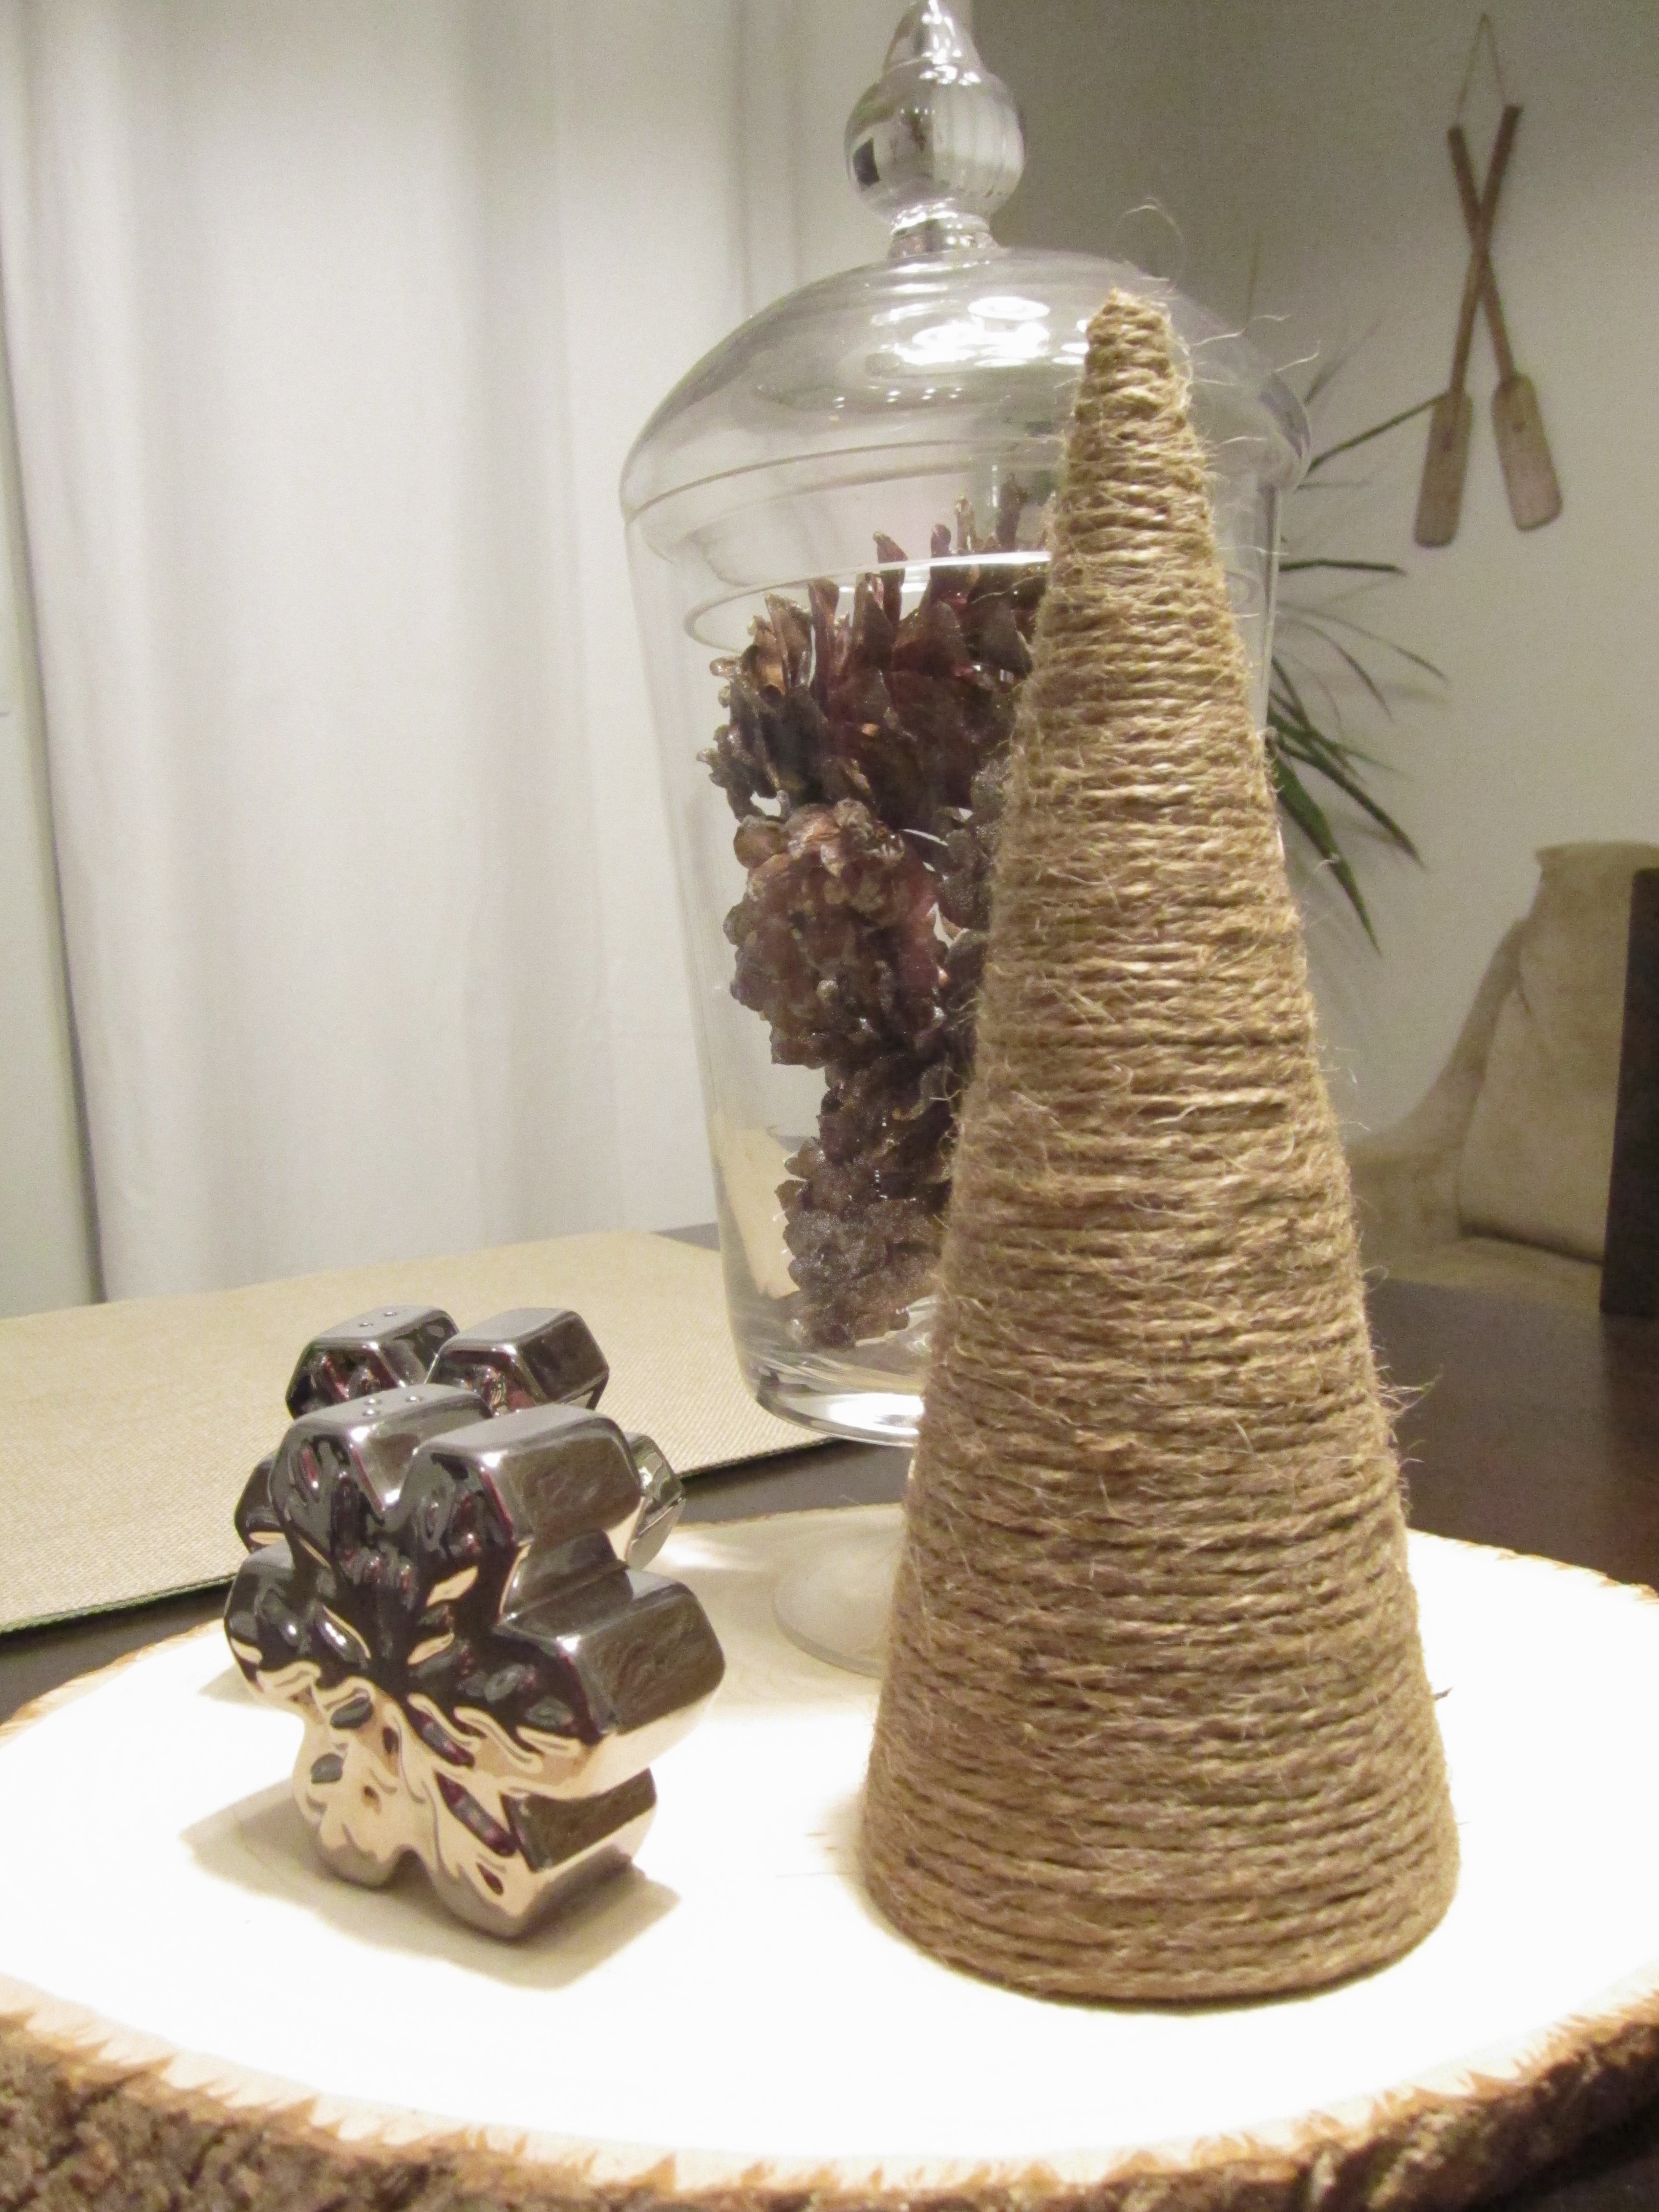
Twine Tree
Supplies: Twine, Paper Mache Cone, Glue
1. Cut a small hole in the top and thread the twine through. Glue the twine to the inside of the cone
2. Glue/Wrap twine around cone
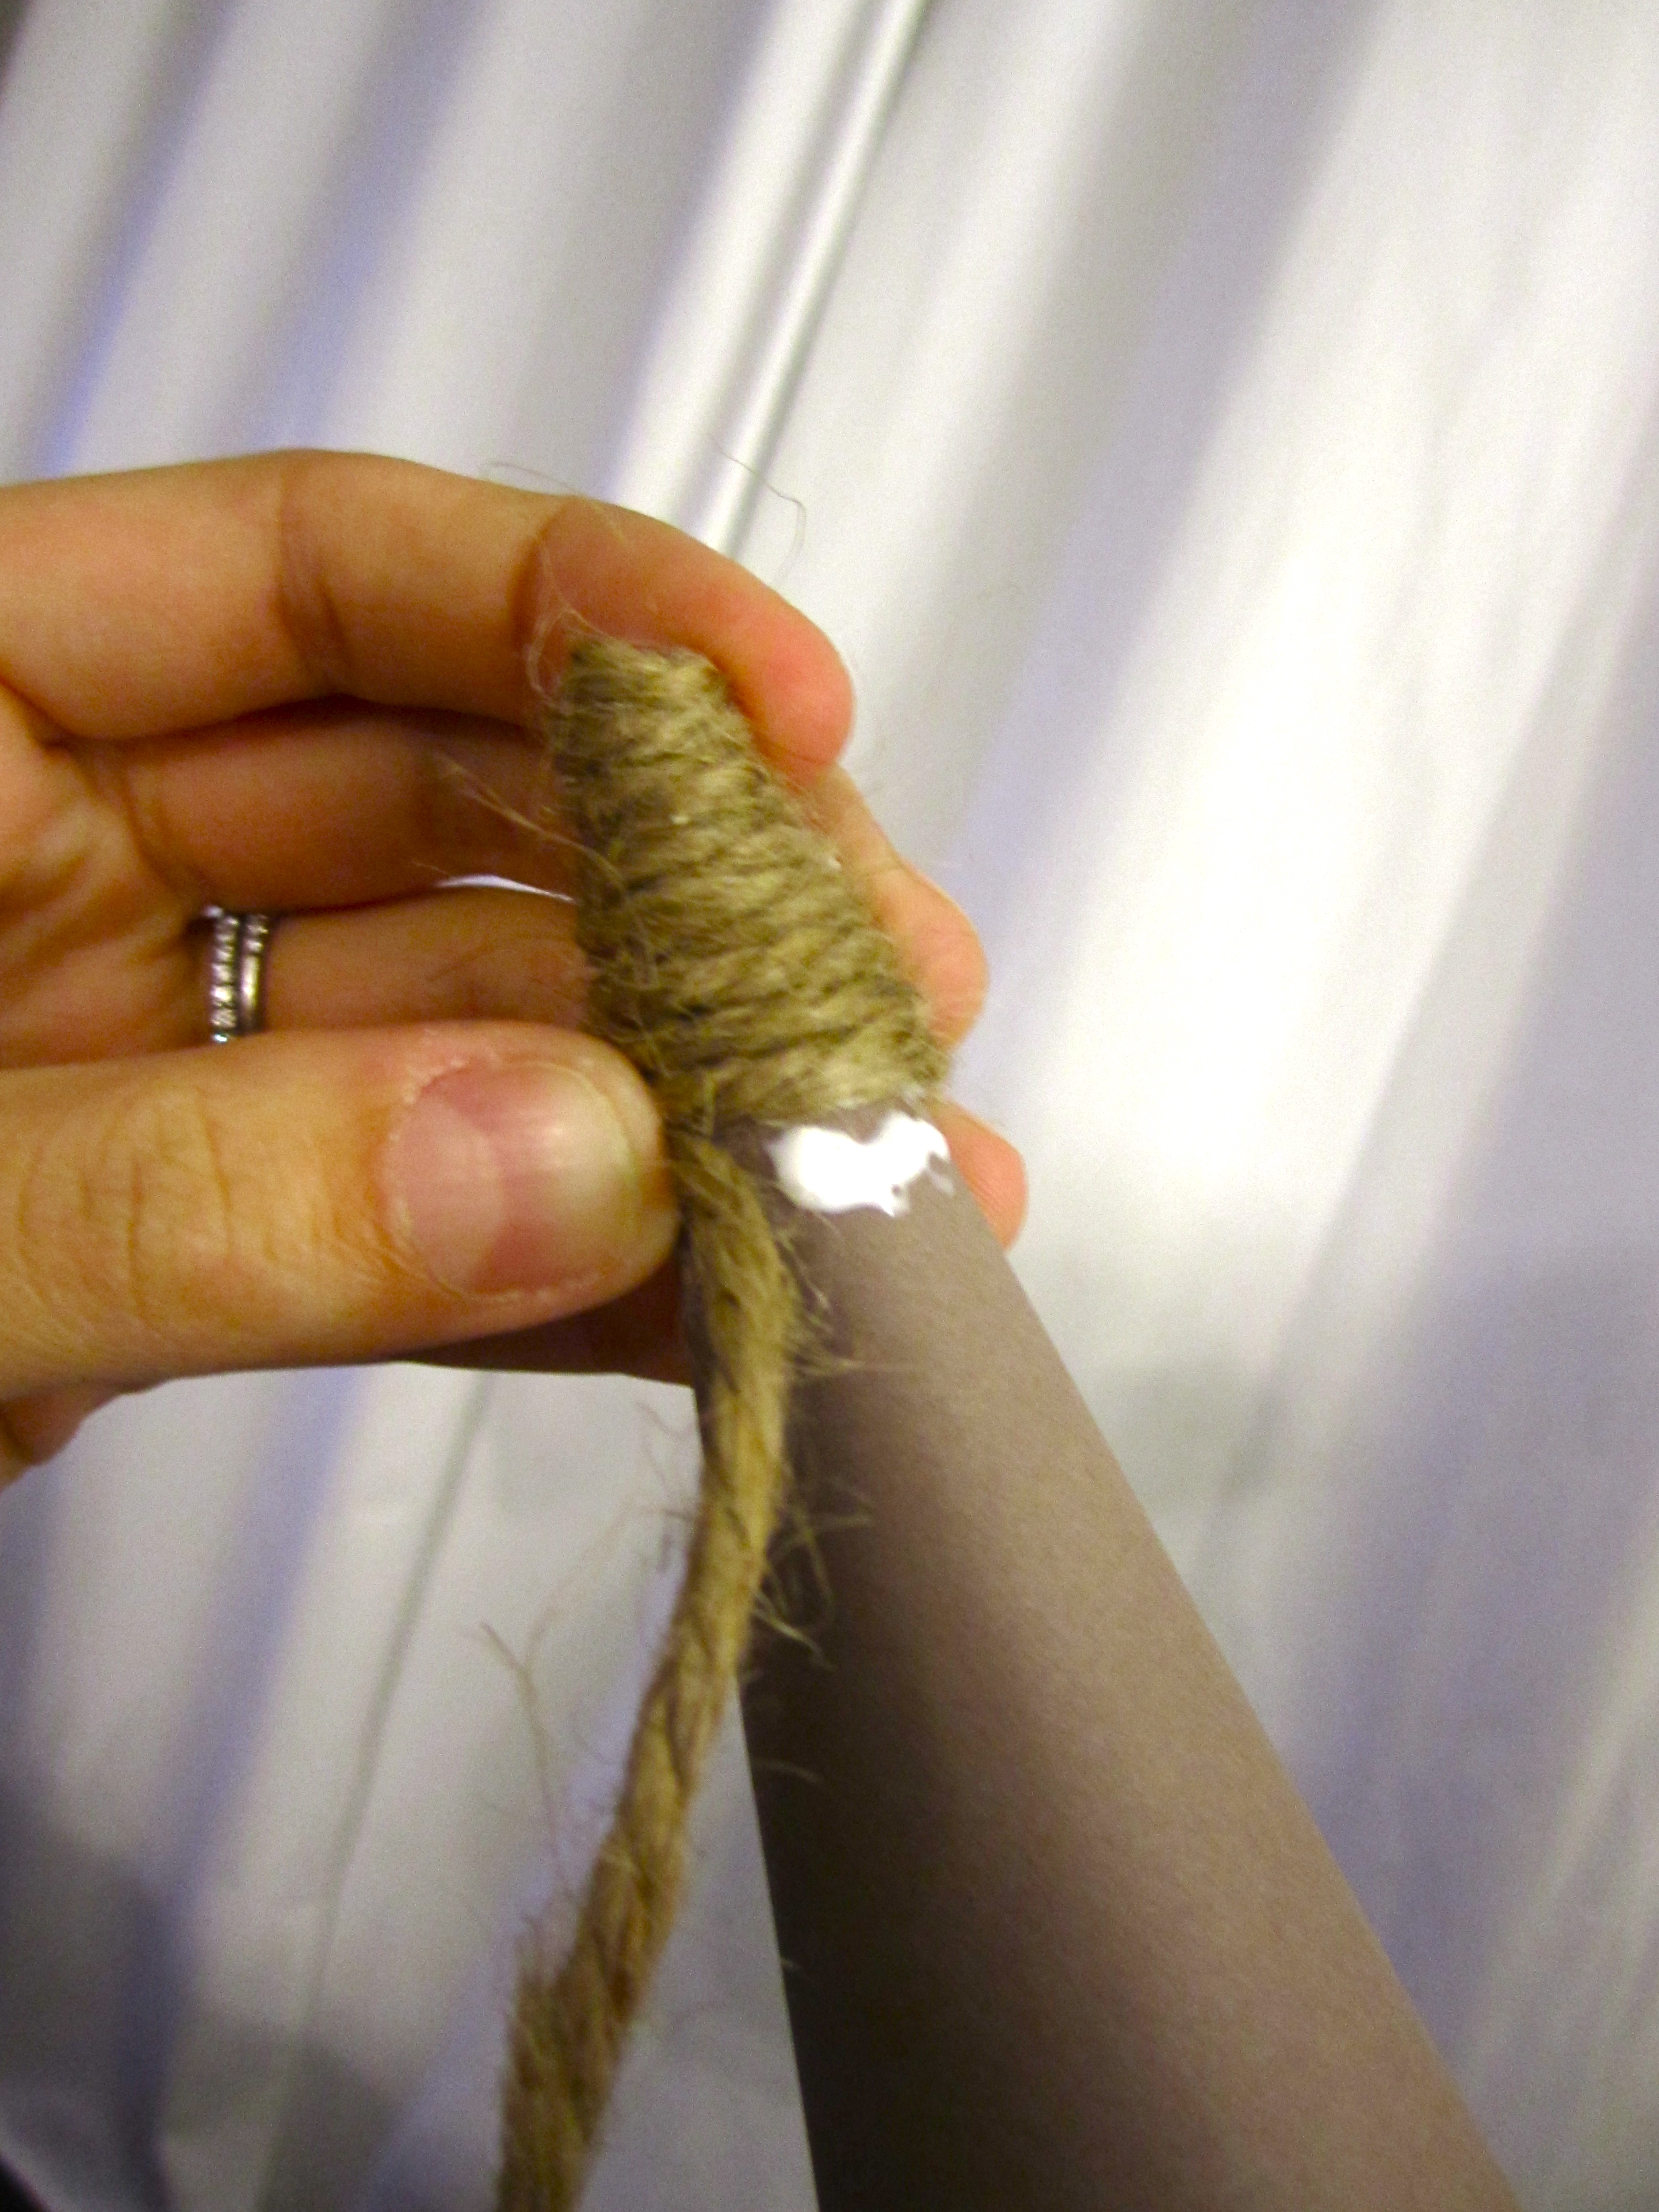
3. Once it is completely wrapped, cut the twine and glue down to hide the end piece. And you’re done!
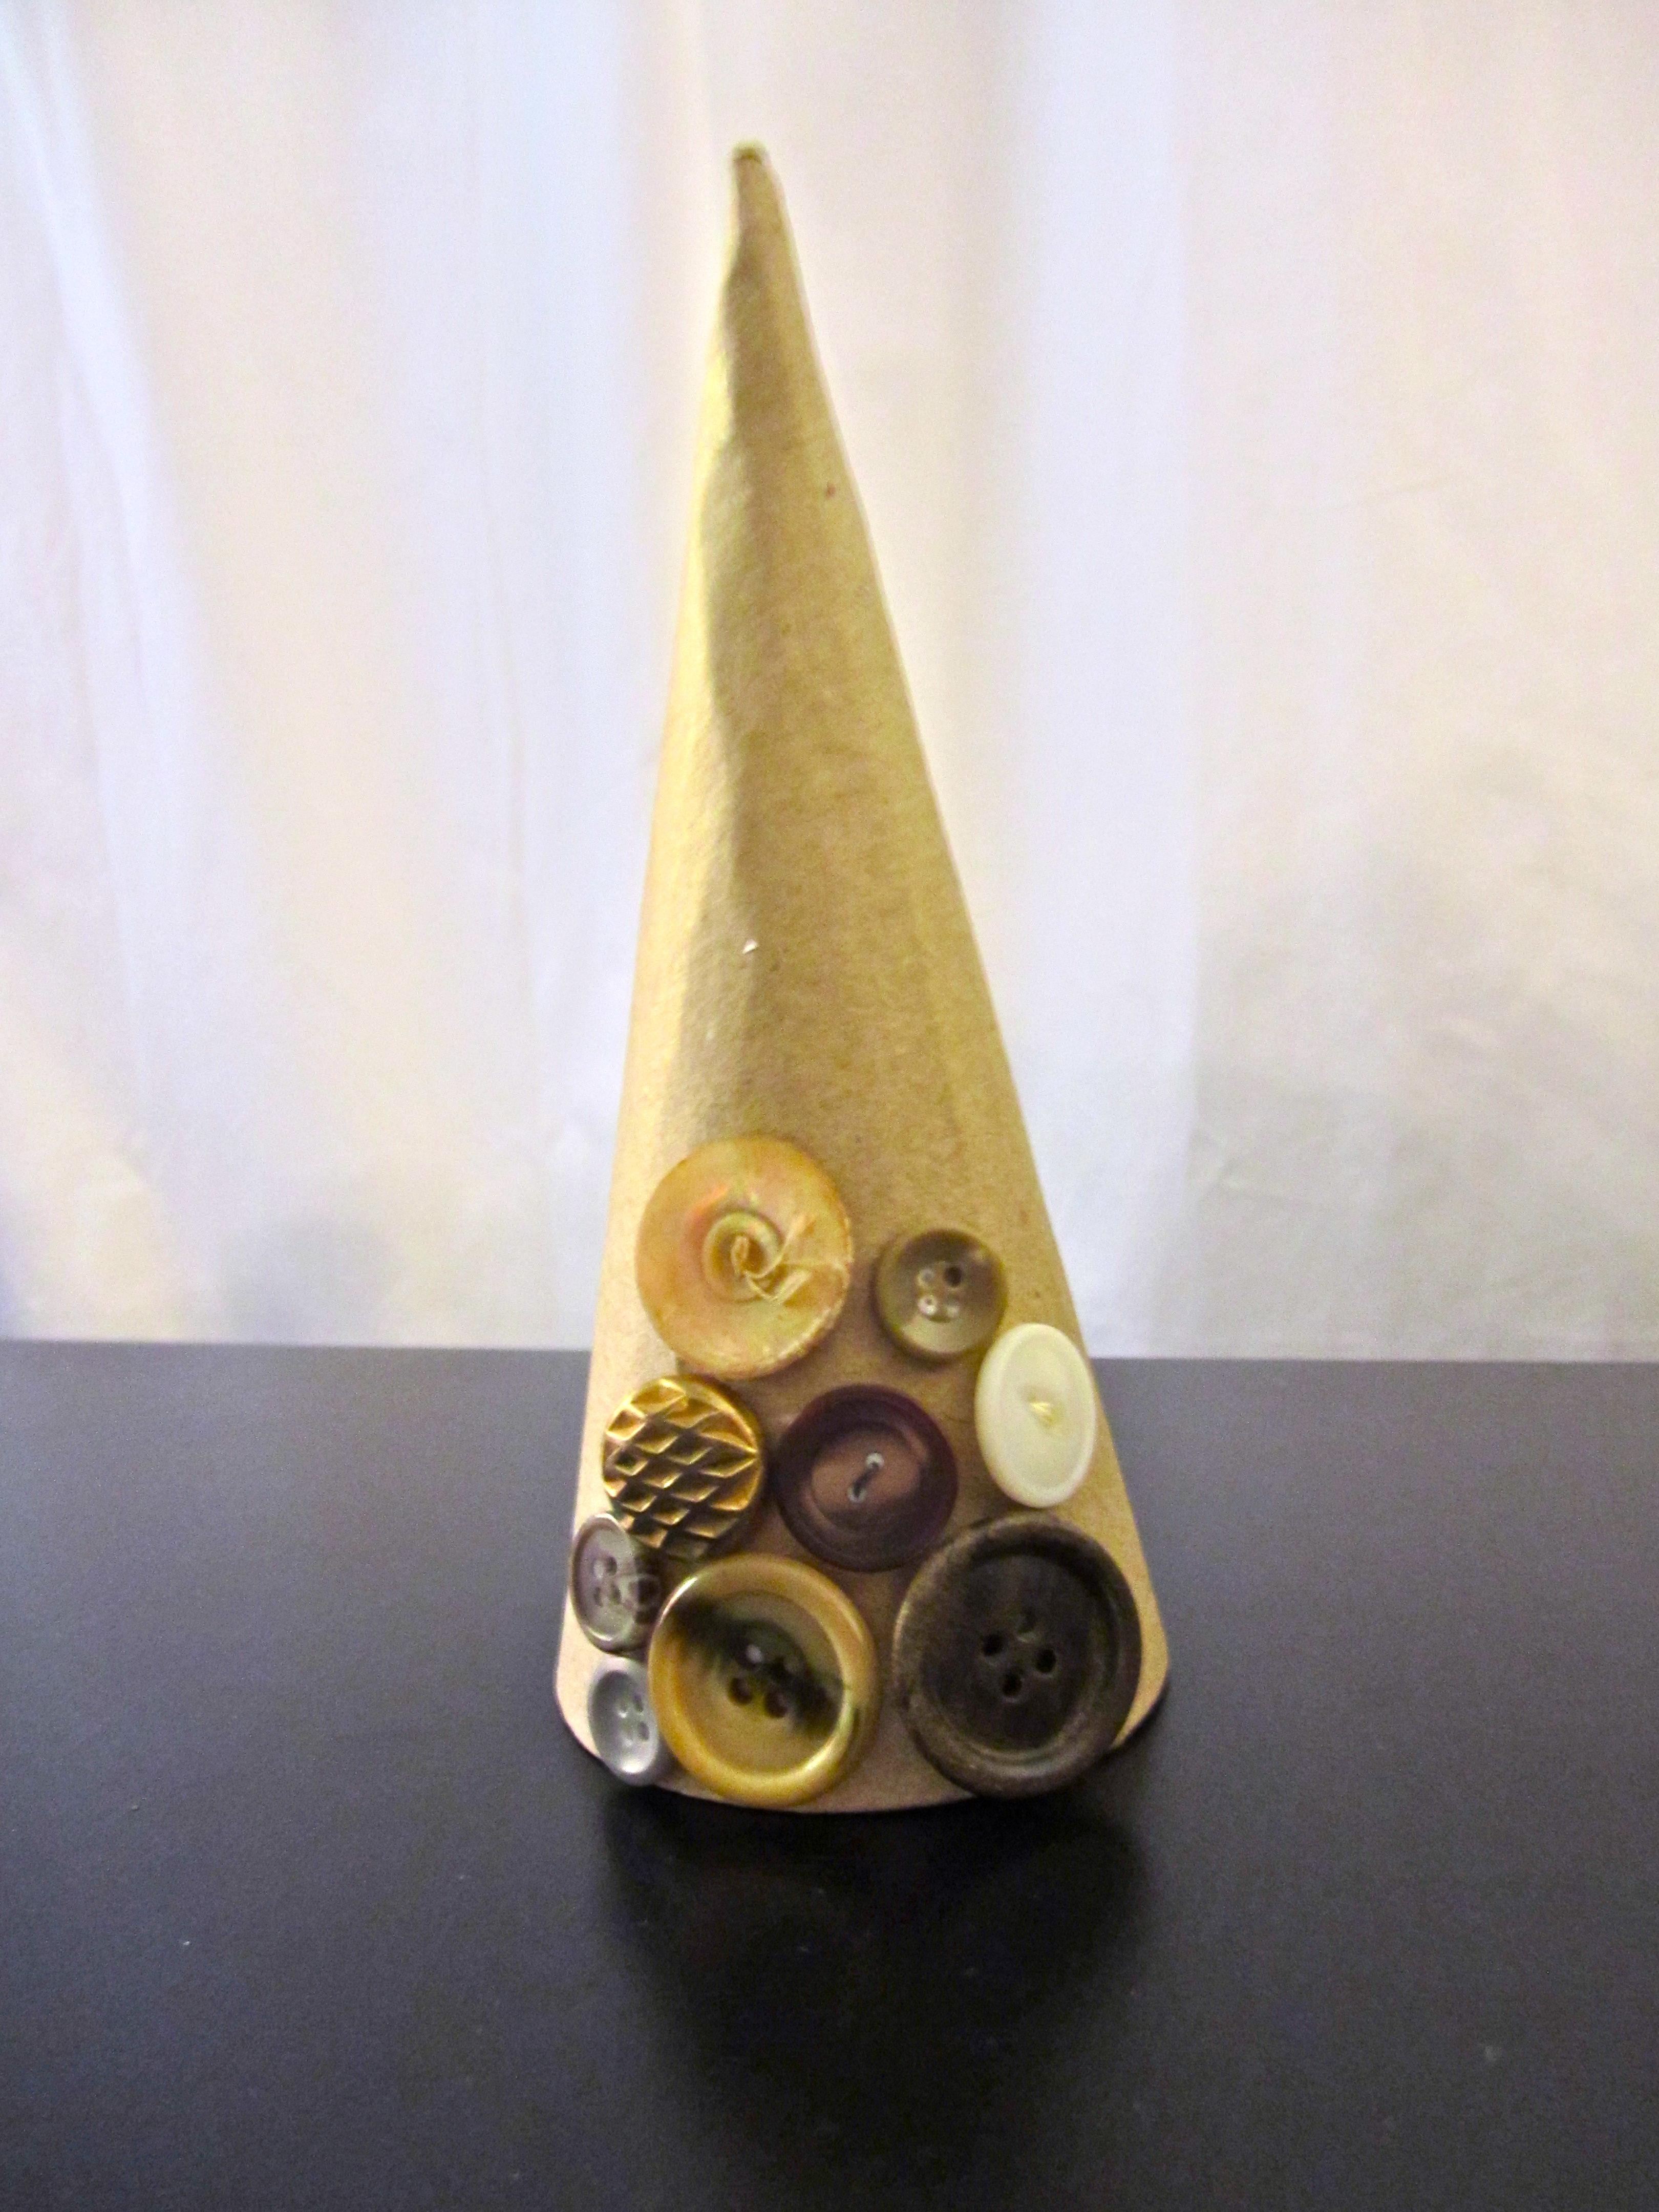
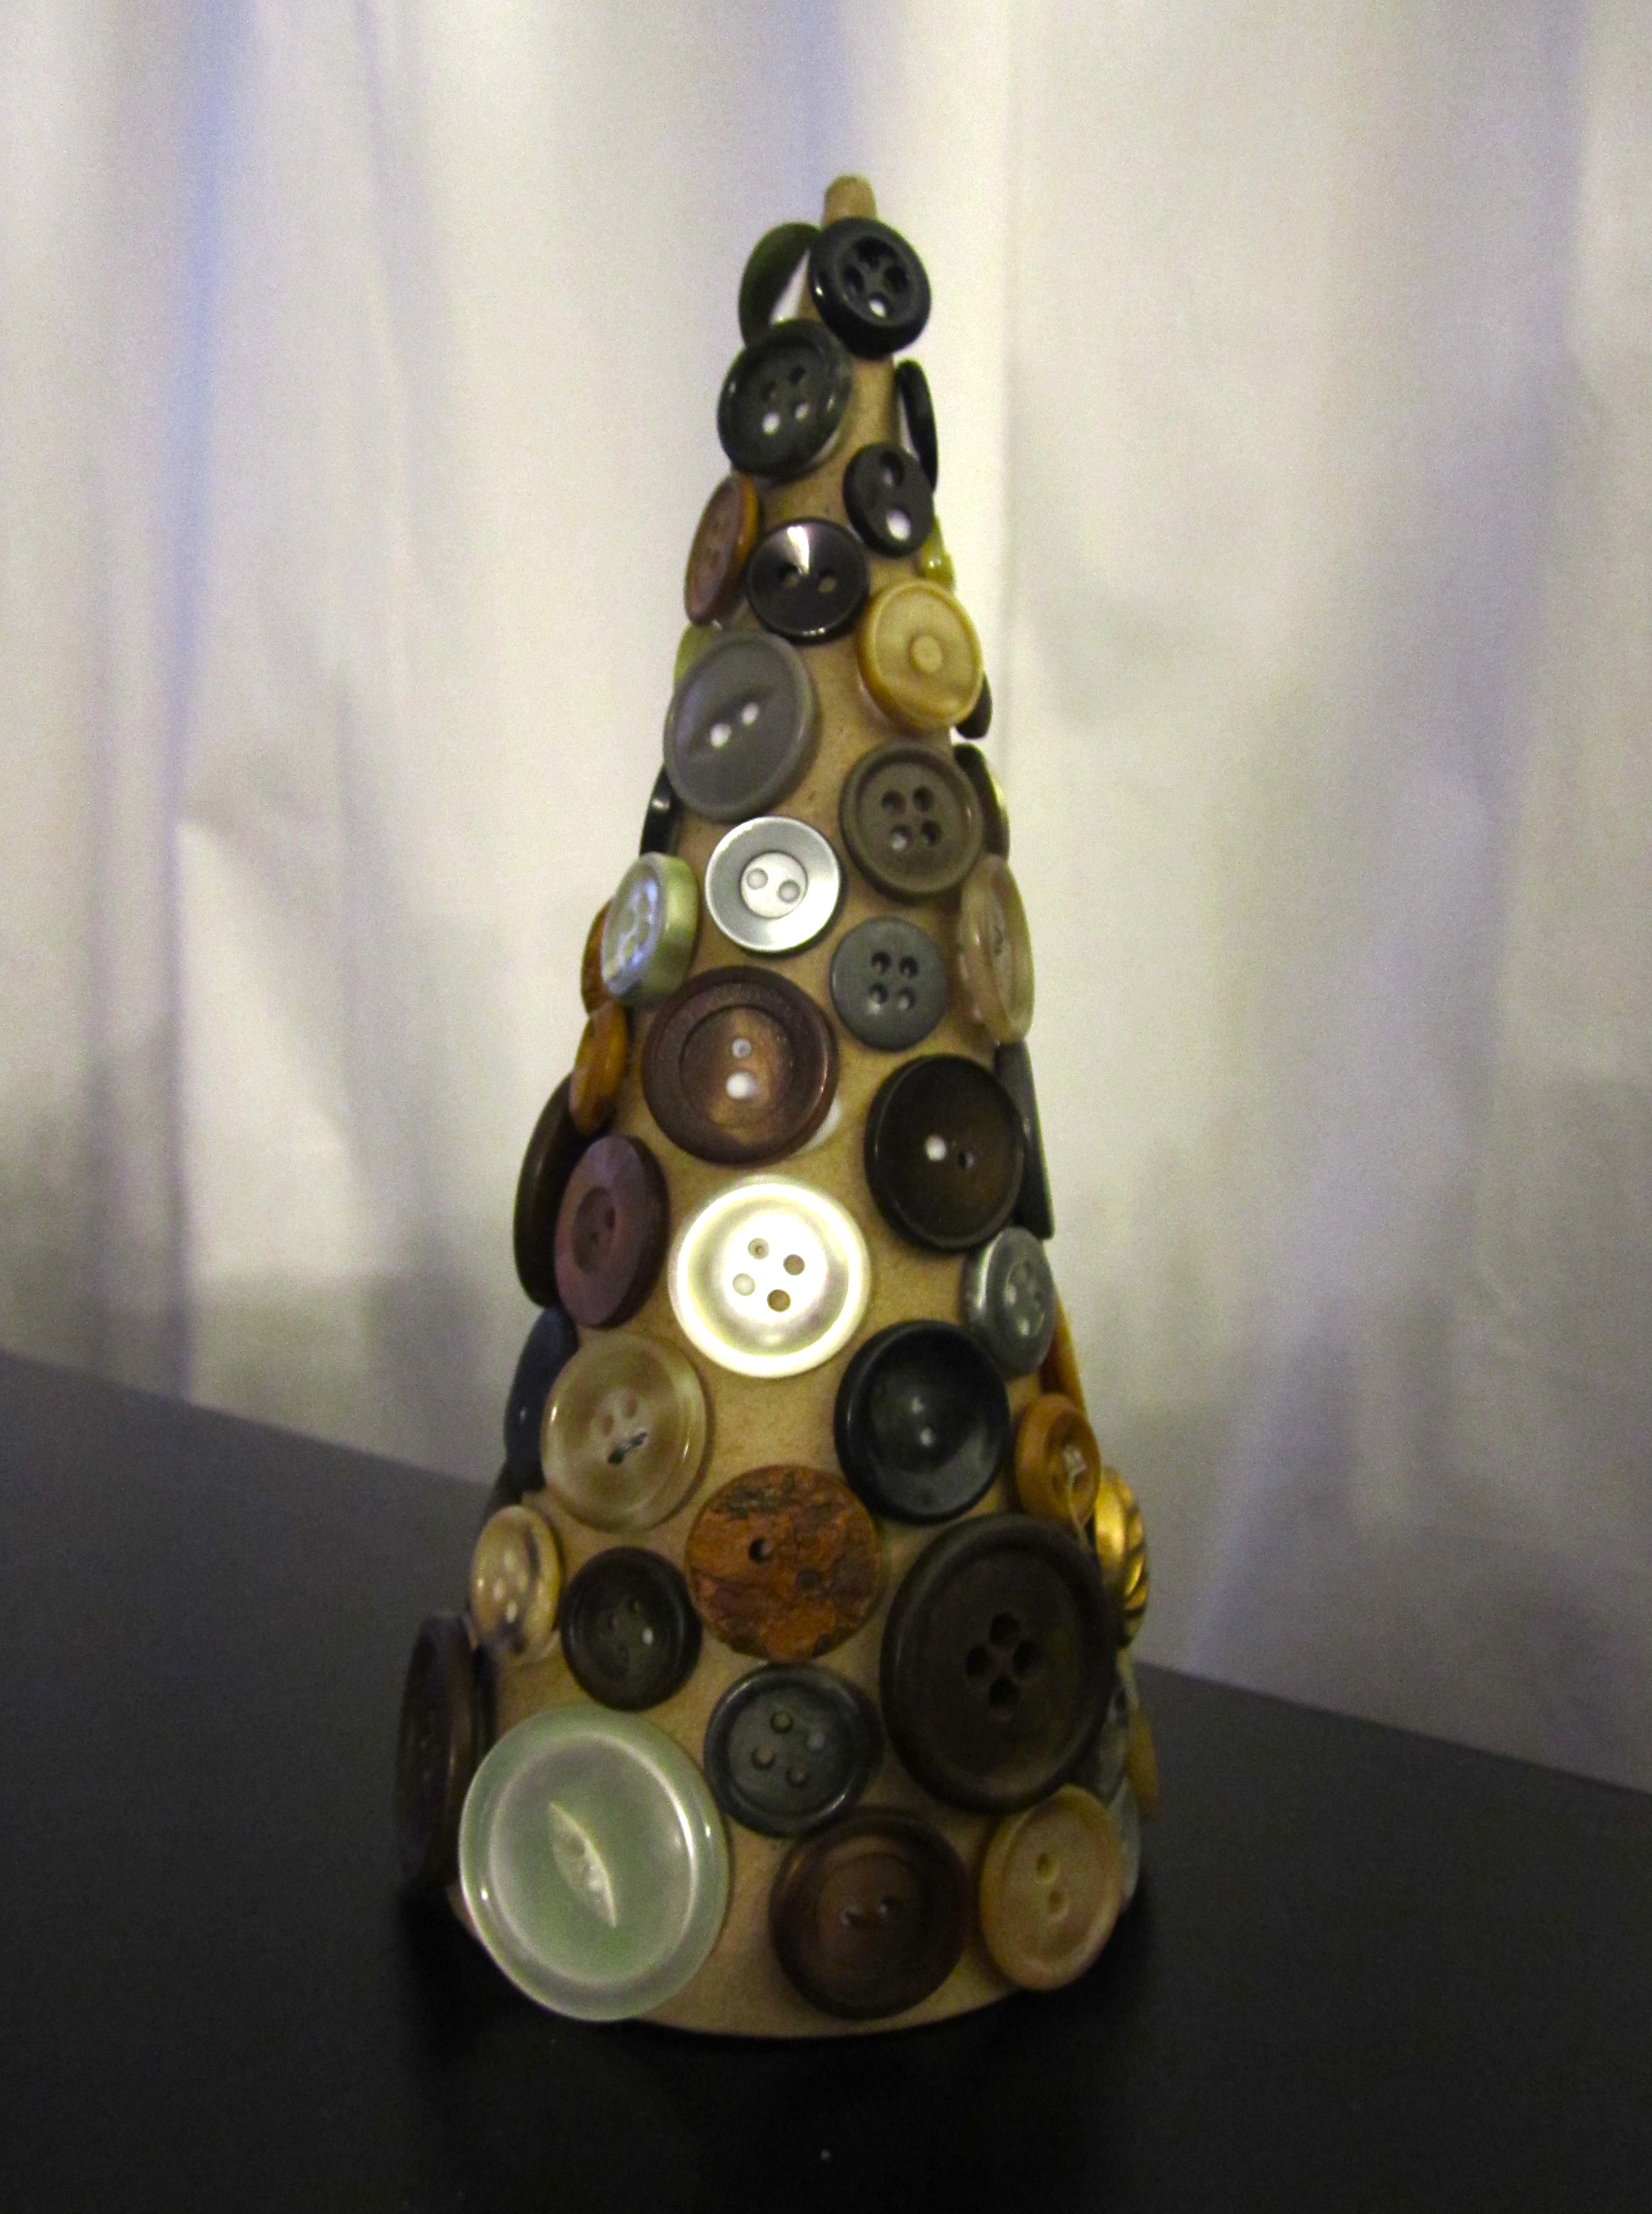
Button Tree
Supplies: Buttons, Paper Mache Cone, Glue
I used vintage buttons that originally belonged to my grandmothers & great grandmothers in a variety of brown, tan, white and black . Now they will always be a part of our Christmas!
Only one step needed: Glue buttons to the tree! Some of the buttons were heavy and started sliding, so after gluing a few at a time, I had to lie the tree down (propped up on something) to let the glue dry.
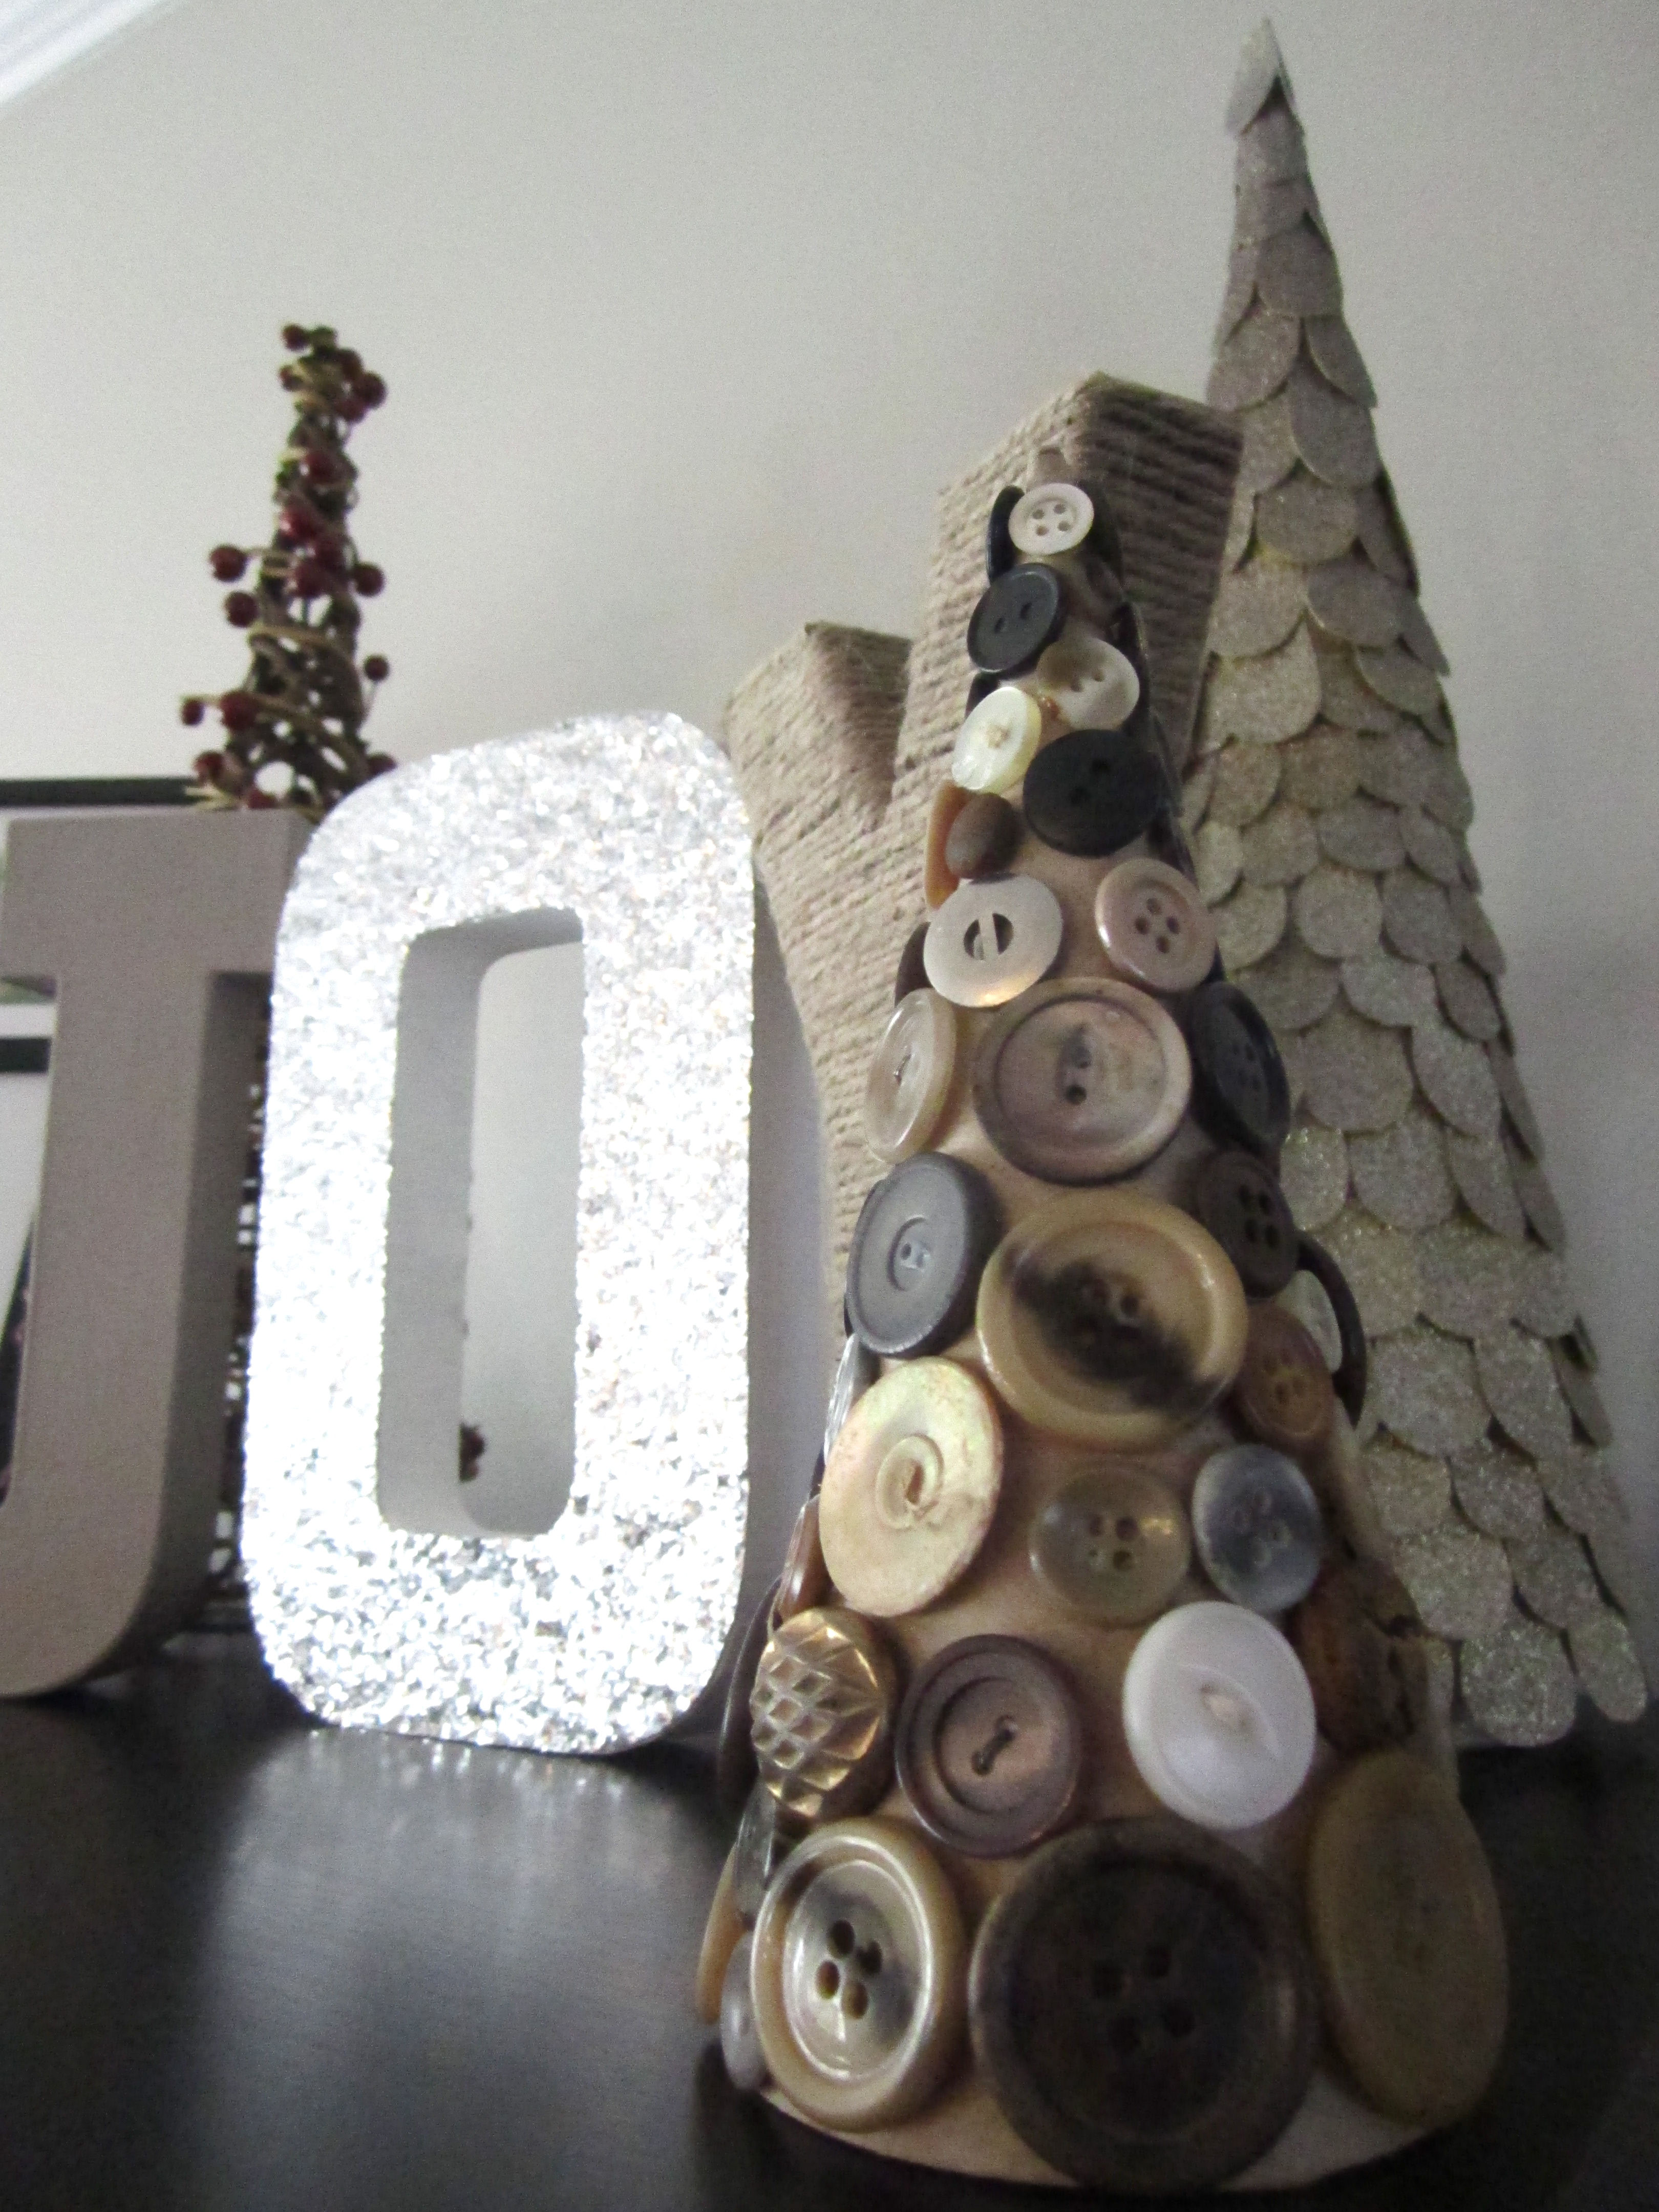
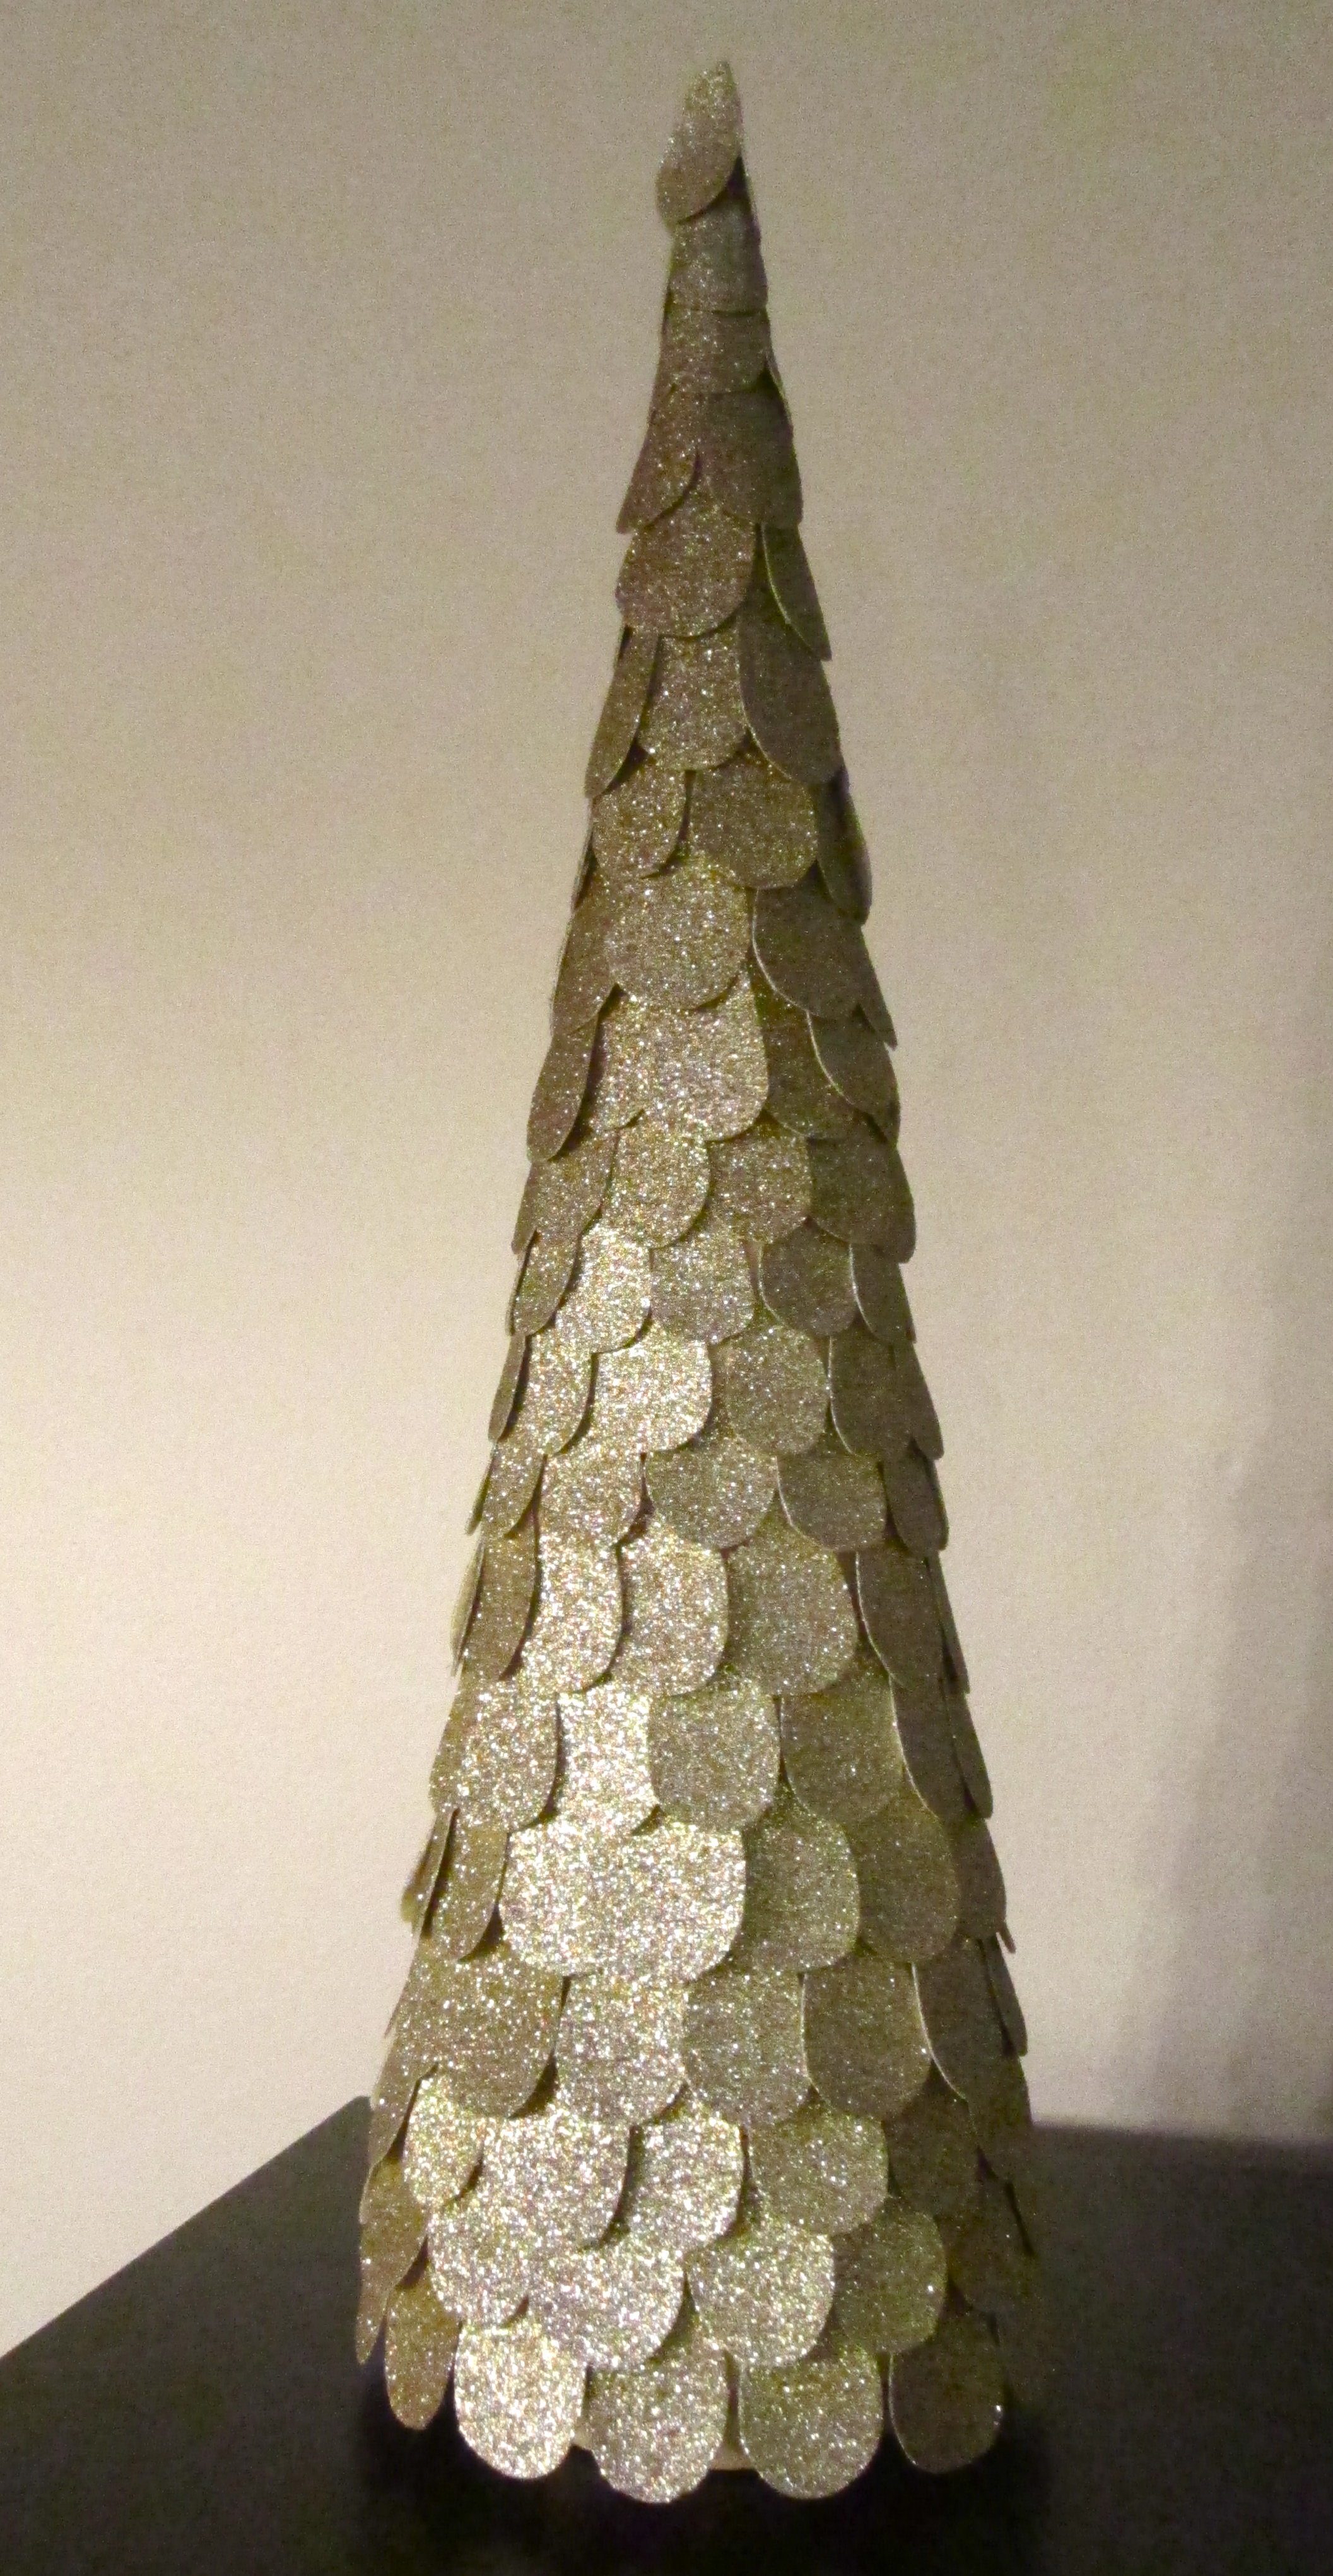
Sparkle Paper Tree
Supplies: Sparkle Cardstock paper ($1.99 from Michaels), Paper Mache Cone with base ($5.99 from Hobby Lobby-bought when Christmas supplies were 50% off), Scissors, Glue
1. Cut paper into small tear drop shaped pieces
2. Glue –starting at the bottom–over lap to hide the cone
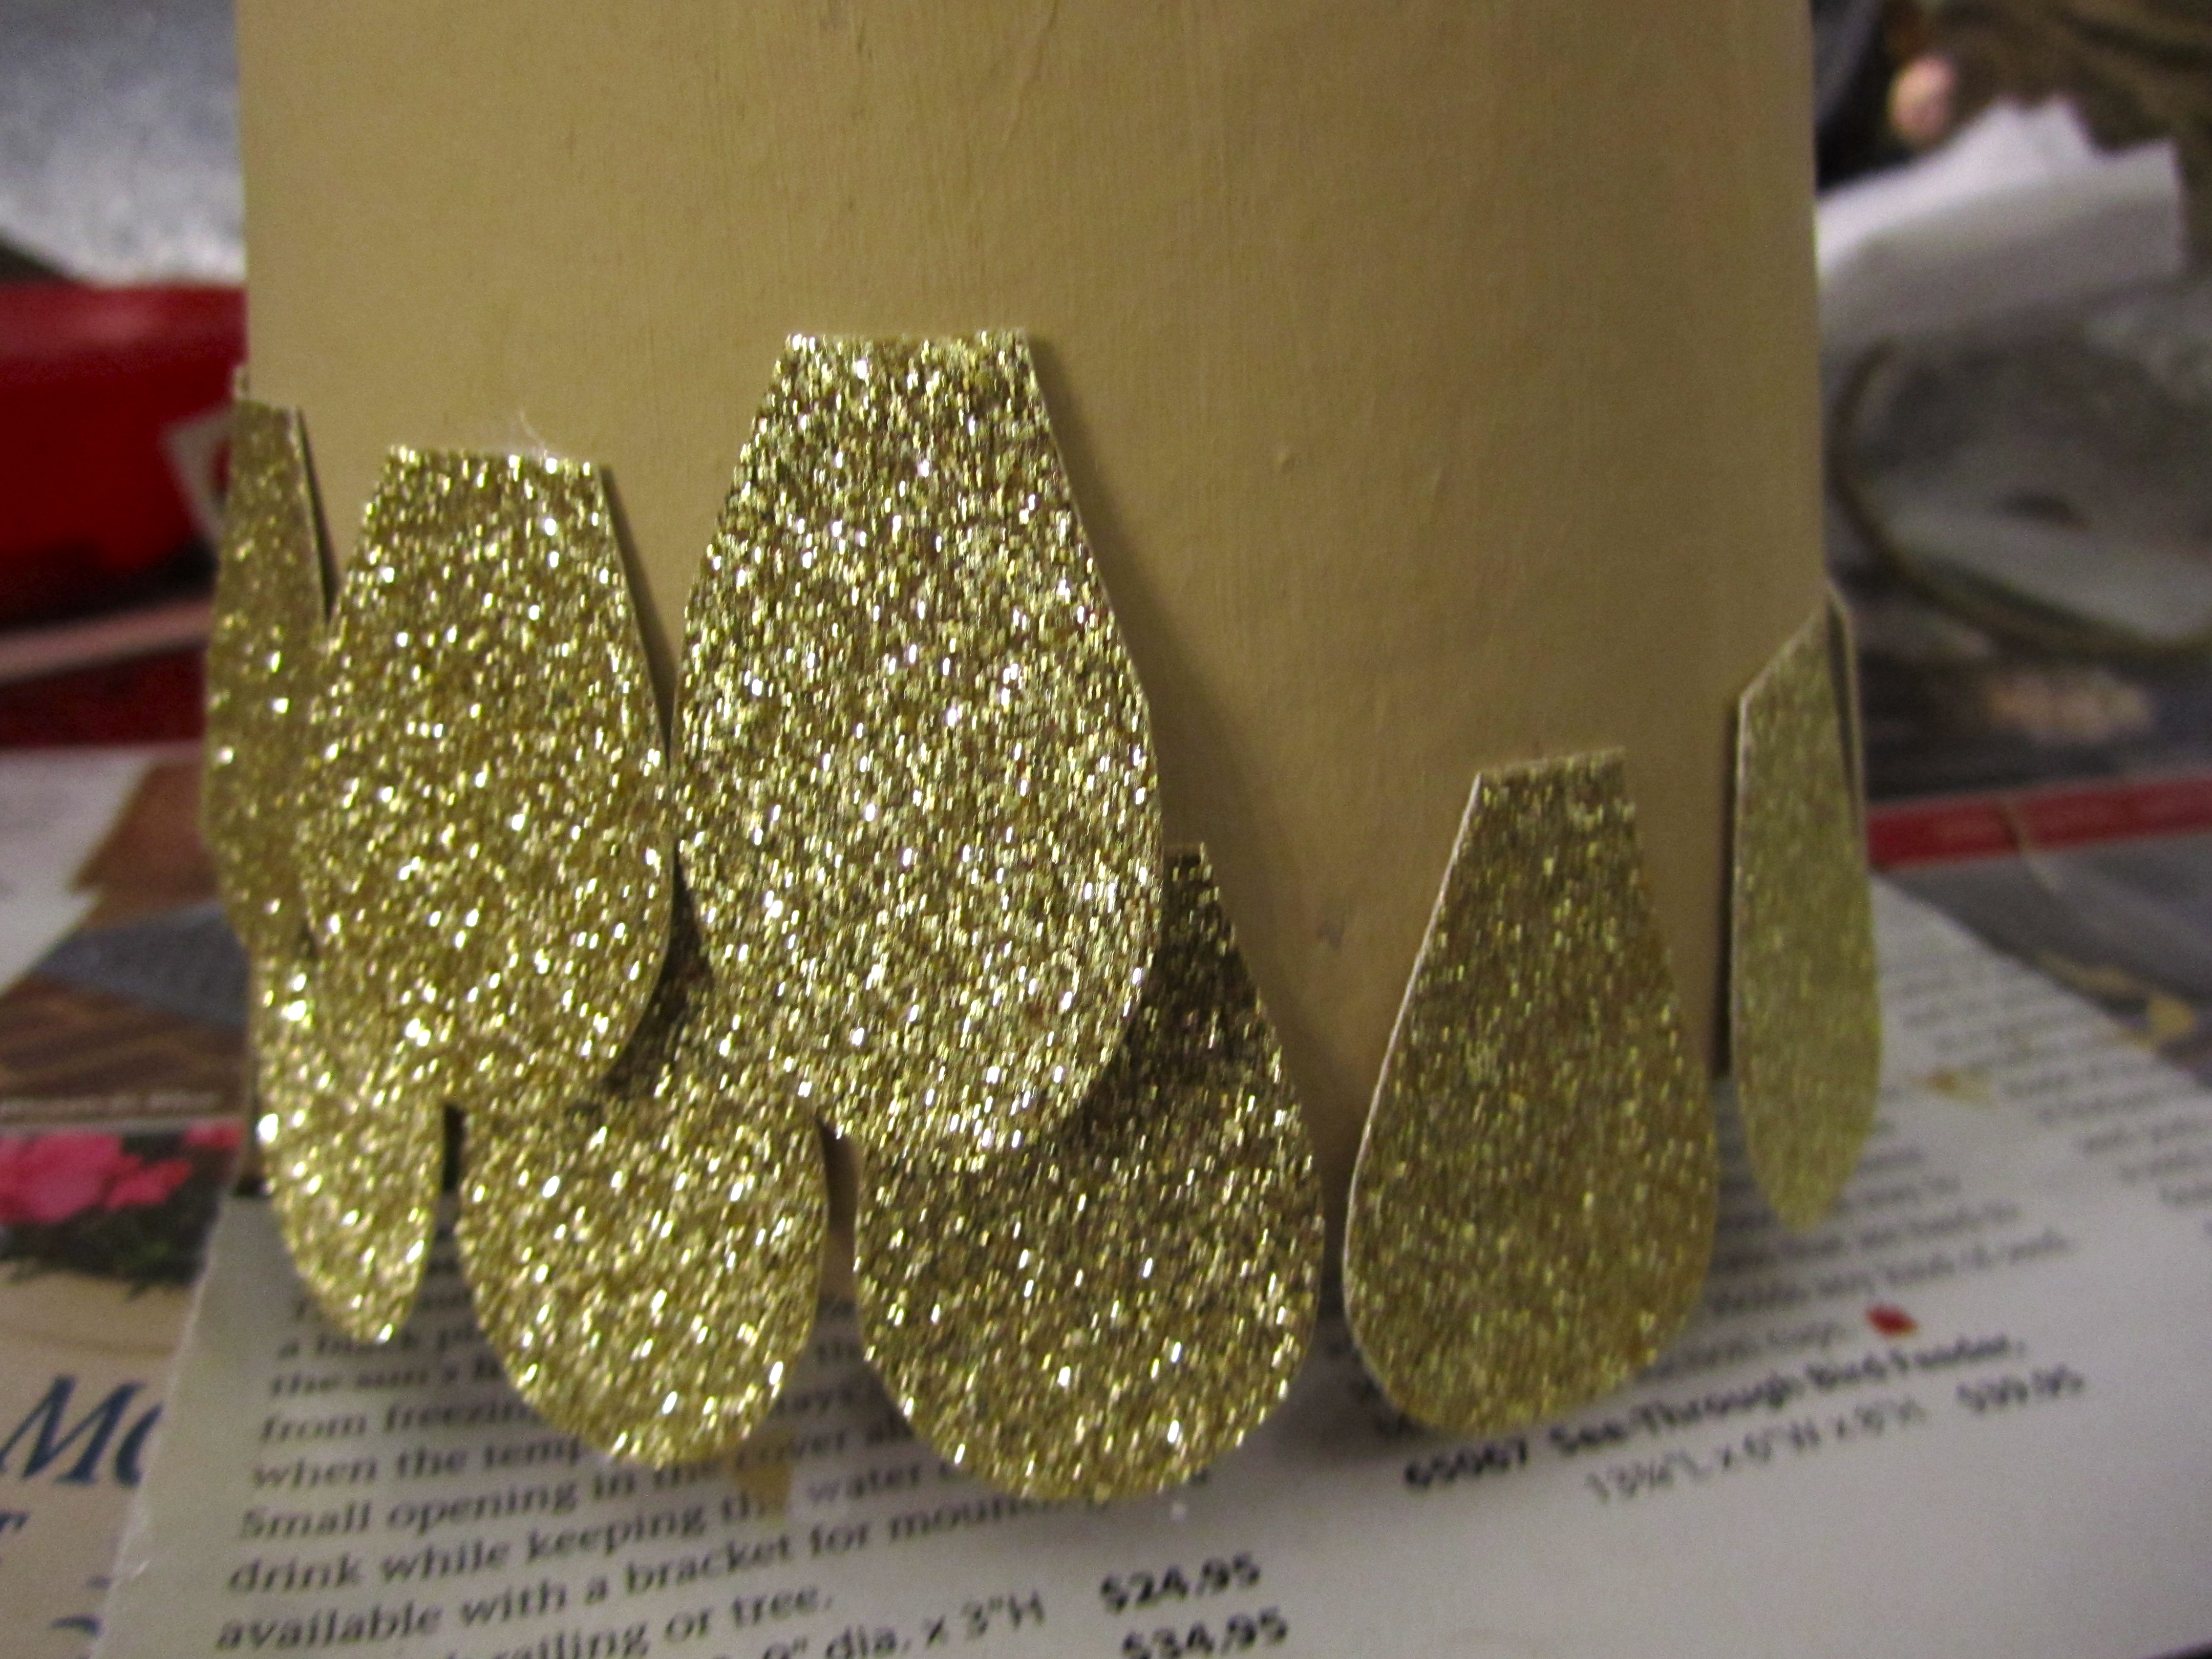
3. Continue up the cone until you reach the top
4. Glue three pieces together to make a small cone for the top of the tree

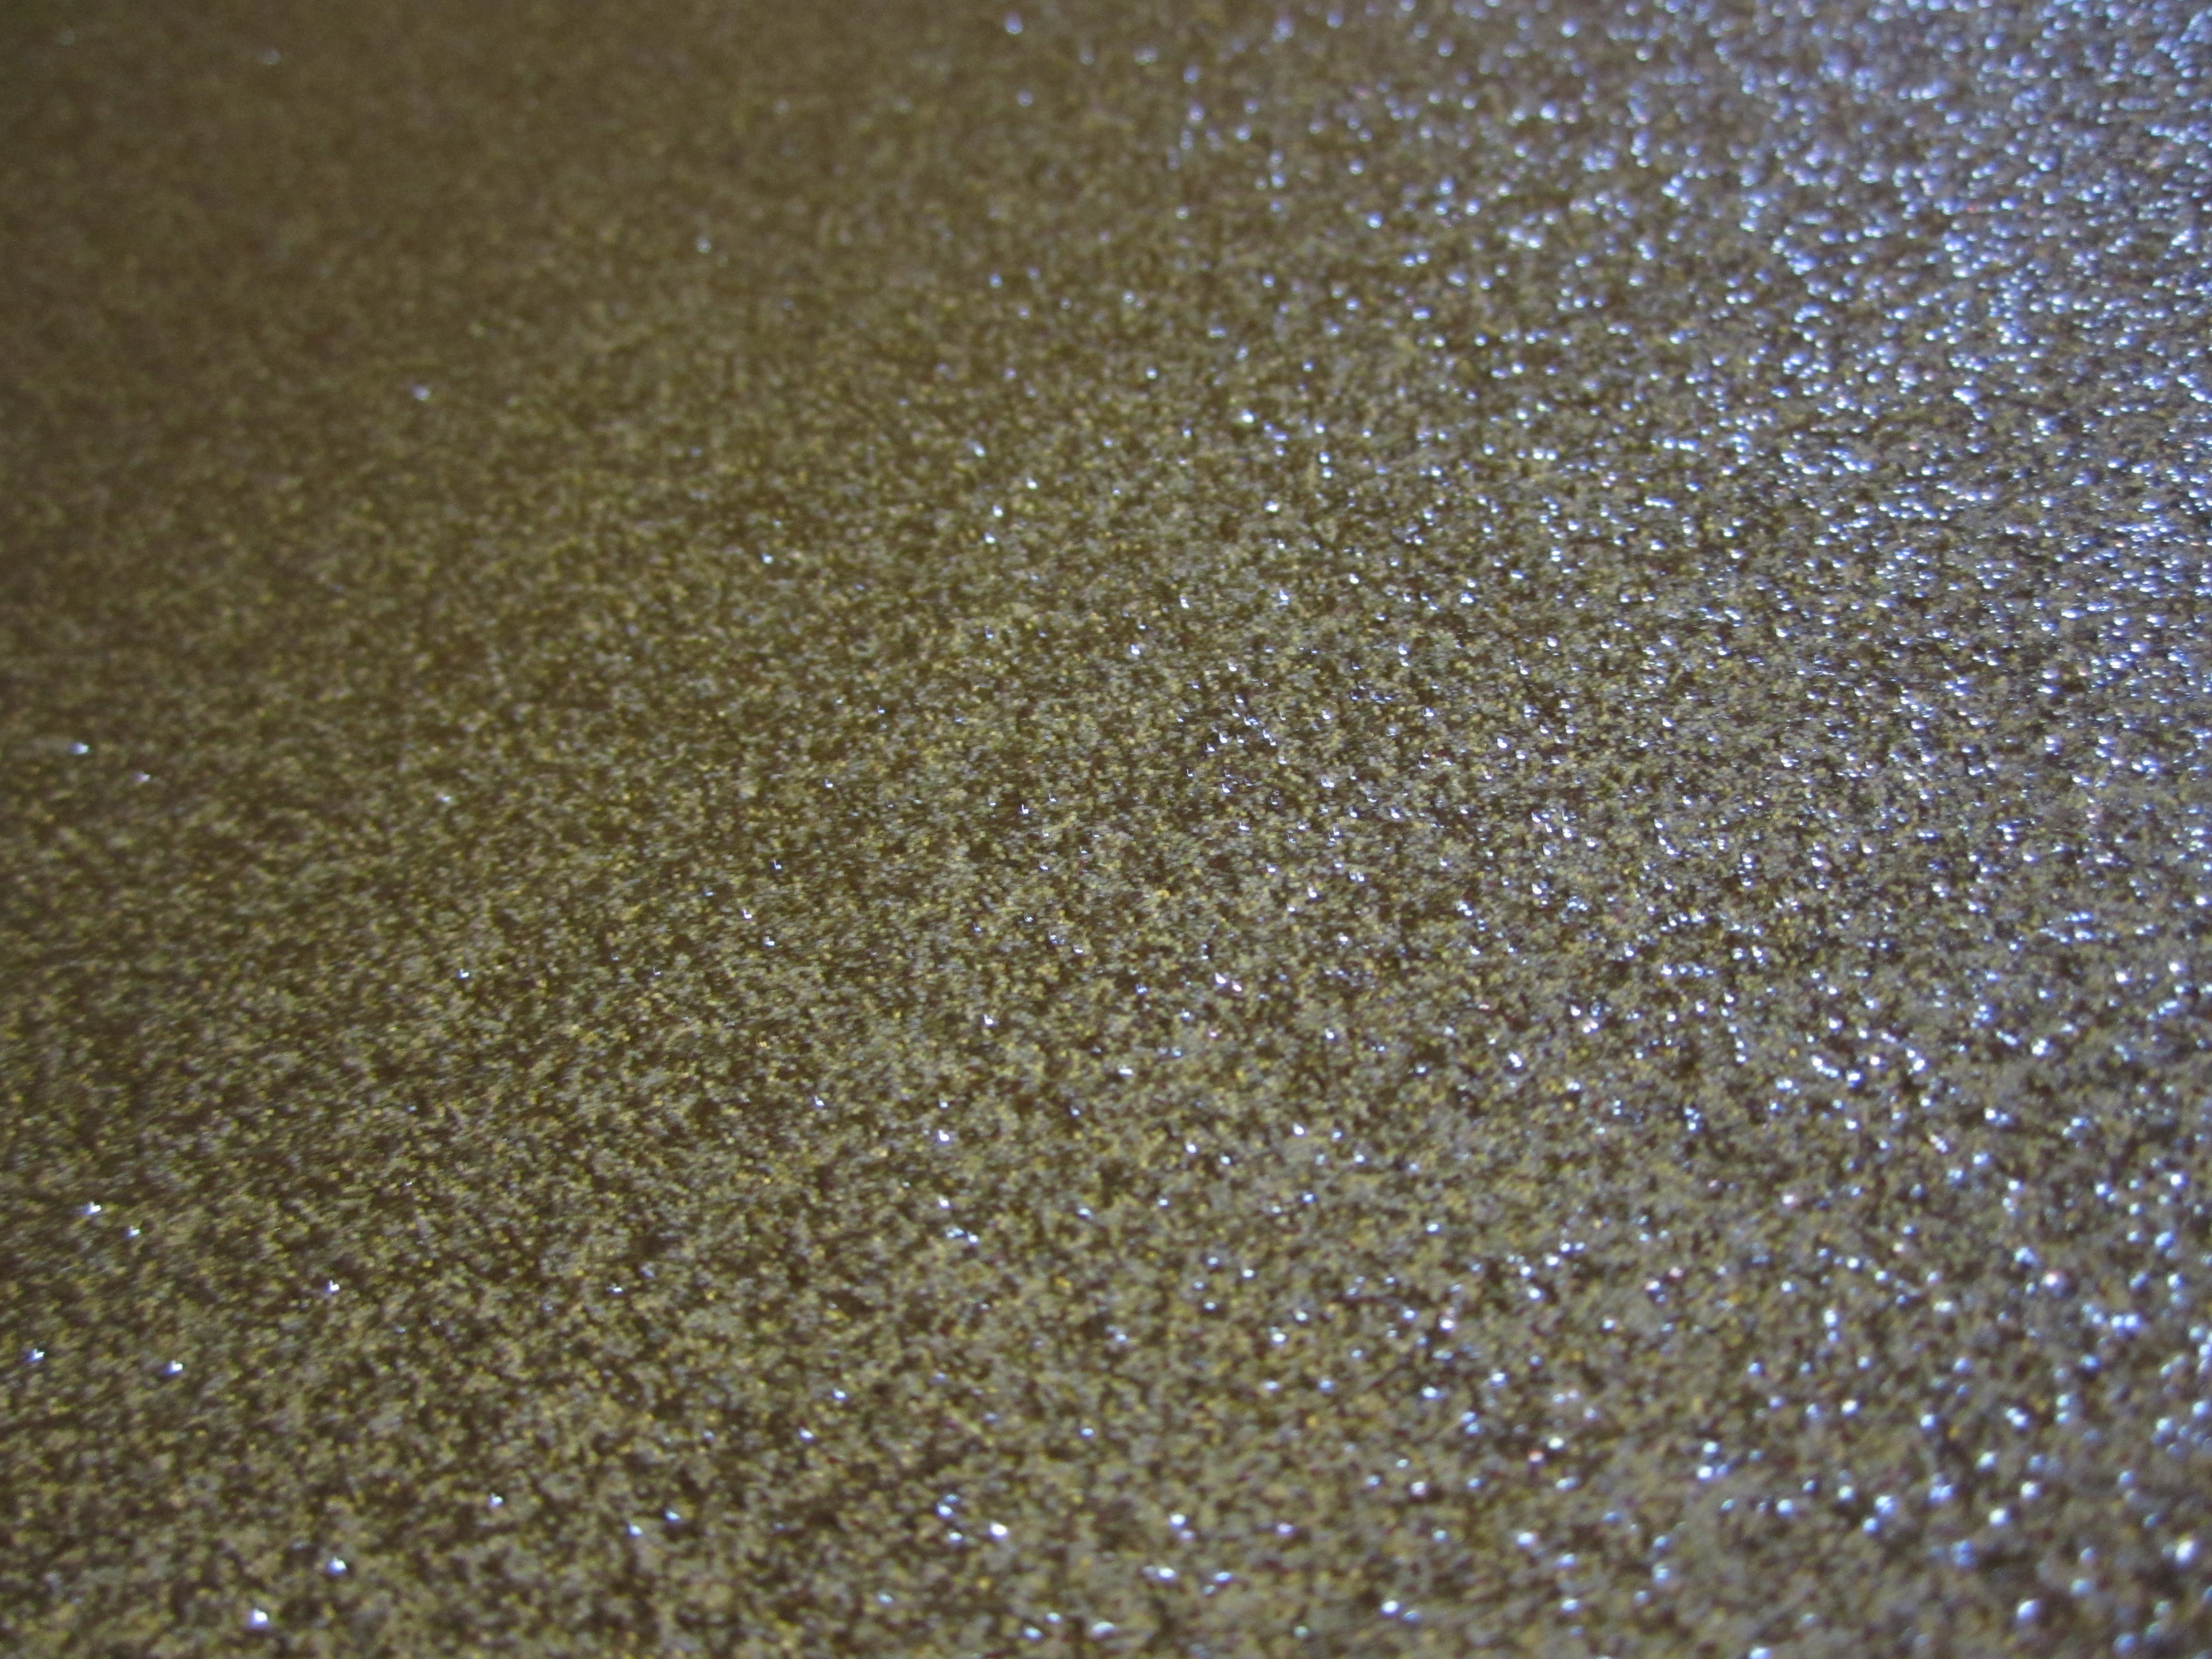
I used some Silver Glitter Blast by Krylon since the paper I bought was a little too gold.. now it’s more of a pewter color
Merry Christmas!