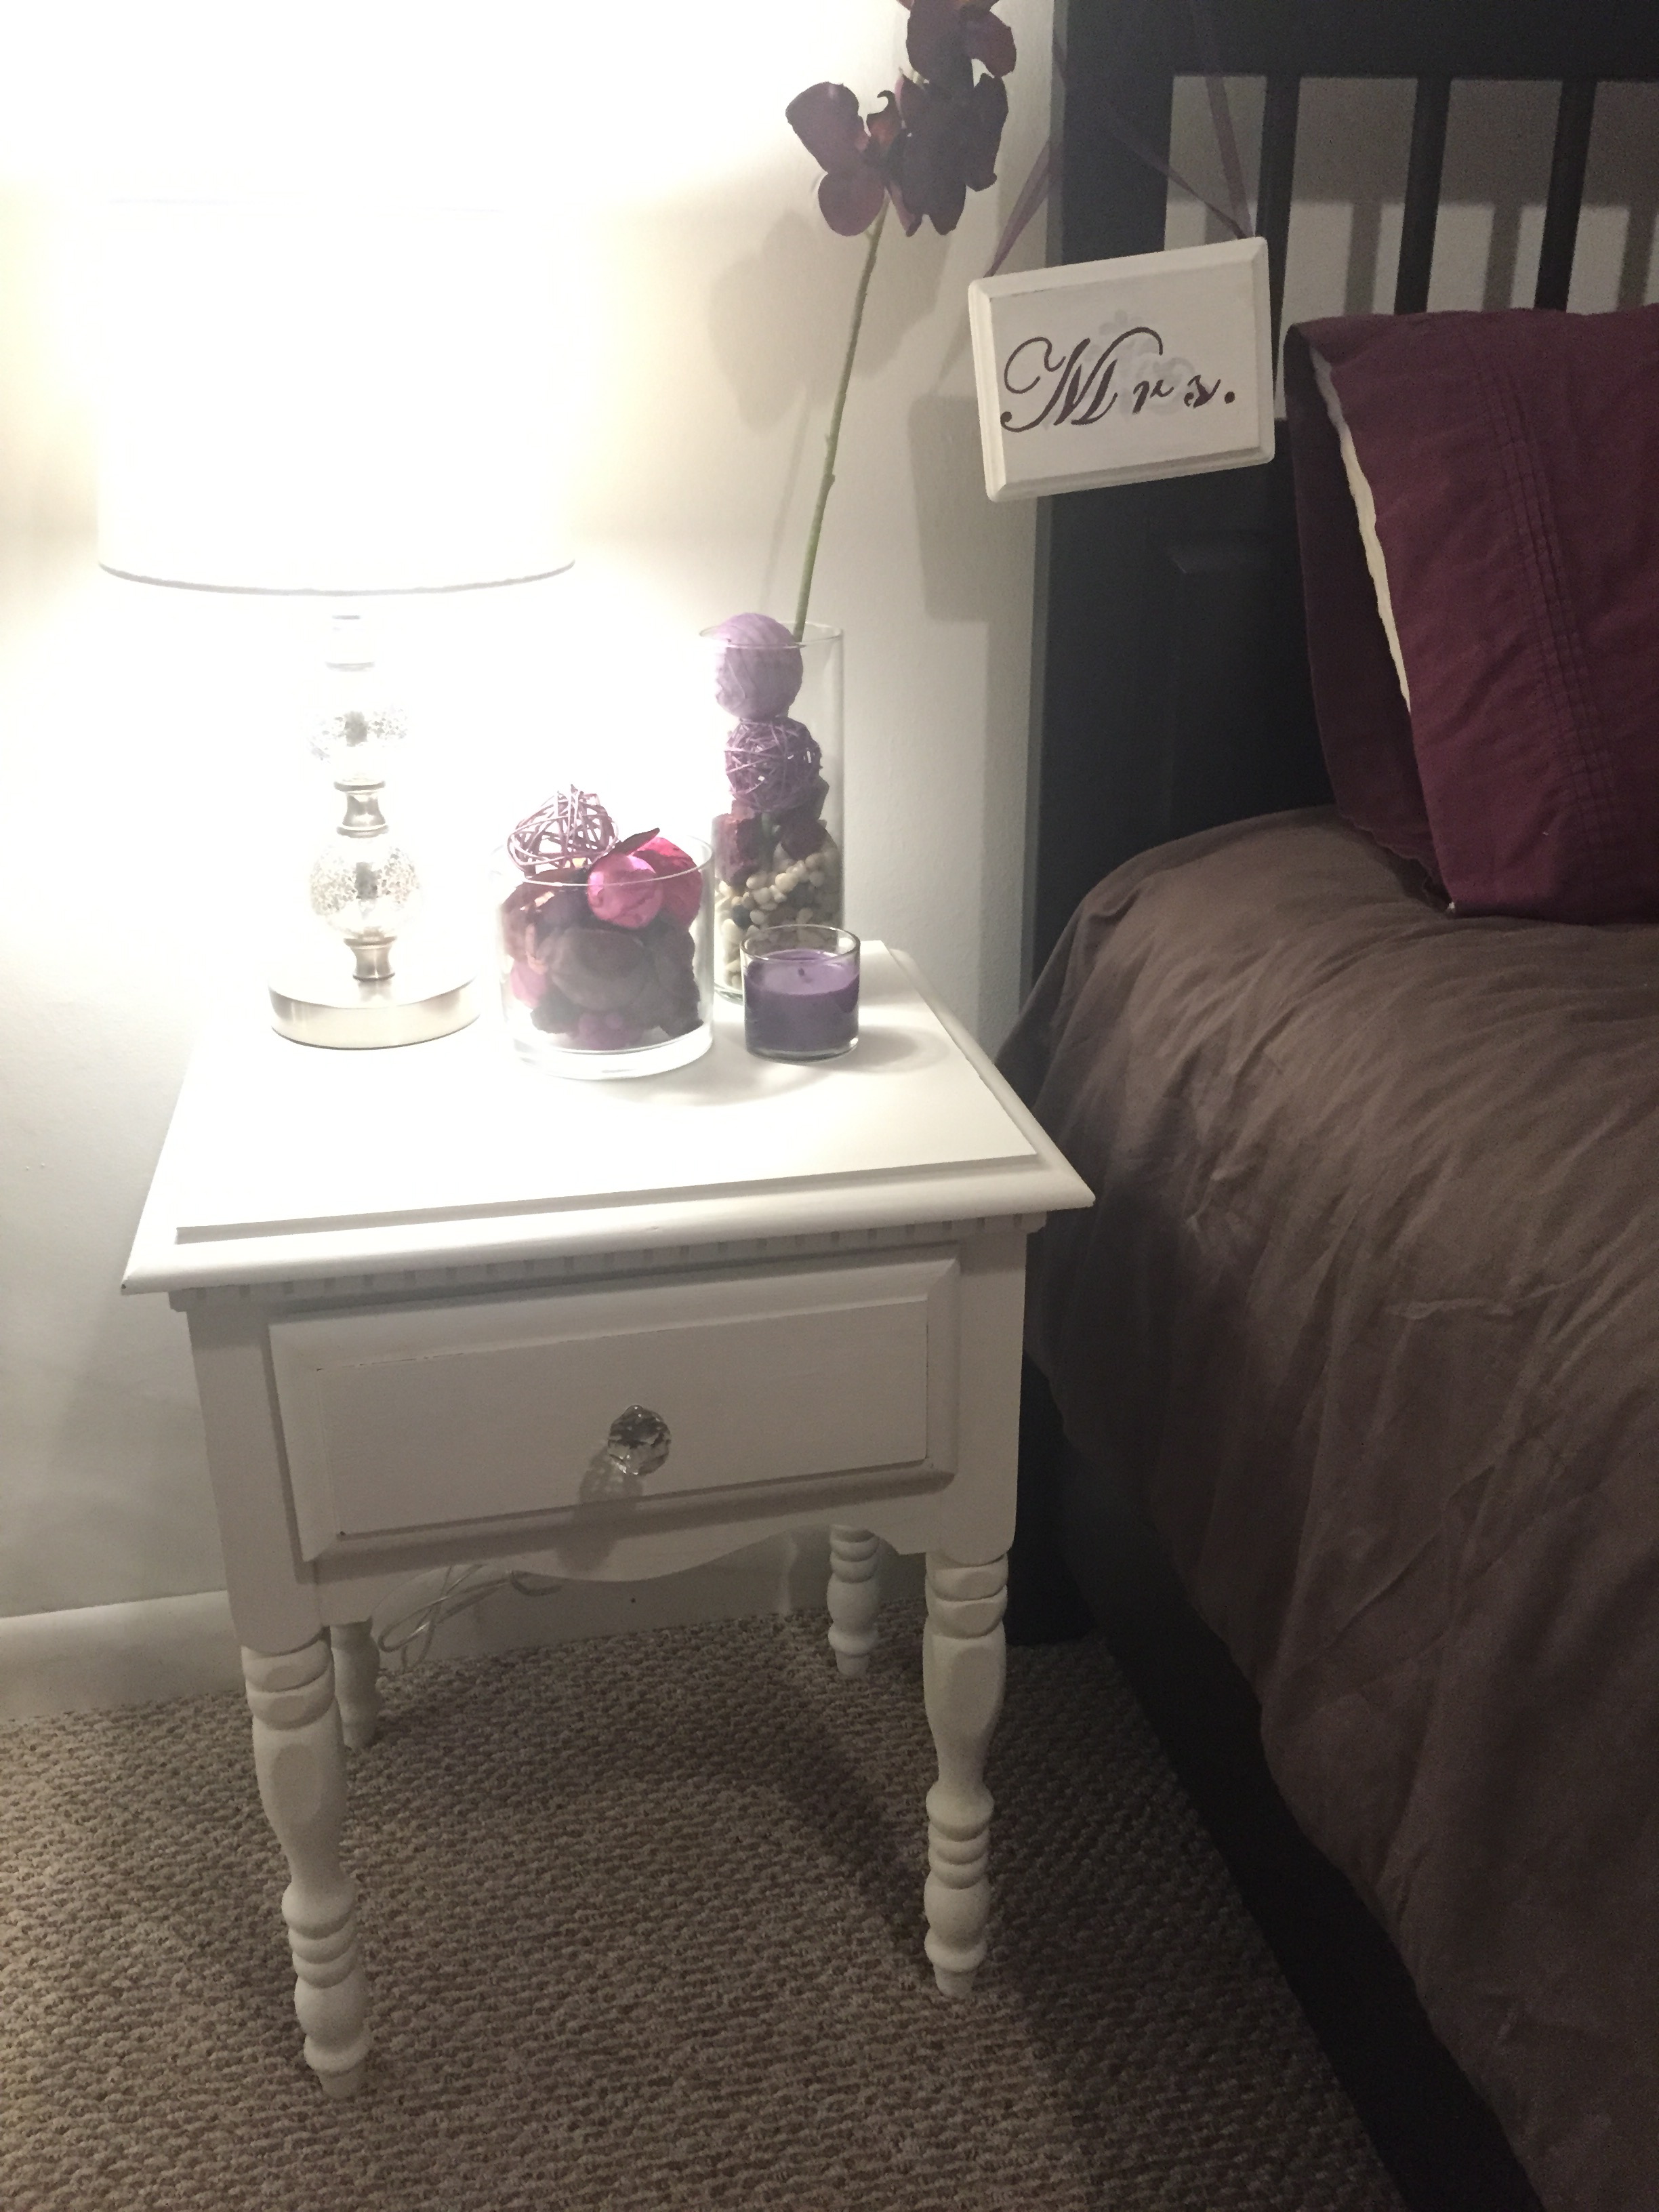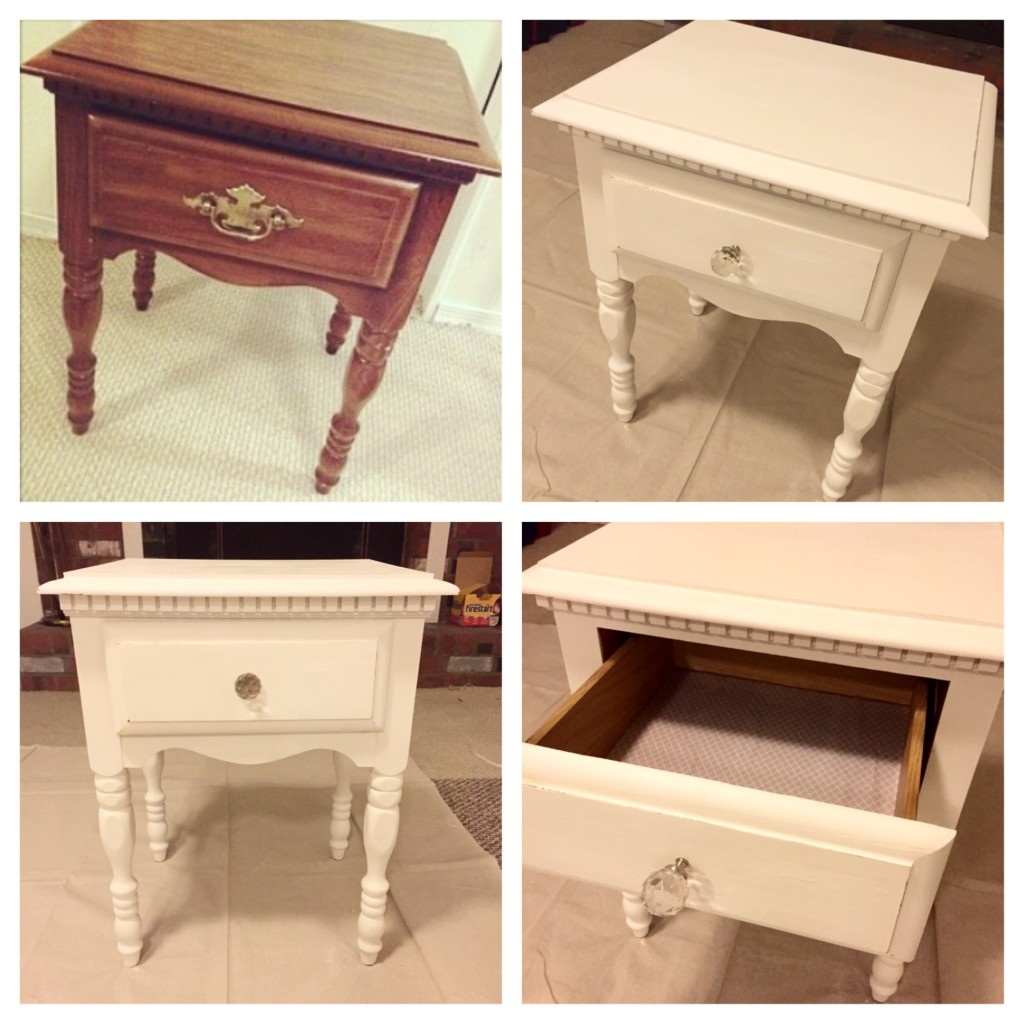
I found this bedside table at a flea market for $10! I had been looking for a new nightstand for our guest room and I saw the potential in this old school table..
A little elbow grease and this little table has a new lease on life :)
Supplies:
Wood filler (to replace holes left from old handle)
Sand paper
Chalk paint of your choice (I made DIY chalk paint with water, plaster of paris & paint – See here for recipe – Thanks Pinterest!)
Paintbrushes (Brush for chalk paint, Synthetic brush for wax)
New handle/knob (This one bought at Hobby Lobby – here)
Measuring tool (Ruler or Measuring tape)
Drill/drill bit (if making new hole for handle/knob)
Wax or other top coat (I used MINWAX Paste Finishing Wax) [There are many different waxes, find out your favorite here]
Dust Mask (N95)
Optional: Patterned paper, Scissors, ModPodge and foam brush for inside of drawer
Directions:
Step 1: Take off the handle and fill with wood filler

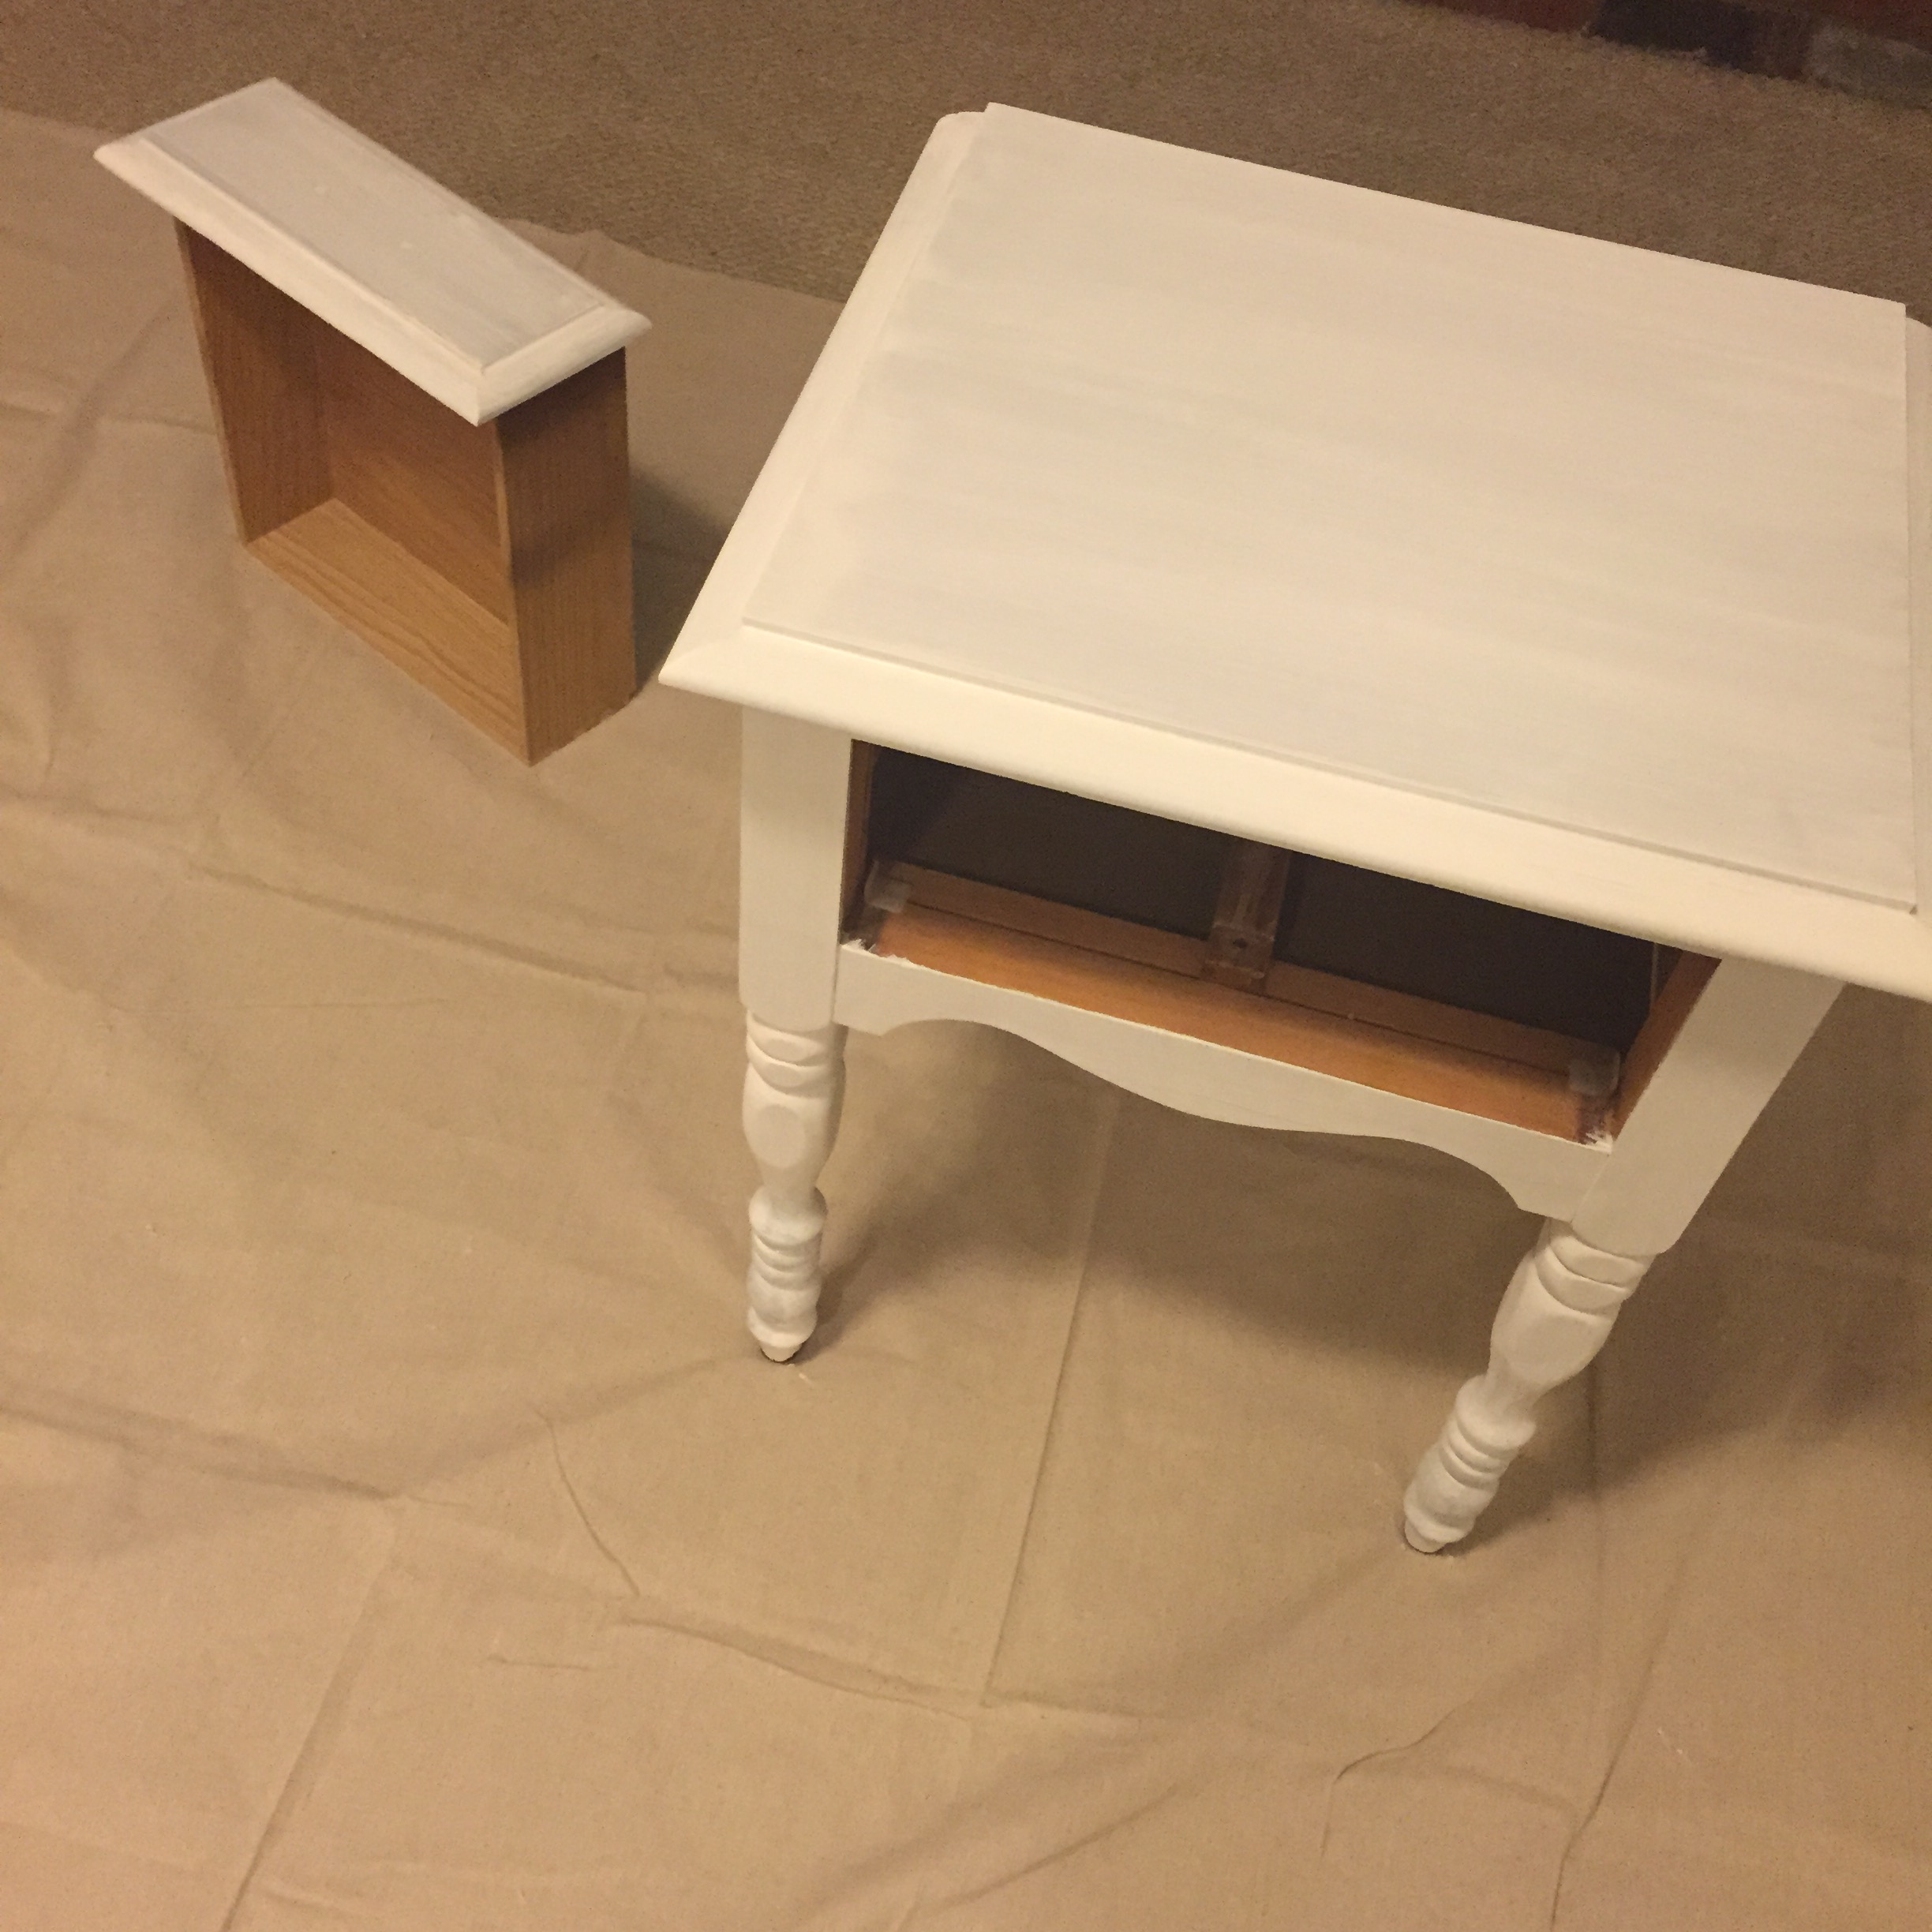
Step 2: Sand entire piece of furniture; wipe off dust afterwards
[Don’t forget to wear your dust mask!]
Step 3: Brush on the chalk paint (May take 2 or 3 coats)
Step 4: Once paint is dry, sand some random edges to give it the ‘antique’ look
Step 5: WEAR YOUR MASK in a VENTILATED area and using a nylon paintbrush, paint on wax — let dry!
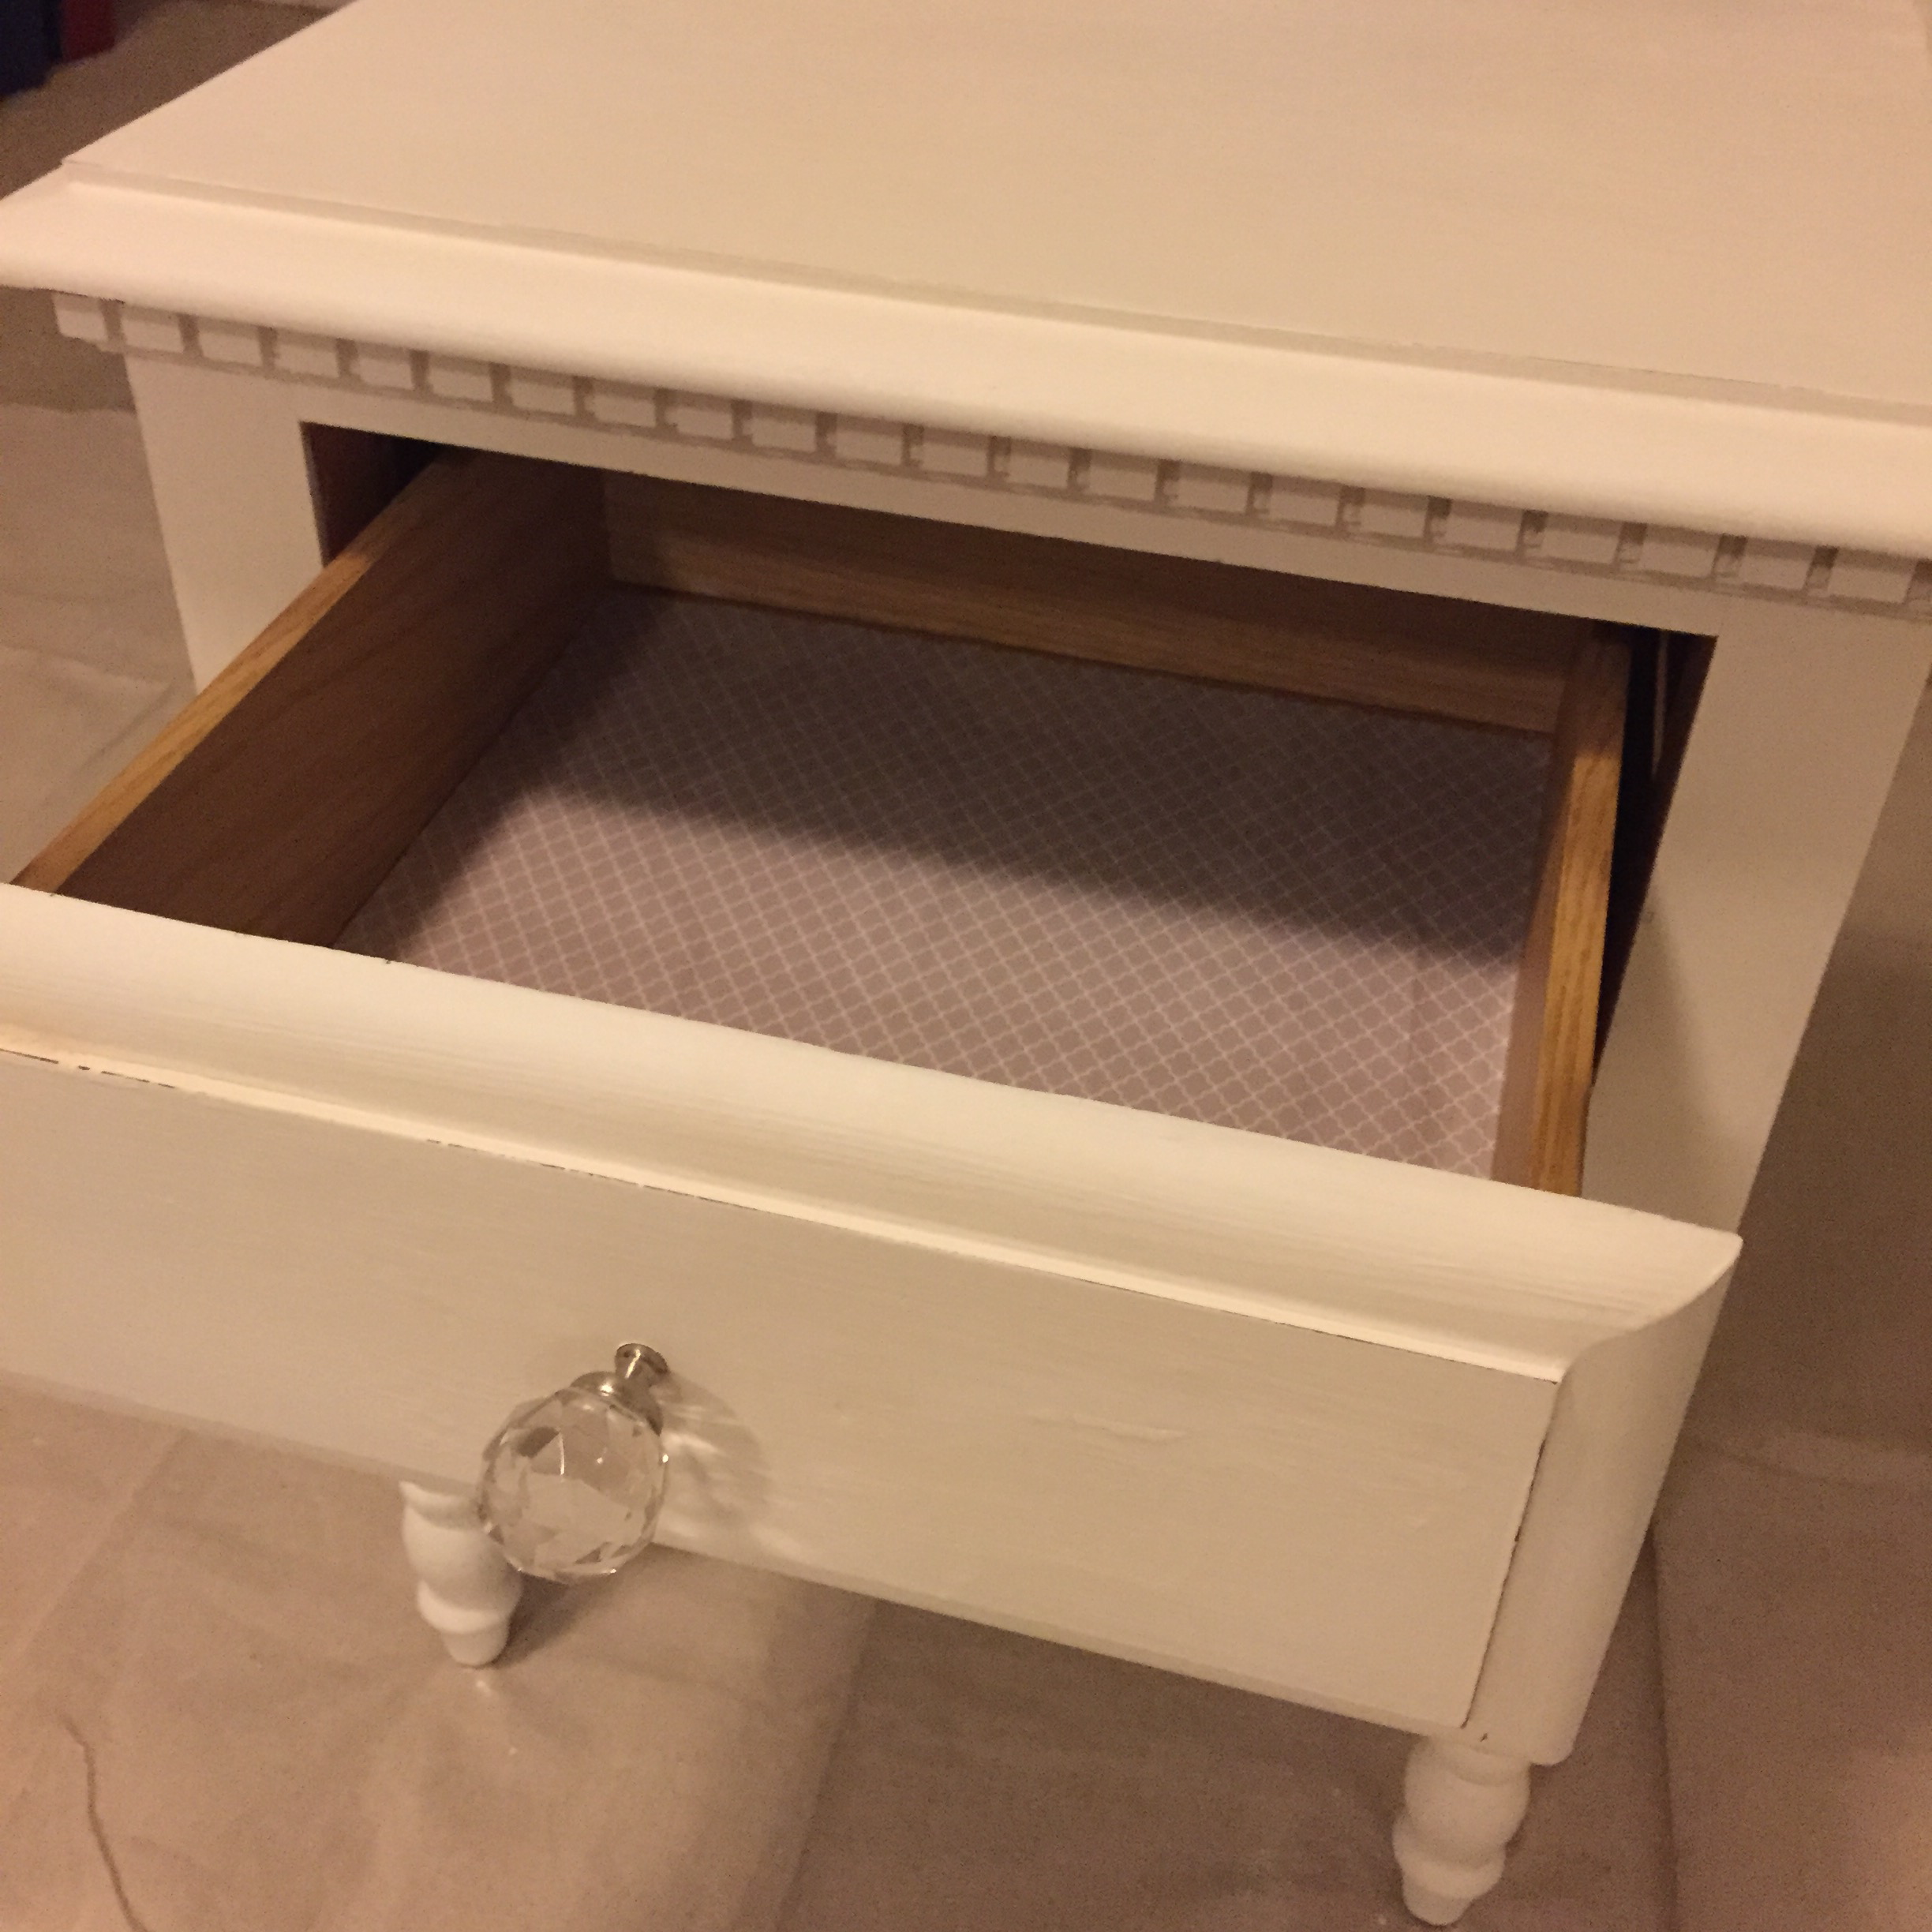
Step 6: Measure the center of the drawer and drill hole for new knob; add your new knob!

Step 7: Cut out paper to line inside of drawer
Step 8: Mod Podge the bottom of the drawer, set the paper in, and modge podge on top of the paper!
Step 9: Stare at your new beautiful piece of furniture!